Introduction
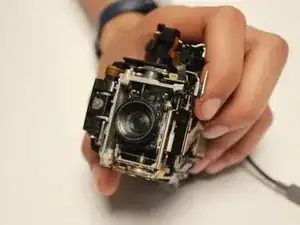
Simply follow the steps in this guide to remove/replace the camera lens. It is a very easy and simple task.
Tools
-
-
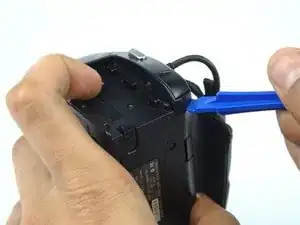
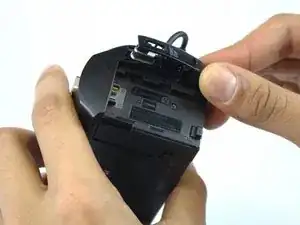
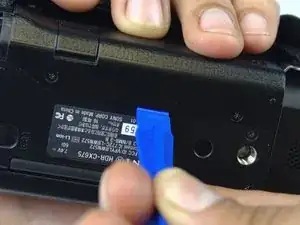
Gently pry the plastic case surrounding the start/stop button free by using the blue plastic opening tools.
-
Remove the casing using your thumb and index finger.
-
-
-
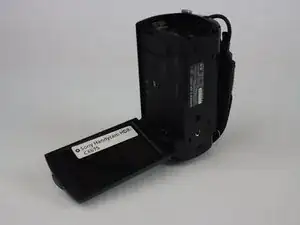
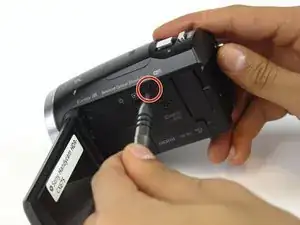
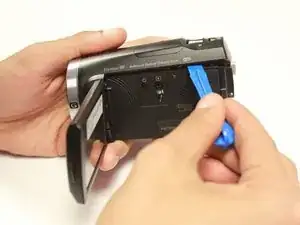
Turn the camera around and flip open the LCD screen to expose the side panel.
-
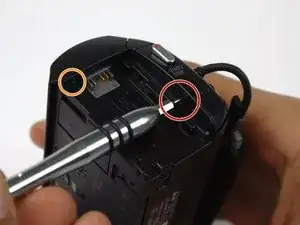
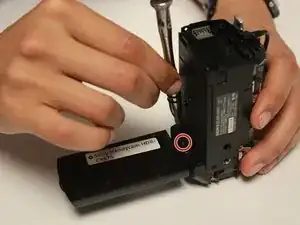
Remove the 5.5mm #00 screw using the J00 head screwdriver.
-
-
-
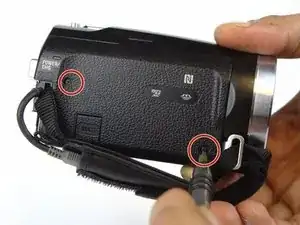
Turn the camera to the handgrip side and unscrew two of the 5.5mm JIS #00 head screws using the JIS #00 head screwdriver.
-
-
-
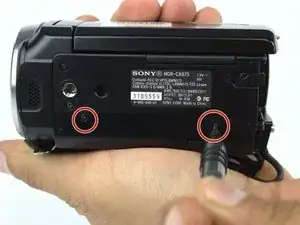
Turn the camera around in a way that the bottom of the camera is facing you.
-
Use the blue opening tool to gently remove the camera shell off of the camera.
-
-
-
Let the lens of the camera be pointed to your left.
-
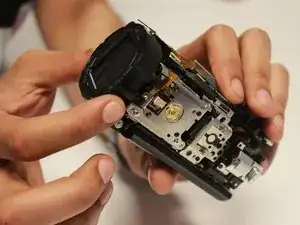
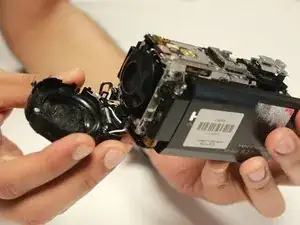
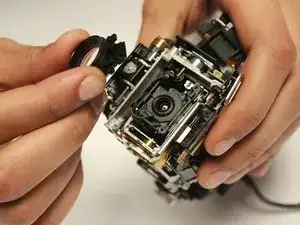
Keep holding the camera with your right hand then gently remove the lens cover panel with your left hand.
-
-
-
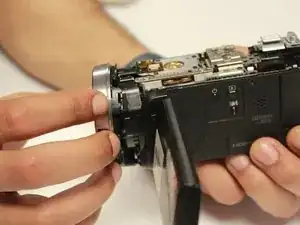
Place the camera on its lens and keep the LCD screen open and pointed to your right.
-
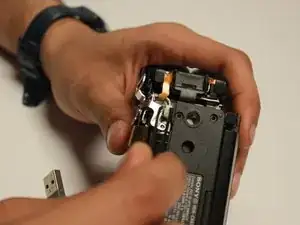
Remove the 5.5mm JIS #00 screws from the hinge of the camera.
-
-
-
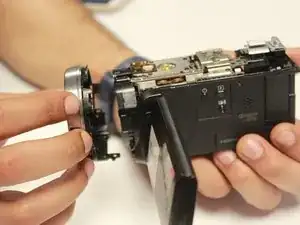
Use two fingers to twist and loosen the lens cover.
-
Remove the lens cover using the blue plastic opening tools.
-
To reassemble your device, follow these instructions in reverse order.
One comment
Why would one want to remove the camera lens?
I go to this site through Google search ‘HDR-CX675 wobbles, bobs, floats, drifts -lens’
I bought this camera and had it shipped to my non profit group in India. The user over there said the camera is broken.
She said the lens is floating, bobbing, drifting around with the camera off. That’s all I know. I said send the camera back to our headquarters. I need to look at this camera. If the lens is compromised which I cannot fathom why so I would need to fix it. One option is to follow these instructions in this great article. Thanks
