Introduction

The replacement of the buttons are necessary if you are struggling to manage through your menus, or having trouble pressing the buttons in general.

  1. Qhhfjb2YwsCyGdle
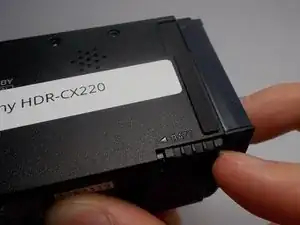
    • Push in the battery indicator.

  2. e4QQHHAZGTbgIhXY
    • Slide the battery out of the slot.

    • To put the battery back in, line up the battery's metal part with the camera's and slide it in.

  3. yfFkAcWRscTf3J6s
    yfFkAcWRscTf3J6s
    pbAH5JIO5THqZedG
    DKW4eoFXihydQq1Q
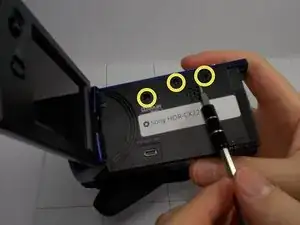
    • Use the Phillips #0 screwdriver to remove the two 5mm screws.

    • Use the Phillips #0 screwdriver to remove the two 5mm screws.

    • Use the Phillips #0 screwdriver to remove the three 5mm screws.

  4. UCJuFCHUBbwt1Muo
    UCJuFCHUBbwt1Muo
    dPBDOeXFO6gbrqIx
    GVVihTqFvIKRYcGw
    • Use the plastic opening tool to loosen the plastic case of the camcorder.

  5. hWCtosvWZOAF455j
    • Use your hands to remove the plastic case.

    • Gently pull on the case not to damage anything internally.

  6. ErsuvNAtLUBOcwtO
    ErsuvNAtLUBOcwtO
    alOHQWEkA6SW6Zqi
    LfkNrCV3XyINkqiX
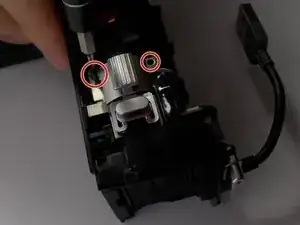
    • Use the Philips #0 screwdriver to unscrew the two 5mm screws shown on top of the camera.

    • Remove the one side 5mm screw using a Philips #0 Screwdriver.

    • Remove the top buttons from the hook.

  7. xuMGZaSkelBvOkUG
    xuMGZaSkelBvOkUG
    u1RDqXEeNRfswXqX
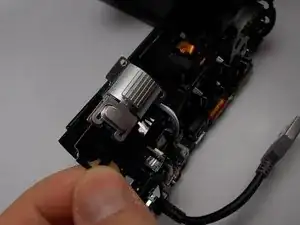
    • Unplug the connected wire shown.

    • Pull gently not to cause any damage.

Conclusion

To reassemble your device, follow these instructions in reverse order.

Keven

Member since: 11/03/16

811 Reputation

One comment

hi, can you please tell me where can I buyStep 6 Buttons?

thanks

jesus -