Introduction

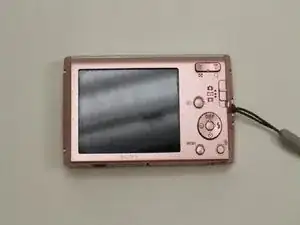
How to replace the lens zoom unit of a Sony Cyber-shot DSC-W510.

  1. FrHNuI1kZl3DdxBw
    • Place the Sony Cyber-shot DSC-W510 on the magnetic project mat. This will help keep the small screws organized.

  2. iHTjKrVHkyFg3GGu
    iHTjKrVHkyFg3GGu
    cqBpJXnPj1PR2WGM
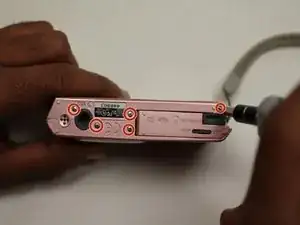
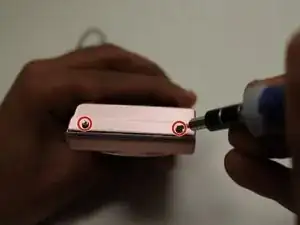
    • Using the Phillips #00 screwdriver, unscrew the outside screws from the frame of the camera.

    • There are five screws on the bottom of the camera and two on the side.

    • If the screws are stripped, visit the Removing a Stripped Screw Guide.

  3. BZFLxYOfPL1RSpFx
    BZFLxYOfPL1RSpFx
    qsQoYlODGctucmh5
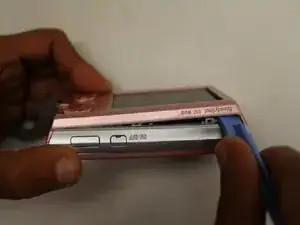
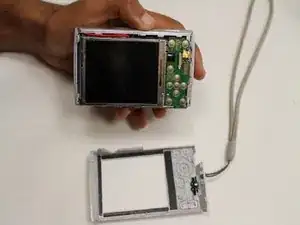
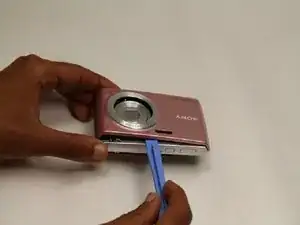
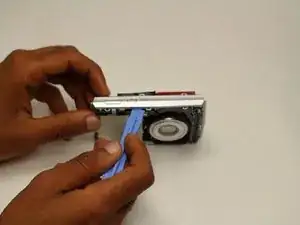
    • Pry open the screen frame using a plastic opening tool.

    • It may be necessary to start by prying at one end of the screen and moving around the edge of the screen frame, until it pops out.

  4. Ssj3uBdtgMWOUyqD
    Ssj3uBdtgMWOUyqD
    wj4LPf3QPwOM6VES
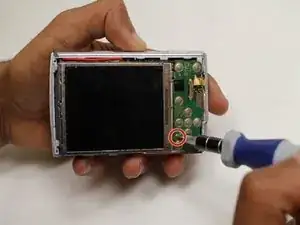
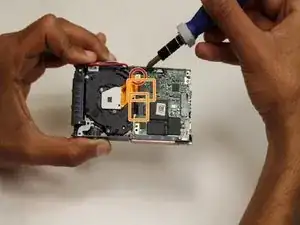
    • Using the screw driver, unscrew the one screw on the control panel board.

  5. VItsZDcsAjERQHaf
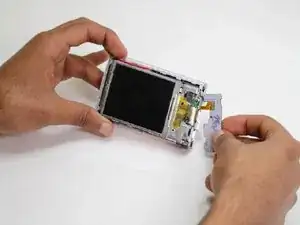
    • Gently unplug the control panel from the motherboard outlet.

  6. XxWIQm2dOfQDe5AU
    XxWIQm2dOfQDe5AU
    vWZolUMUpMuea43O
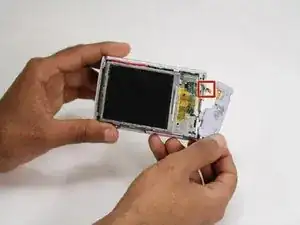
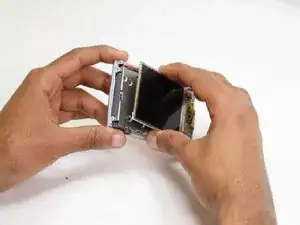
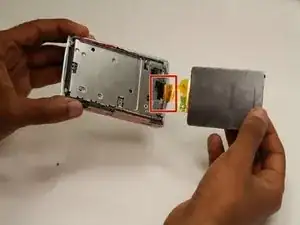
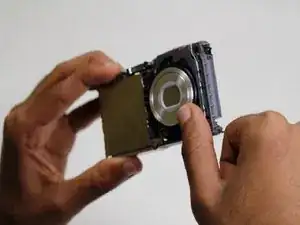
    • Using your hands, pry open the LCD screen from the metal board.

    • Gently unplug the LCD screen from the motherboard.

  7. JWTAfj42LthBVTiM
    JWTAfj42LthBVTiM
    VvRcWuMCJEoy2c4d
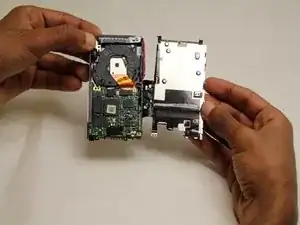
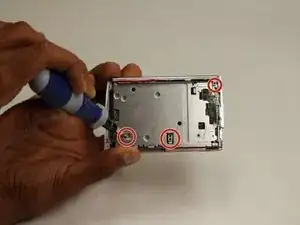
    • Remove the screws from the metal board using the Phillips #00 screwdriver.

    • Pop apart the metal board using the plastic opening tool.

    • Peel apart the black tape from the flash bulb.

    • Avoid touching the bulb as it will burn or shock if touched.

  8. s5ettSMXsjIPbYUs
    s5ettSMXsjIPbYUs
    4a3sWEQg1igIEwyW
    jxJmZo5MKKGZcyk6
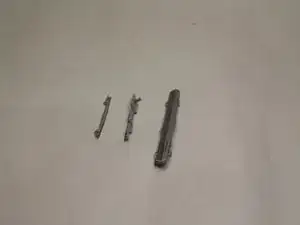
    • Pry open the remaining covers of the camera using the plastic opening tool.

    • Some parts may fall out during this process.

  9. MF1gGYiYsfeDB3HK
    • Unscrew the one screw from the motherboard.

    • Disconnect the two links from the camera unit to the motherboard.

  10. FevYNXOnByYRoONn
    • Pop out the lens zoom unit from the frame by using either your thumb or an opening tool.

Conclusion

To reassemble your device, follow these instructions in reverse order.
kyle

Member since: 06/02/15

424 Reputation

0 comments