Introduction
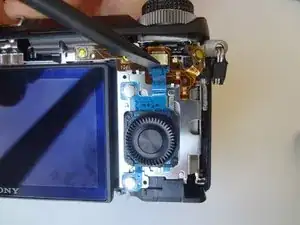
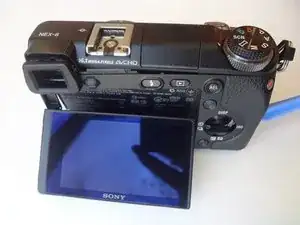
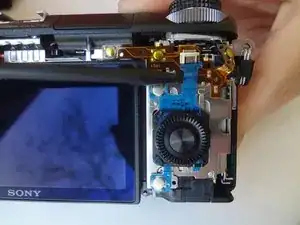
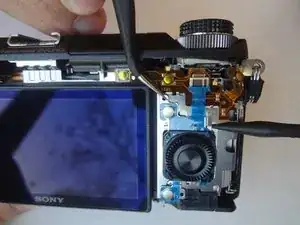
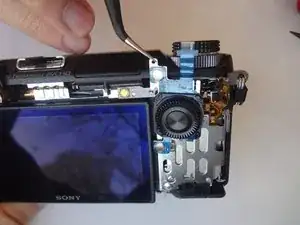
This guide will illustrate how to dis-assemble the back camera case to gain access the control wheel assembly. Then it will show how to replace the control wheel and adjacent soft keys.
Tools
-
-
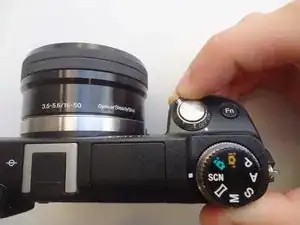
Flip the camera upside-down and carefully place it on a flat surface.
-
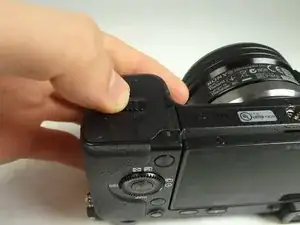
With the lens facing outward, locate the battery compartment - indicated by a grooved latch.
-
Push the latch to the right to unlock the battery compartment. The door should flip upward.
-
-
-
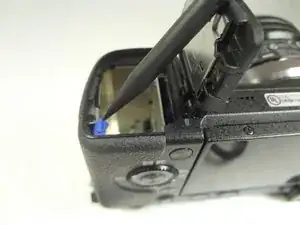
With the compartment open, locate a blue tab shown with spudger
-
Press the tab to the side (to the left, or toward the camera wall). This will eject the camera battery.
-
-
-
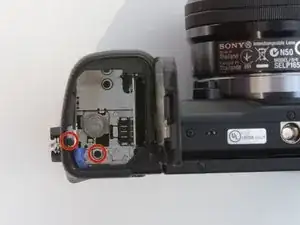
Remove the two 3.5mm Phillips #00 screws that hold the back case - located inside the battery compartment.
-
-
-
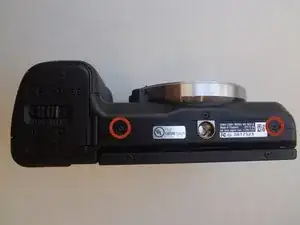
Remove the two 3.5mm Phillips #00 screws that hold the back case - located on the bottom of the camera.
-
-
-
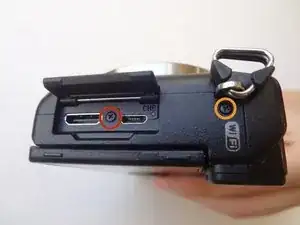
Remove the 3.5 mm Phillips #00 screw on the side of camera - located between the charging and HDMI ports.
-
Remove the 4.0 mm Phillips #00 screw on the side of the camera - located next to the WiFi sign.
-
-
-
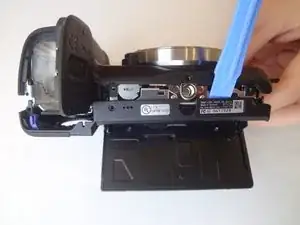
Starting with the battery compartment gently begin to separate the back case front the camera.
-
Using a plastic opening tool, separate the bottom of the back case from the camera. Then proceed by separating the sides.
-
Gently lift the back case away from the camera an slide it down to completely remove the back case.
-
To reassemble your device, follow these instructions in reverse order.
