Introduction

  1. fQq56AbQJRPOaTYu
    fQq56AbQJRPOaTYu
    KsW2s361JCkYIJQT
    5MBYncQL2NxagpDy
    • Power off your Sonos Roam before beginning disassembly.

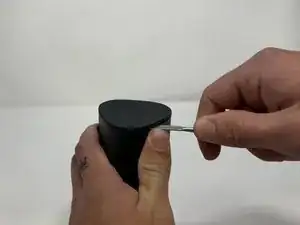
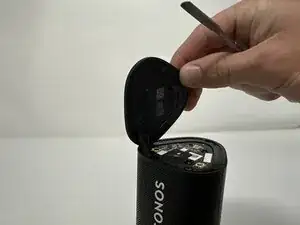
    • Use the metal spudger to pry the end cap with the buttons.

    • Pry from all sides to loosen the adhesive.

    • Use the iOpener, a blowdryer, or a similar heating device to loosen the adhesive if having difficulty.

    What about IP67 rating? Am I going to lose the water resistance rating if I do not reapply some glue or additional adhesive when reassembling things back?

    Askar -

  2. Fa1WAjLd1PTbOgJf
    Fa1WAjLd1PTbOgJf
    bjRsPyljKxuOH4NV
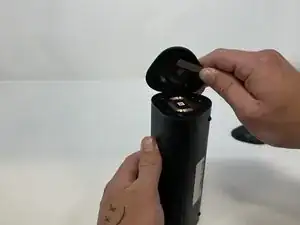
    • Flip the device to the other end cap.

    • Use the metal spudger to loosen the adhesive.

    • Use the iOpener, a blowdryer, or a similar heating device to loosen the adhesive if having difficulty.

  3. 3NJEEKwTJ3cHVylI
    3NJEEKwTJ3cHVylI
    PuNOCsS2YDgUkTLT
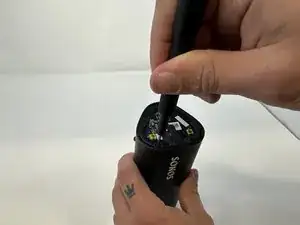
    • Flip the device so that the Sonos logo is on the top.

    • Use the Torx T6 screwdriver to remove the two 6 mm screws.

    my sonos roam sl used t7 screws here

    Arndt Kurek -

  4. 2yXndWqBYFKlbDYx
    2yXndWqBYFKlbDYx
    sNeZtEdHfKjO2uGw
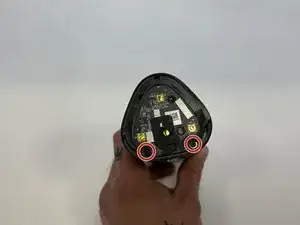
    • Flip the device.

    • Use the Torx T6 screwdriver to remove the two 6 mm screws.

  5. eqhulqqTvQLmoNXq
    eqhulqqTvQLmoNXq
    L1IKTYCJPR6WbaRs
    ufiHRMw4APQ5MnRX
    • Flip the device so the Sonos logo is on the top.

    • Use the iFixit opening picks to wedge between the split of the grille and the back of the speaker to pry the grille apart.

    • Use the iOpener, a blowdryer, or a similar heating device to loosen the adhesive if having difficulty.

Conclusion

To reassemble your device, follow these instructions in reverse order.
Kristen Gismondi

Member since: 12/11/14

86396 Reputation

0 comments