Introduction
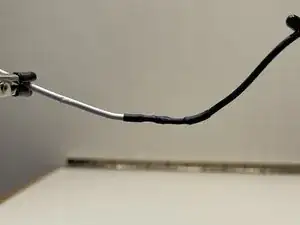
The purpose of this guide is to instruct users on how to effectively repair a broken wire, as they commonly become damaged. This guide will cover how to repair stranded wire and solid-core (single strand) wire.
Note: to efficiently complete the following guide, it's crucial to know how to strip wires. The following link can be used as a guide for wire stripping before continuing.
Stripping Wire: Wire Stripping
Tools
Parts
-
-
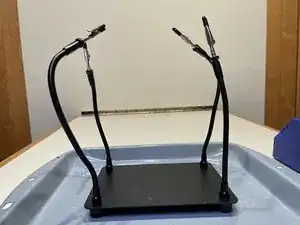
Set your tools down on a clean, non-flammable surface.
-
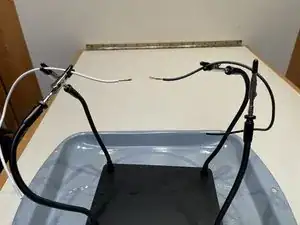
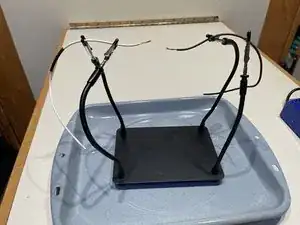
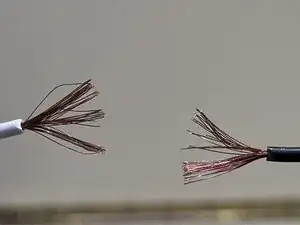
Attach a stripped wire end to each of the helping hands clips, facing the ends towards each other.
-
-
-
Cut a piece of heat-shrink tubing such that it's 10-15 mm longer than one of the exposed wire ends.
-
Slip the heat shrink over one of the wires, making sure to move the heat shrink away from the soldering point as to avoid any burning.
-
-
-
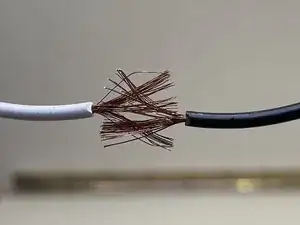
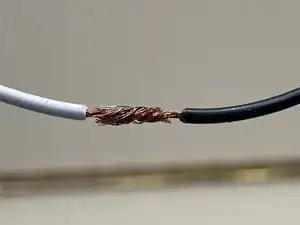
Unravel all of the wire strands for both the wires, intermesh them, and then twist the strands together.
-
-
-
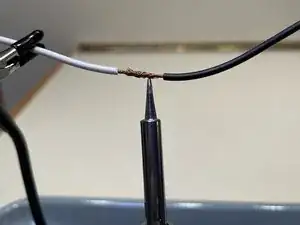
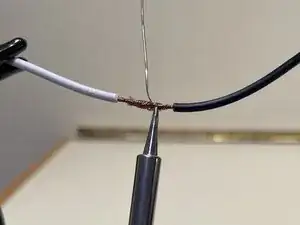
Place the tip of a soldering iron against the exposed wires. You want to heat the wires hot enough such that they'll readily melt the solder.
-
-
-
Slowly feed solder wire into the heated wire. The wire strands should readily absorb the molten solder.
-
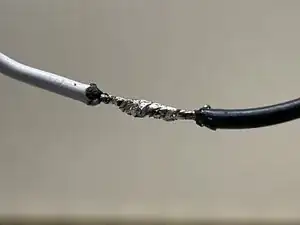
Feed solder wire along the exposed wire until everything is thinly coated.
-
Once the molten solder saturates the wire strands, allow the solder joint to cool down and solidify (2-3 minutes).
-
-
-
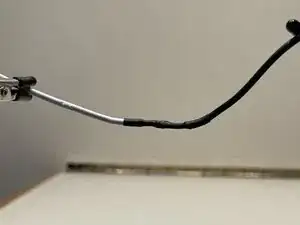
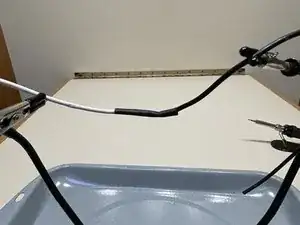
Slide the heat-shrink over the exposed solder joint so that it completely covers the joint and the surrounding insulation.
-
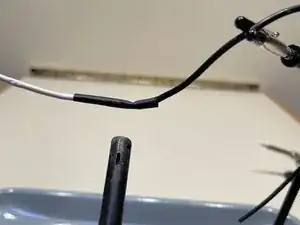
Wave a heat source (lighter or heat gun) over the heat-shrink material to activate it. Apply heat until the heat-shrink has shrunk securely around the solder joint.
-
You have successfully soldered two wires together!
For more soldering tips and guides, click here.
