Introduction
Tools
Parts
-
-
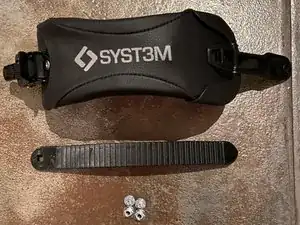
Start by having the new snowboard binding and screws set aside. Make sure to also have a standard Phillips screwdriver.
-
-
-
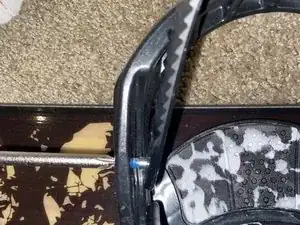
Then begin to tighten the plastic strip by using the screwdriver with one hand and then holding the nut with the other to tighten the plastic strip.
-
-
-
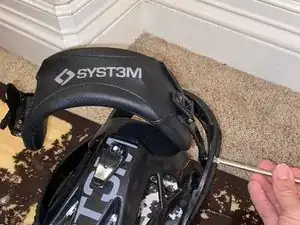
Now we will begin to attach the strap to the opposite side. Like previously, you will need a screwdriver to tighten the strap once you have aligned the screw and attached the nut on the other side.
-
-
-
Once everything is tightened properly this is what it should look like. Congrats you have successfully repaired a snowboard binding!!!
-
Conclusion
To reassemble your device, follow these instructions in reverse order.


