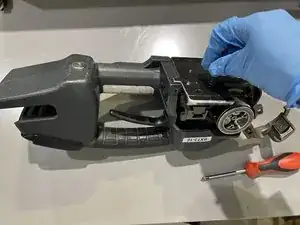
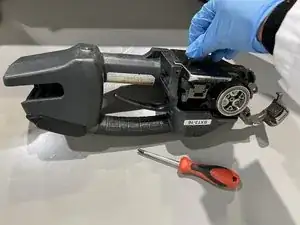
Introduction
The spring within a Signode BXT3-16 Strapping Combo Tool, plays a critical role in its functionality, providing the necessary tension and recoil for effective strapping operations. Over time, due to wear and tear or prolonged usage, the spring may lose its elasticity or strength, compromising the performance of the tool. In such cases, it becomes essential to replace the spring to ensure the optimal functioning of the strapping gun.
Changing the spring of a Signode strapping tool is a relatively straightforward process, but requires careful attention to detail and adherence to safety protocols. In this guide, we will outline the step-by-step procedure for replacing the spring, to maintain the efficiency and reliability of your strapping equipment.
By following the instructions provided in this guide, you will be able to effectively replace the spring of your Signode strapping tool, prolonging its lifespan and optimizing its performance for various strapping applications.
Tools
-
-
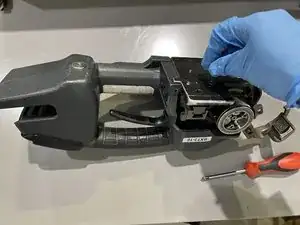
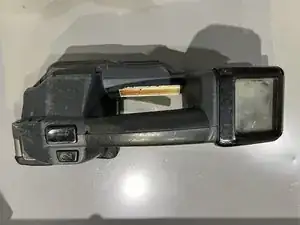
Turn the strapping gun upside down.
-
Place it on a flat surface to keep the strapping gun stable during repair.
-
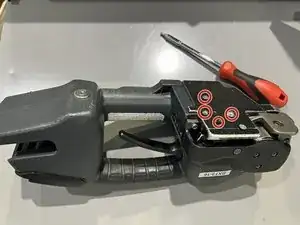
There are four Torx T4 screws on the bottom of the tool.
-
-
-
Use the Torx T4 screwdriver to remove the four 25 mm screws from the base plate.
-
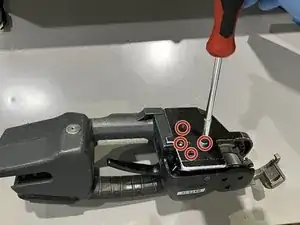
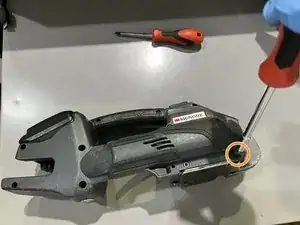
Remove the single 25 mm Torx T4 screw from the front side of the strapping gun.
-
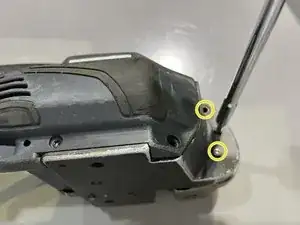
Use a Torx T4 screwdriver to remove the two 25 mm screws on the front of the tool.
-
-
-
Rotate the strapping gun to the opposite side.
-
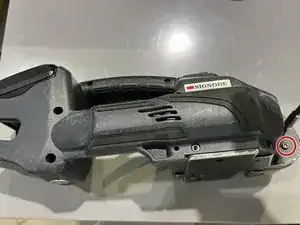
Use the Torx T4 screwdriver to remove the remaining 25 mm screws from the front of the strapping gun.
-
-
-
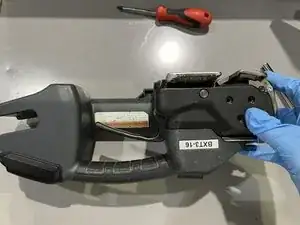
Rotate the strapping tool to the original position, with the model number and name facing you.
-
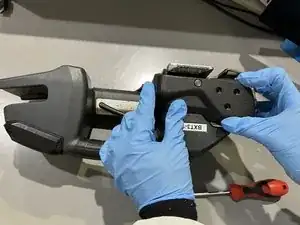
Firmly pull the guard plate and the tool apart using both hands.
-
-
-
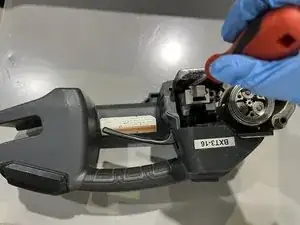
Use a metal spudger to lift the cutter.
-
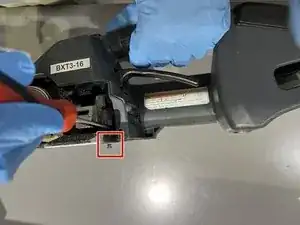
Gently, push the spring out from the bottom of the base of the strapping gun.
-
-
-
Rotate the machine to remove the spring gently by hand.
-
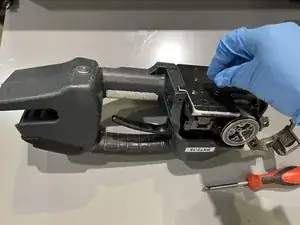
Remove the spring from the base of the strapping tool.
-
Replace with new spring by inserting it the same way it was removed.
-
To reassemble your device, follow these instructions in reverse order.
