Introduction
If your vacuum will not turn on and the power cable/connector is faulty, use this guide to replace the power cable/connector. You will need wire strippers, wire end caps, and the T10 and T20 Torx Screwdrivers. Reassembly requires rewiring.
Tools
-
-
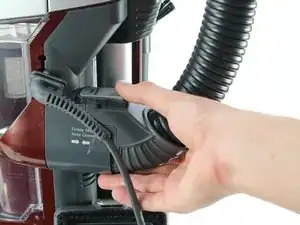
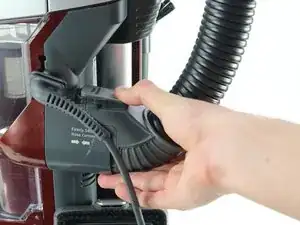
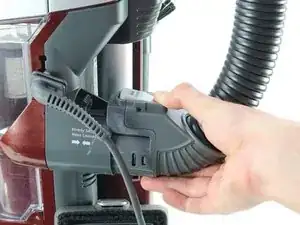
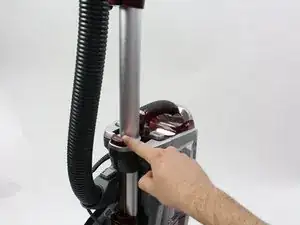
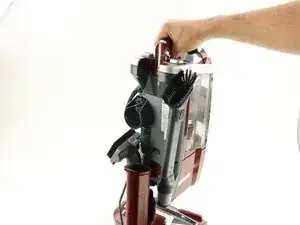
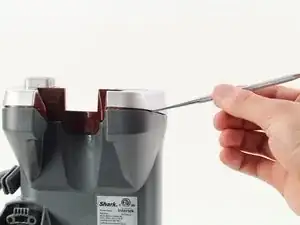
Press the Lift Away button and pull up on the handle to separate the top of the vacuum from the bottom.
-
-
-
Use the T20 screwdriver to remove the two 12 mm screws by turning counterclockwise.
-
Use the T20 screwdriver to remove the two 17 mm screws by turning counterclockwise.
-
Use the T20 screwdriver to remove the two 14 mm screws by turning counterclockwise.
-
-
-
Use the T20 screwdriver to remove the three 15 mm screws by turning counterclockwise.
-
Use the T10 screwdriver to remove the one 17 mm screw by turning counterclockwise.
-
-
-
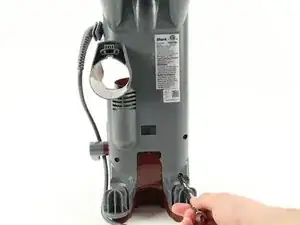
Use the T20 screwdriver to remove the four 14 mm screws from the bottom of the vacuum by turning counterclockwise.
-
-
-
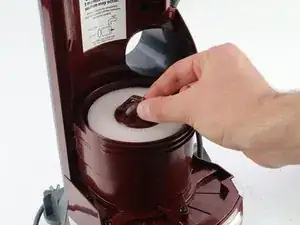
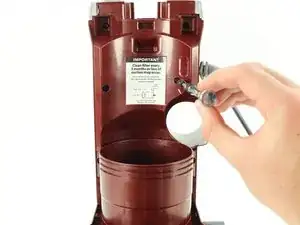
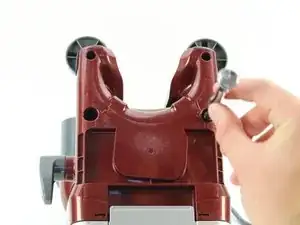
On the white cap holding the wire, use the T20 screwdriver to remove the two 12 mm screws by turning counter-clockwise .
-
Remove the white cap by pulling it off the device.
-
To reassemble your device, you must rewire a new power cord, then follow these instructions in reverse order.
2 comments
Very well done. You need a few stars,/.
Where to buy replacement power cord? Looks like it needs 120V, 60 Hz, 1150W, 9.5 A, but when I search for those parameters nothing comes up. Best way to search for replacement?

