Introduction

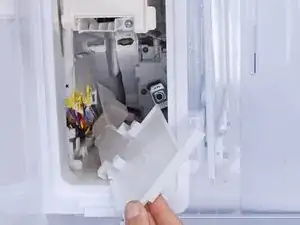
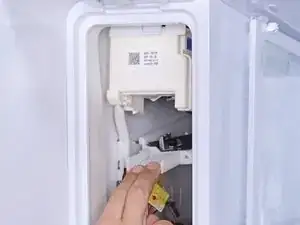
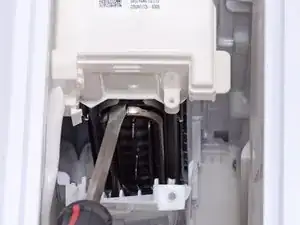
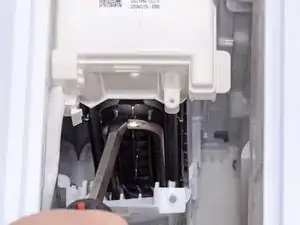
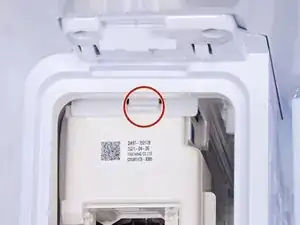
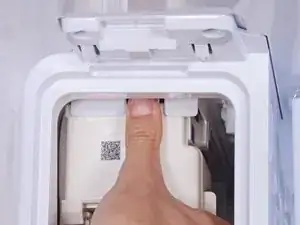
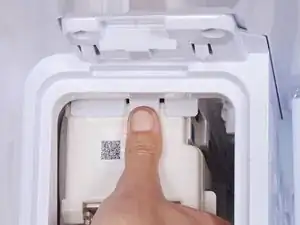
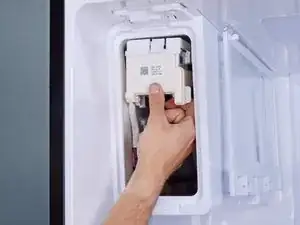
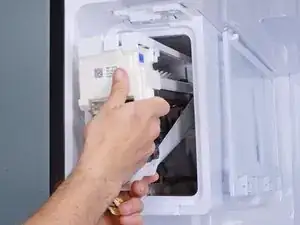
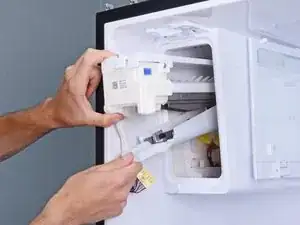
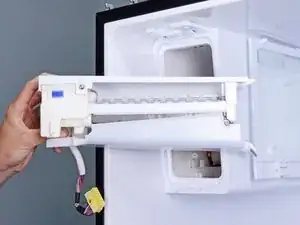
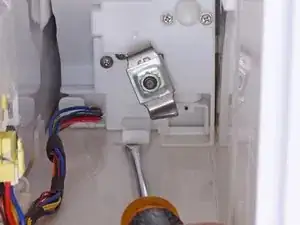
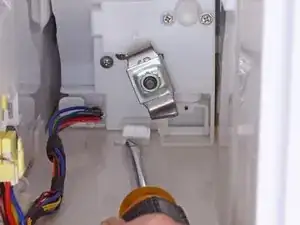
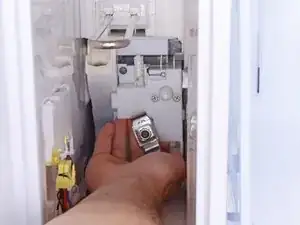
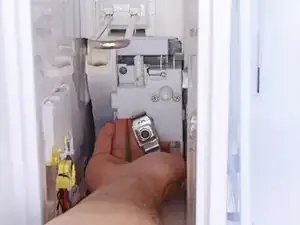
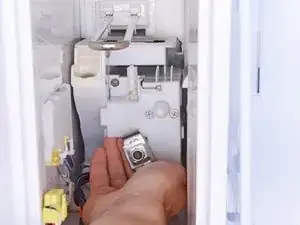
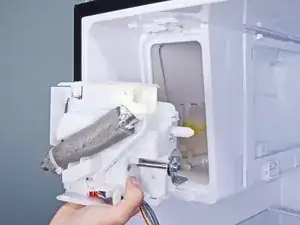
This guide shows how to remove and replace the icemaker auger assembly in your Samsung refrigerator.

The auger assembly fills the icemaker with water and spins the auger to push ice to the door dispenser. The assembly consists of a motor, ice flap solenoid, water tube heating element, and thermistor. If you try to dispense ice and don't hear a motor whirring, you may need to replace the auger assembly.

This guide will work for most Samsung Refrigerators. This guide is based on a model RF28R7201SG Refrigerator. If you have a different model, you may encounter some minor disassembly differences, but the overall repair process will be the same.

  1. SaOfLbkeAxgmho5g
    • Unplug your refrigerator before you begin your repair.

  2. O2XGt1FbR2wqssVR
    O2XGt1FbR2wqssVR
    L5gfkBAXIADyme3l
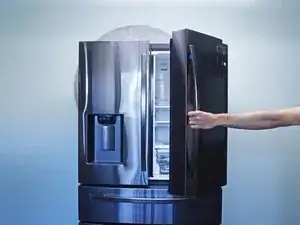
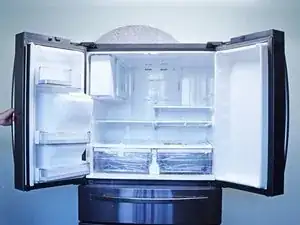
    • Open both French doors for the refrigerator compartment.

  3. h51KUOJbMtGZIS2t
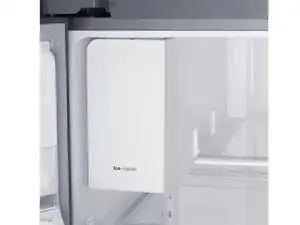
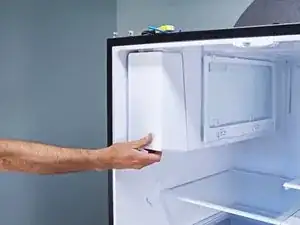
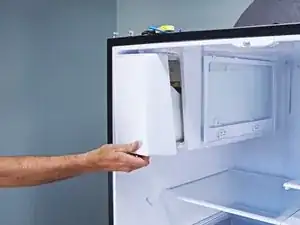
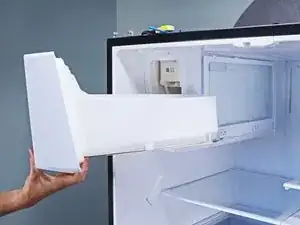
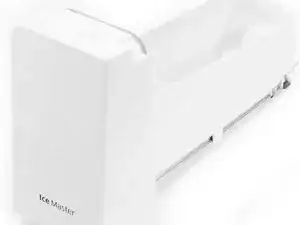
    • The ice bucket should be located in the upper left side of your refrigerator. It may have "Ice Master" or "Ice Max" on the outside.

  4. QJYFIJGPbSWp65I4
    QJYFIJGPbSWp65I4
    1XSKkILfNa5EmXVh
    C3cjHiSN5IHGiEI4
  5. 65rwvI1tU3HRa2IY
    • Check for cracks or fractures in the ice bucket and auger assembly. Replace the bucket as needed.

    • Check the gasket around the edge of the bucket. If the gasket's ripped, cracked, rolled or has become too rigid, the bucket won't seal properly and cause condensation to seep in and freeze.

  6. K3ZNtbJIHWnFKXBK
    K3ZNtbJIHWnFKXBK
    hu2kWiFjIIKoFICI
    • Remove the wire harness screw securing the cable cover panel.

  7. Aw4wk1nhLK53bKZ2
    Aw4wk1nhLK53bKZ2
    waaKxuJVySi4m14P
    H43QD252wrFbkihU
    • Use your fingers to slide the cable cover panel towards the front of the refrigerator to unlatch it.

    • Remove the cable cover panel.

    • During reassembly, make sure this panel clips fully in place, or the ice tray won't slide in properly.

  8. vpcQRGGmfx1v2LY3
    vpcQRGGmfx1v2LY3
    fVbahqxSXGwZMTZA
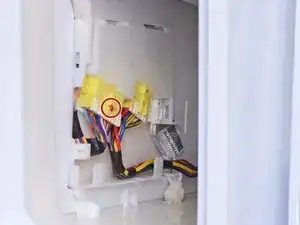
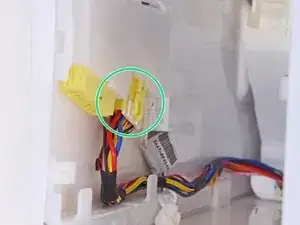
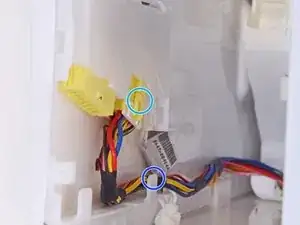
    • The exact configuration of the connectors may vary on your refrigerator.

    • Disconnect the left-most yellow connector:

    • Squeeze the locking tab with your fingers.

    • Rock the connector gently side to side to disconnect it.

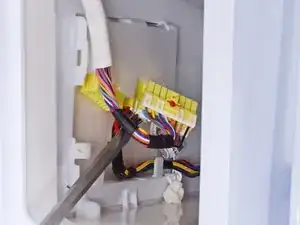
    • Use your fingers or a screwdriver to guide the wire harness out of the wall clips.

  9. lf2DuKSmKmda4yla
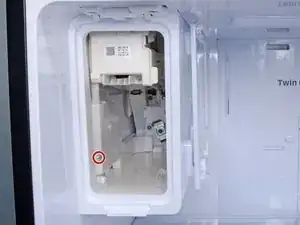
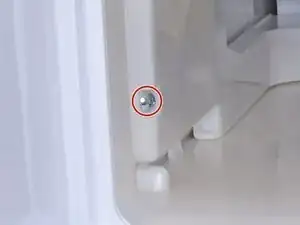
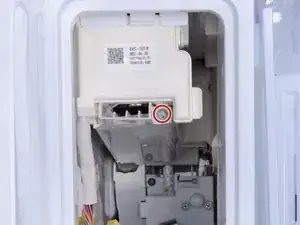
    • Remove the ice maker screw securing the air tunnel flap.

    My unit does NOT have a screw in the front as shown in STEP 9 ???

    TOM PETERS -

  10. jNFMfGWETUK6R2XH
    jNFMfGWETUK6R2XH
    EHUiUmrljUnqtuOL
    oRcwGNanA3M1HdAB
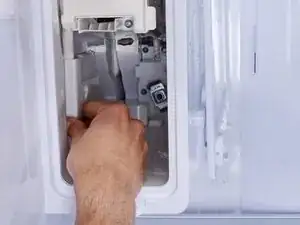
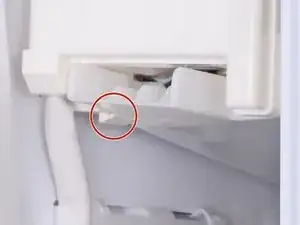
    • A plastic clip holds the air tunnel flap in place.

    • Use a flathead screwdriver to pry and loosen the air tunnel flap from the plastic clip.

  11. roPDMwQOR4HgMOEU
    roPDMwQOR4HgMOEU
    5G5eew3rhTUmUgTM
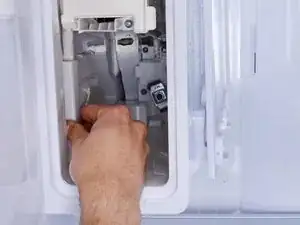
    • Use your fingers to pull the air tunnel flap down enough to access the internals.

  12. ZThDCqe1VrBUA5TO
    ZThDCqe1VrBUA5TO
    SUxRROpgOUJ352GS
    • Use a flathead screwdriver to gently pry the refrigerant loop down by 1–1.5 cm.

    • During reassembly, use your fingers to push the refrigerant loop back up.

  13. fcTFy2rTKGkhk6Cm
    fcTFy2rTKGkhk6Cm
    kLElTf6PPFqmCuFY
    3ixGQ2Yba5CoSJyT
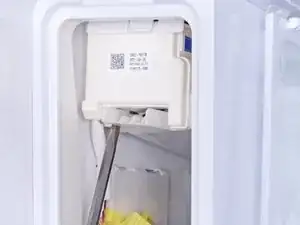
    • A plastic clip holds the icemaker in place.

    • Use your fingers to press and release the plastic clip.

    • This clip is stiff and may require substantial force.

  14. edrCsJvYndkZnCig
    edrCsJvYndkZnCig
    1HNFhD1MmGuQGRFa
    • Pull the front edge of the icemaker assembly down slightly to loosen it.

    • Be careful not to bend the refrigerant loop too much as you pull the front edge, or you'll damage the loop.

    • Carefully slide the icemaker assembly out of its housing.

  15. suK1J6thmm43j2uR
    suK1J6thmm43j2uR
    tPujYRQEhA16OFW6
  16. a1hOtEmcACvg4dR1
    a1hOtEmcACvg4dR1
    ZXIKfNghcjUVAbLB
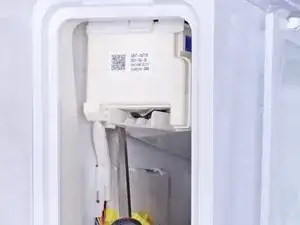
    • Disconnect the auger wiring connector:

    • Squeeze the locking tab with your fingers

    • Rock the connector side to side to loosen and disconnect it

    • Guide the wiring harness out of the retaining tabs.

    • During reassembly, make sure to re-route the wiring harness back into the retaining tabs. Otherwise, you won't be able to click the cable cover in place.

  17. xSEPmSqbIFBNOM1q
    xSEPmSqbIFBNOM1q
    yMIU5dsTt6d31XNq
    J2QCPNPNRLgfZPWd
    • A stiff plastic clip holds the auger assembly in place.

    • While lifting the clip with a flathead screwdriver, pull the metal head of the auger assembly to separate it from the chassis.

    • This will prevent the clip from locking back in place.

  18. DiSrlwjDUbw1VVBp
    DiSrlwjDUbw1VVBp
    abATbYxpF1Qo65d3
    Um1UWuOBImerKQ33
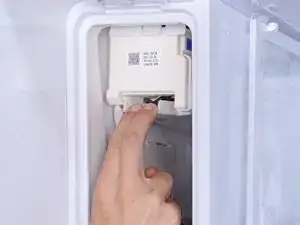
    • Slide the auger assembly out of the refrigerator and remove it.

Conclusion

To reassemble your device, follow these instructions in reverse order.

Take your e-waste to an R2 or e-Stewards certified recycler.

Repair didn’t go as planned? Ask our Answers Community for help.

nicO

Member since: 14/04/15

15927 Reputation

One comment

GOOD MORNING NICO! My Samsung Refrigerator is a unit built in about 2012. In STEP 9, you show a screw that needs removal to slide out the air tunnel. It appears that my model is a one - piece design. It does NOT have the screw. Any ideas how to proceed?

TOM
TOM PETERS -