Introduction

Wi-Fi card replacement may be done when the Wi-Fi card is suspected to be damaged. Take a look at the troubleshooting page before starting this guide to review the typical issues.

  1. 65VfDSePIAcitWSe
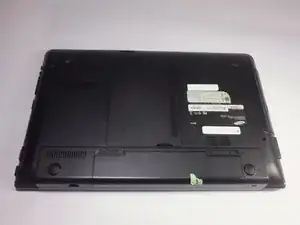
    • Place the laptop upside down.

  2. QbwXQvpuIqqYMGbh
    QbwXQvpuIqqYMGbh
    uI2nKPhlUHUyCkFX
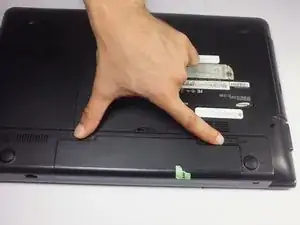
    • Locate two notches above the battery.

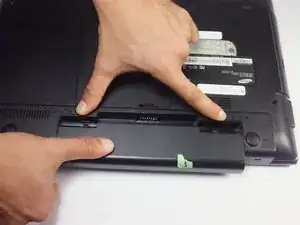
    • Slide both battery locking notches to either side to remove the battery.

    • Pull the battery out.

  3. Fb5INvqBCRvZMnD2
    Fb5INvqBCRvZMnD2
    aHhoM1ljugsTULEA
    LvwdeZxlp1xdHpxc
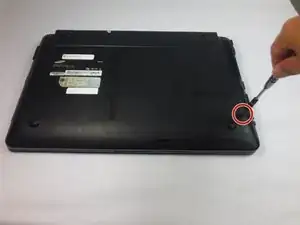
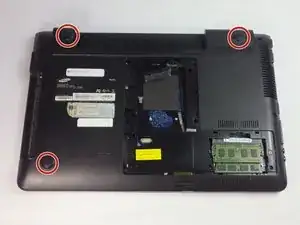
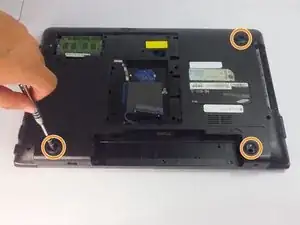
    • Using the Phillips #0 screwdriver, unscrew the one 5mm screw.

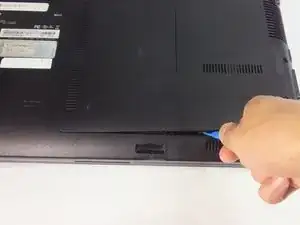
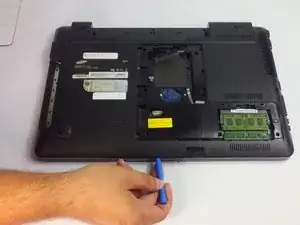
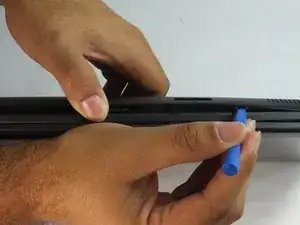
    • Using the blue plastic opening tools, wedge one in between the back panel and the laptop.

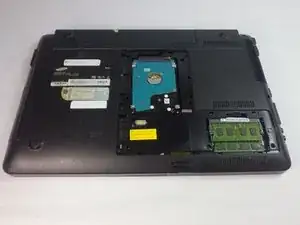
    • Carefully remove the back panel..

  4. uNqwSxaCxGJyYyZU
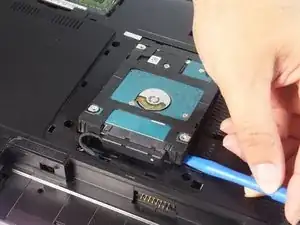
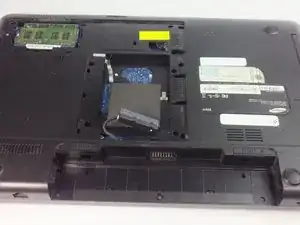
    • Carefully lift the HDD up using plastic opening tool.

  5. ytgSAVYSZhHsif2i
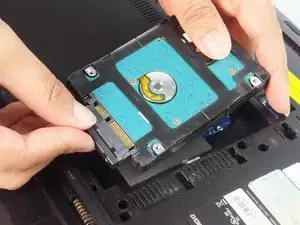
    • Grab the HDD and connector.

    • Carefully pull the HDD away from the connector.

  6. H1Mql1fHM6GwMXya
    • Take out the HDD and leave the connector in the laptop

  7. qQtFPjD4SZRIjVr6
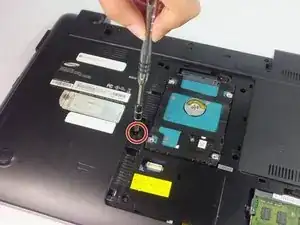
    • Remove the 4mm Phillips #0 screw using a Phillips #0 screwdriver.

  8. LvMoe1pvRPjKM2As
    LvMoe1pvRPjKM2As
    xuYFDSMvpCSpGNNK
    2ayXKhRXmLLEVJAl
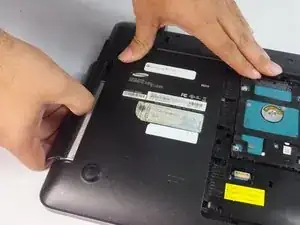
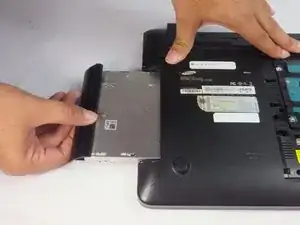
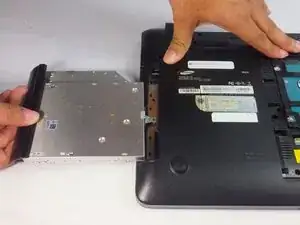
    • Use the spudger or fingers to gently pull the optical drive out.

    • Slide the optic drive away from the laptop.

  9. NxFODCVJojVeObIw
    NxFODCVJojVeObIw
    sdbMDLVq61fKtKYX
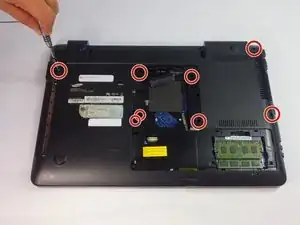
    • Remove the eight 5mm Phillips #0 screws using a Phillips #0 driver.

    • Also remove the three 5mm Phillips #0 using a Phillips #0 driver.

  10. GIPVmwTDWTooOIQh
    GIPVmwTDWTooOIQh
    WfukeoMKjcWfaxWY
    vMHfGgIqvJfXisfl
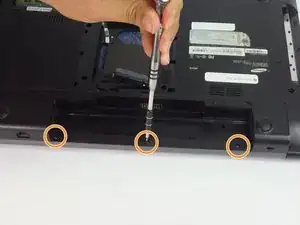
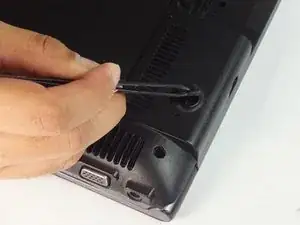
    • Remove three bottom dark covers using tweezers.

    • Remove three 10mm Phillips #0 screws using Phillips #0 driver.

  11. NfQVFcxqShGUZMeL
    NfQVFcxqShGUZMeL
    nTjKTldkYgtM5sUL
    • Insert a plastic opening tool into the back cover and the housing of the body.

    • Use the plastic opening tool to pop open the clamps that hold the casing onto the back cover.

    • Work your way around the all sides to completely take off the back cover.

    • You may use your fingers to help remove the cover.

    • Carefully lift the back cover. Do not use excessive force to lift it. If it feels like it will not pull up, make sure all the screws have been taken out.

  12. HJlSHF4Wk1hkvKxK
    HJlSHF4Wk1hkvKxK
    5voGItvQWeAF6tFr
    jBdxceRkF4Tndh3H
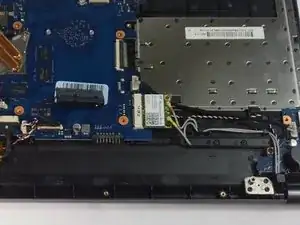
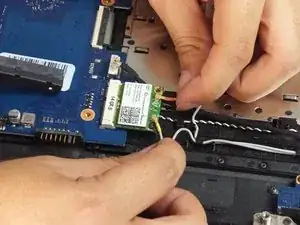
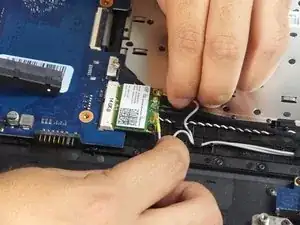
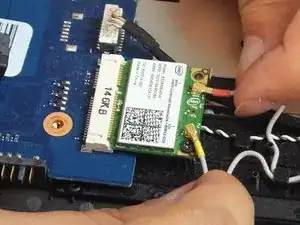
    • Gently lift the connectors from the Wi-Fi card.

  13. pKfQAEZdZiHmurIj
    pKfQAEZdZiHmurIj
    mpMnLUBtphOfgbDR
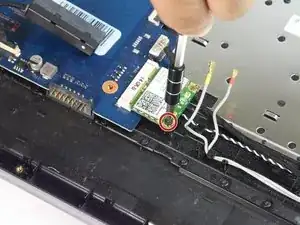
    • Remove one 5mm Phillips #0 screw using a Phillips #0 driver.

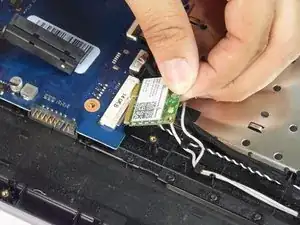
    • The Wi-Fi card will rise up itself after removing the Phillips #0 screw. Pull it out away from the slot.

Conclusion

To reassemble your device, follow these instructions in reverse order.
jando

Member since: 15/09/16

917 Reputation

0 comments