Introduction
Optic drive replacement may need to be done when the drive is damaged.
Tools
-
-
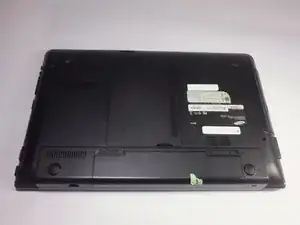
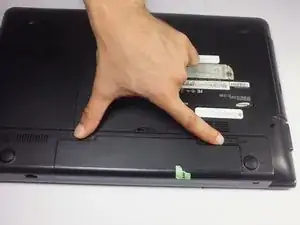
Locate two notches above the battery.
-
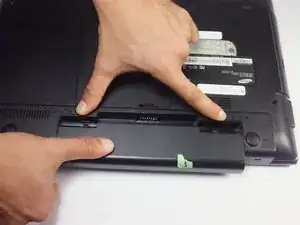
Slide both battery locking notches to either side to remove the battery.
-
Pull the battery out.
-
-
-
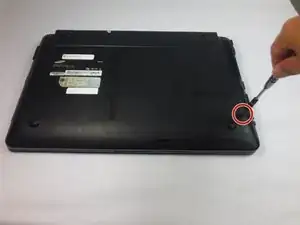
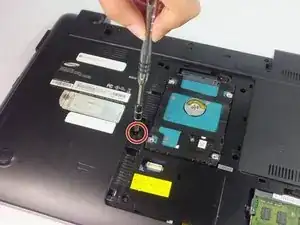
Using the Phillips #0 screwdriver, unscrew the one 5mm screw.
-
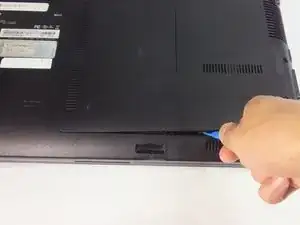
Using the blue plastic opening tools, wedge one in between the back panel and the laptop.
-
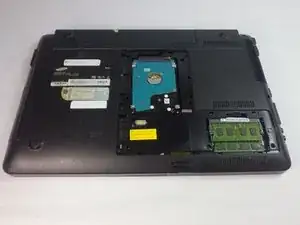
Carefully remove the back panel..
-
-
-
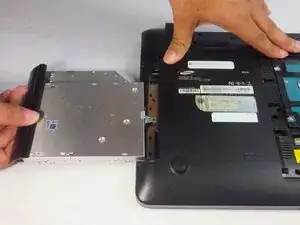
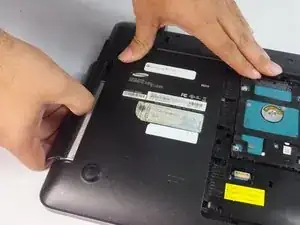
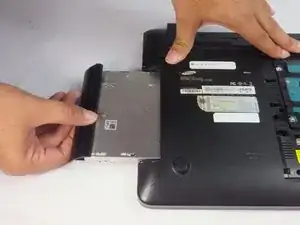
Use the spudger or fingers to gently pull the optical drive out.
-
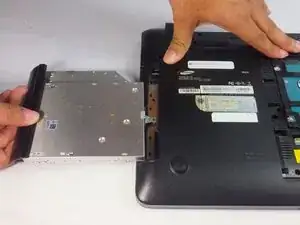
Slide the optic drive away from the laptop.
-
Conclusion
To reassemble your device, follow these instructions in reverse order.
