Introduction
-
-
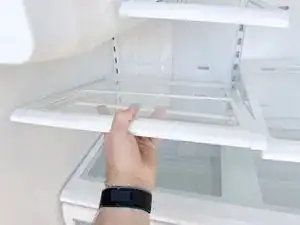
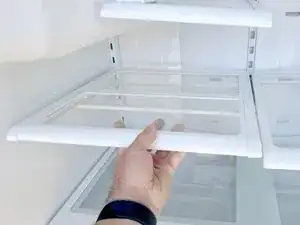
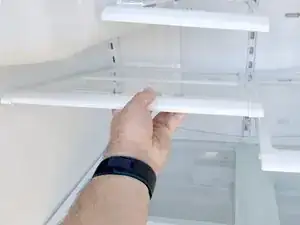
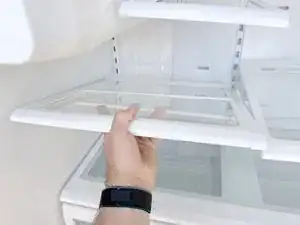
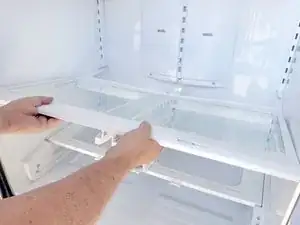
Lift the front edge of the shelf to release it from the shelf mounts.
-
Lift the whole shelf and bring it toward the front of the refrigerator.
-
-
-
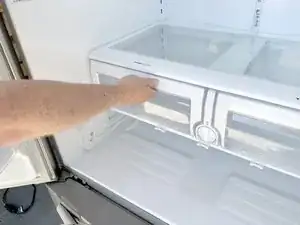
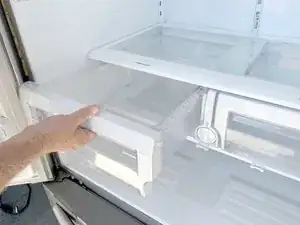
Pull out the crisper drawers to the stop.
-
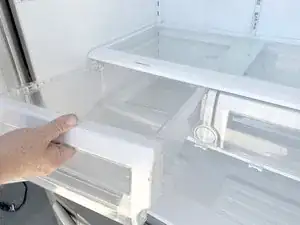
Lift the front edge of the drawer and pull it the rest of the way out.
-
-
-
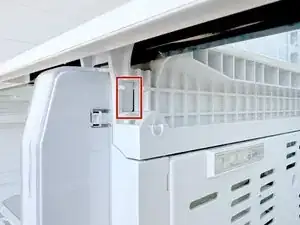
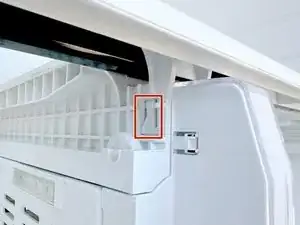
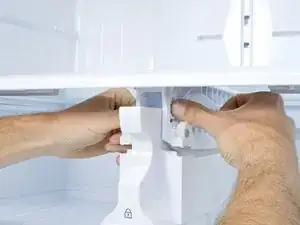
Unlock the lower shelf by pressing in the locking tabs located on each side of the shelf right next to the crisper drawer wheels.
-
-
-
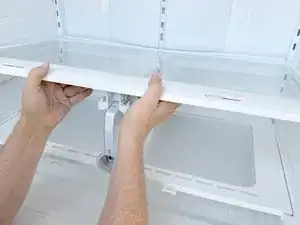
Use both hands to lift the front of the shelf up.
-
Pull the shelf towards you once it is lifted up enough to clear the retainers at the side shelf supports.
-
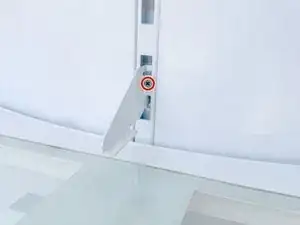
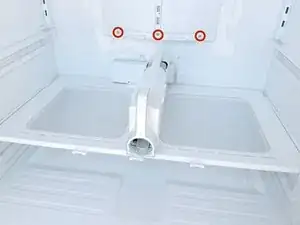
You should now be able to see some of the screws which hold the rear panel in place.
-
Conclusion
To reassemble your device, follow these instructions in reverse order.
