Introduction
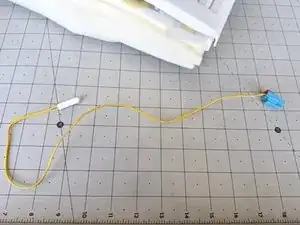
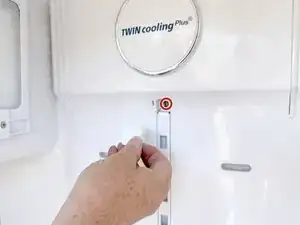
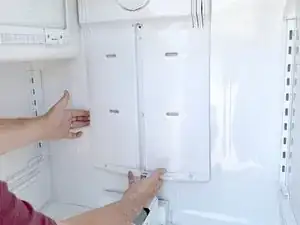
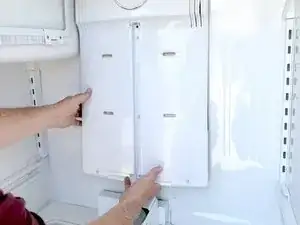
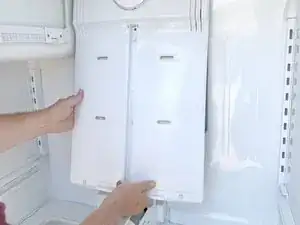
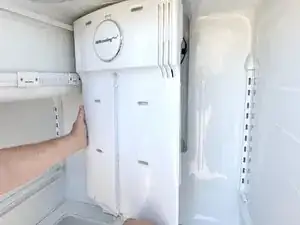
Use this guide to replace your Samsung French door refrigerator's fresh food compartment thermistor.
This thermistor provides temperature data to the main control board. The board monitors its resistance, which varies with temperature.
If the thermistor fails, the refrigerator will not function correctly. It will generally not be able to maintain the correct temperature in the fresh food compartment. Depending on the fault (short or open circuit), it may cease functioning altogether. If the failure is either an open or a short circuit, it may flash error codes..
This guide was created using a Samsung model RFG298HDRS French door refrigerator. Other older Samsung French door units with dual evaporators should be similar.
Tools
-
-
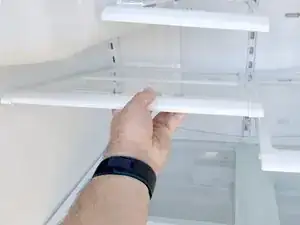
Lift the front edge of the shelf to release it from the shelf mounts.
-
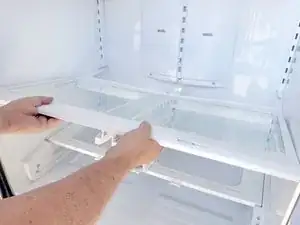
Lift the whole shelf and bring it toward the front of the refrigerator.
-
-
-
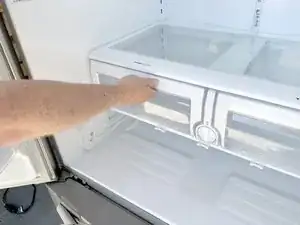
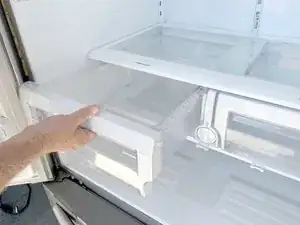
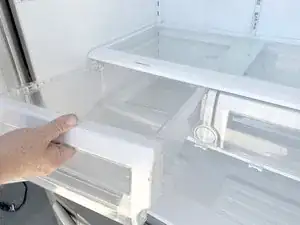
Pull out the crisper drawers to the stop.
-
Lift the front edge of the drawer and pull it the rest of the way out.
-
-
-
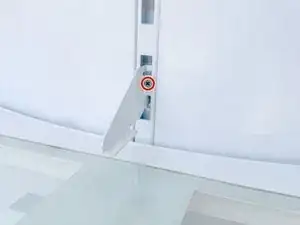
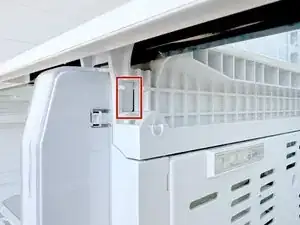
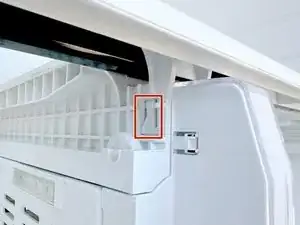
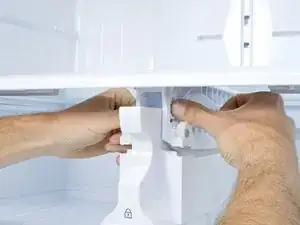
Unlock the lower shelf by pressing in the locking tabs located on each side of the shelf right next to the crisper drawer wheels.
-
-
-
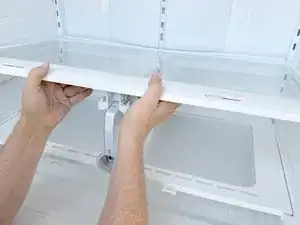
Use both hands to lift the front of the shelf up.
-
Pull the shelf towards you once it is lifted up enough to clear the retainers at the side shelf supports.
-
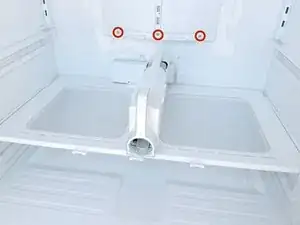
You should now be able to see some of the screws which hold the rear panel in place.
-
-
-
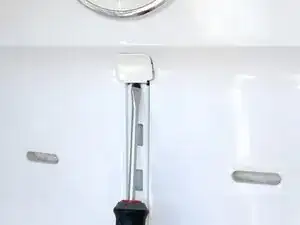
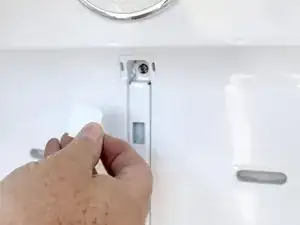
Use a screwdriver or spudger to insert into the bottom of the screw cover, then pry upward to loosen and remove it.. Remove the cover and set it aside.
-
-
-
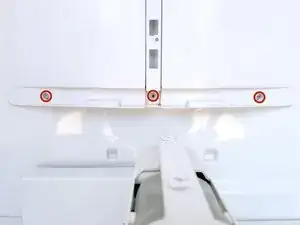
Use a #2 Phillips driver to remove the screws securing the evaporator cover to the rear wall of the fresh food compartment.
-
-
-
Once the lower edge is free pull the right edge free.
-
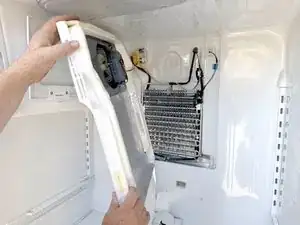
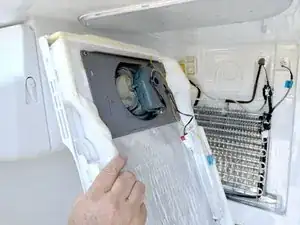
Rotate the evaporator cover so it faces the left side of the fresh food compartment.
-
-
-
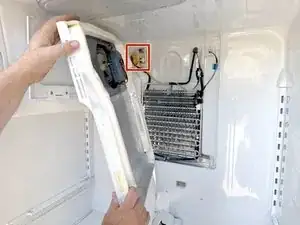
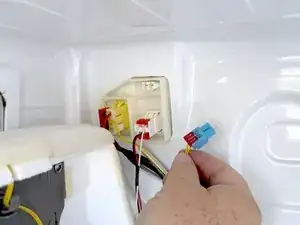
Access the connectors on the left rear wall of the fresh food compartment.
-
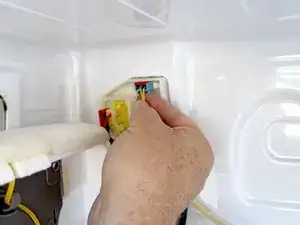
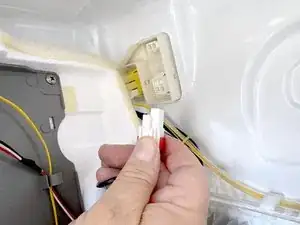
Disconnect the wires that lead to the evaporator cover, by squeezing the locking tab on each connector and pulling the connector toward you.
-
-
-
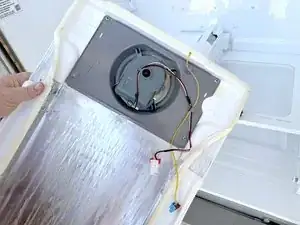
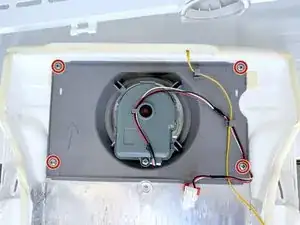
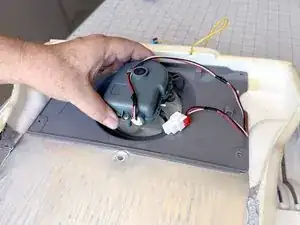
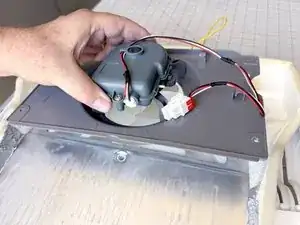
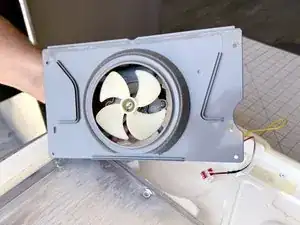
Use a #2 Phillips driver to remove the screws securing the fresh food evaporator fan assembly to the evaporator cover.
-
-
-
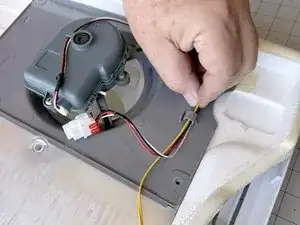
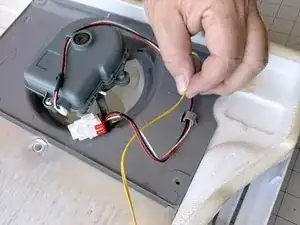
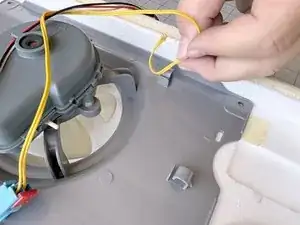
Unclip the thermistor wires and the wires to the evaporator fan from the evaporator fan assembly.
-
-
-
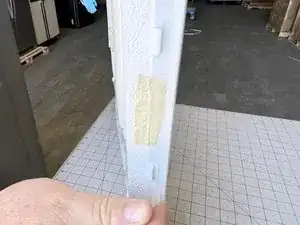
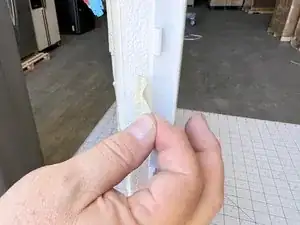
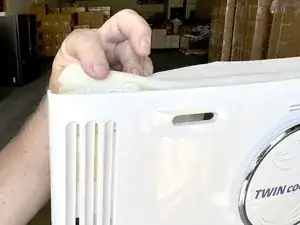
Use your fingers to peel the sticky foam insulation back at the top edge.
-
Lift the top edge of the plastic shell.
-
-
-
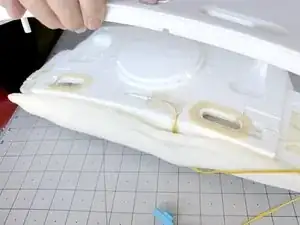
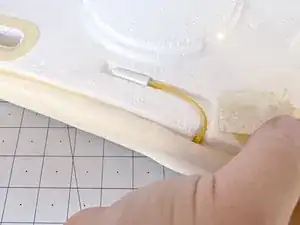
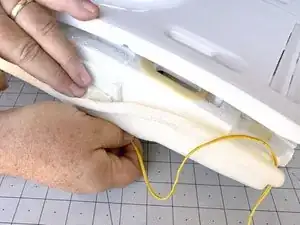
Peel back the sticky foam insulation to further expose the channel for the thermistor leads. This is usually near the center of the evaporator cover.
-
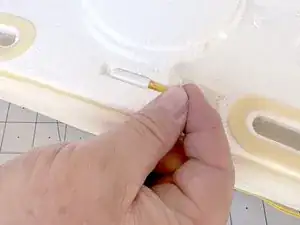
Lift the thermistor free of its holder with your fingertips. You can use the leads gently to move it.
-
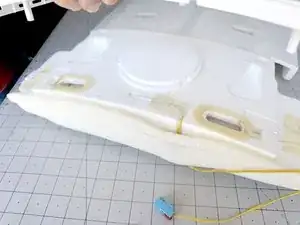
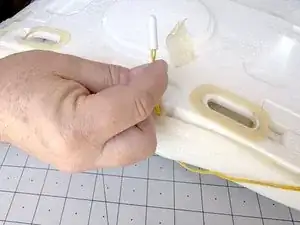
Peel back the sticky foam further, and free the thermistor leads from the channel.
-
-
-
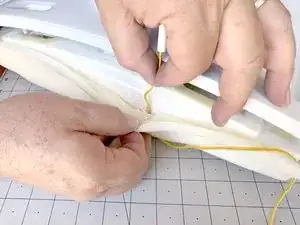
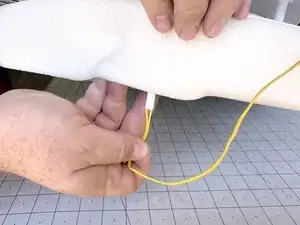
Thread the thermistor leads under the sticky foam insulation along with the thermistor.
-
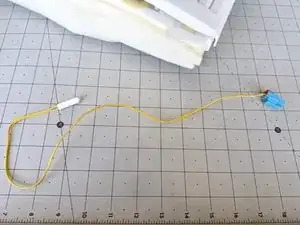
Remove the thermistor completely.
-
To reassemble your device, follow these instructions in reverse order.
Take your e-waste to an R2 or e-Stewards certified recycler.
Repair didn’t go as planned? Ask our Answers Community for help.
