Introduction

  1. Tr1G4udrMFCFw1Ch
    Tr1G4udrMFCFw1Ch
    VtI5DgVO3ljStG5b
    KKDfsIXuysyWHvNH
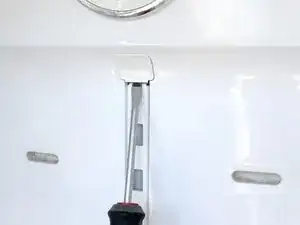
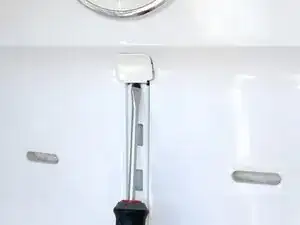
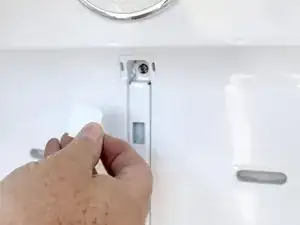
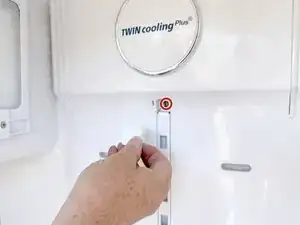
    • Use a screwdriver or spudger to insert into the bottom of the screw cover, then pry upward to loosen and remove it.. Remove the cover and set it aside.

  2. vWduIW3dOcwwP231
    vWduIW3dOcwwP231
    6DcuRVk6qptDj2XT
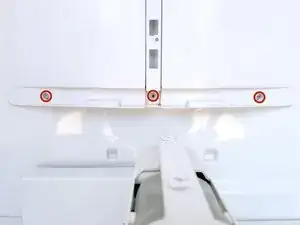
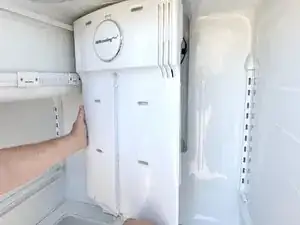
    • Use a #2 Phillips driver to remove the screws securing the evaporator cover to the rear wall of the fresh food compartment.

  3. 2NSvToLItIrH1fQj
    2NSvToLItIrH1fQj
    dgpp2x1loWHDrUhs
    FdVmXMTuLfp6T6DC
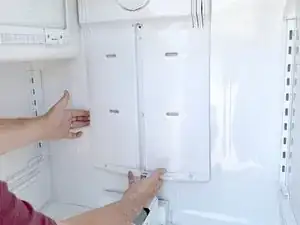
    • Grasp the lower edge of the evaporator cover and pull it forward.

    • Don't force the reposition of the evaporator cover. The cover is mainly foamed plastic, and can be broken if handled carelessly.

    • If it doesn't want to release, check for ice buildup which may show up in the small vents.

  4. aalsqj5vgIMjCk4f
    aalsqj5vgIMjCk4f
    6TypfF4KCqmvI51F
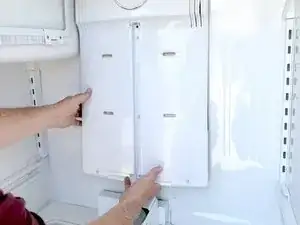
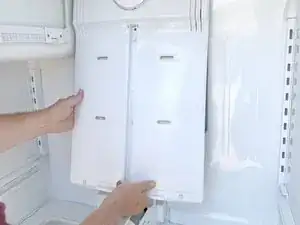
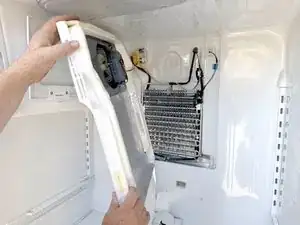
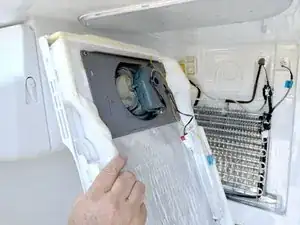
    • Once the lower edge is free pull the right edge free.

    • Rotate the evaporator cover so it faces the left side of the fresh food compartment.

  5. nMclKq4VMWyNKpYV
    nMclKq4VMWyNKpYV
    QaLCMdUATHQR2sSc
    2Sfl33lWCUpNiHOZ
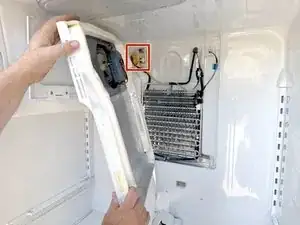
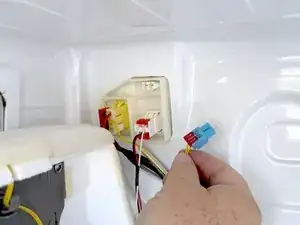
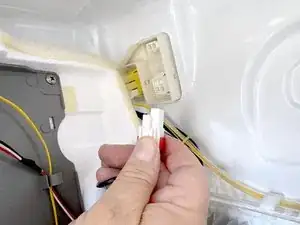
    • Access the connectors on the left rear wall of the fresh food compartment.

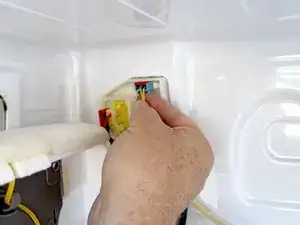
    • Disconnect the wires that lead to the evaporator cover, by squeezing the locking tab on each connector and pulling the connector toward you.

  6. jpX4nnIQ6uiFUFCG
    • Finish disconnecting the evaporator cover.

  7. dgc1stWxlZgEhZcY
    dgc1stWxlZgEhZcY
    YVAXcwePvLmZPtYh
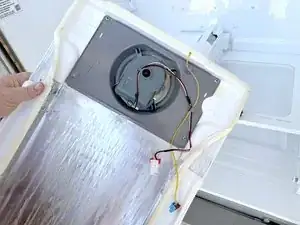
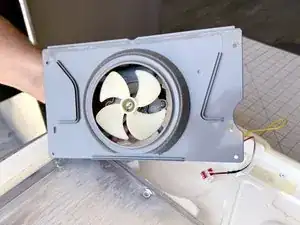
    • Remove the evaporator cover from the fresh food compartment.

  8. XXjYPKIqiKCGlRjB
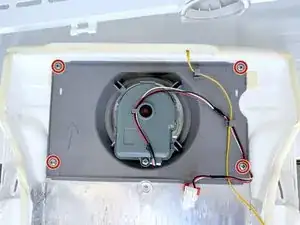
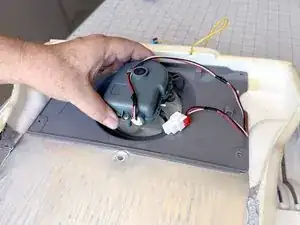
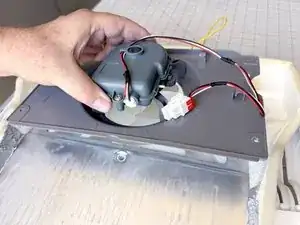
    • Use a #2 Phillips driver to remove the screws securing the fresh food evaporator fan assembly to the evaporator cover.

  9. MZBlwD6msDLNByFC
    MZBlwD6msDLNByFC
    vxVmbHMAe3BPFkLa
    ACMY5KOSIyBk4qsC
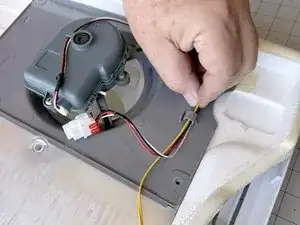
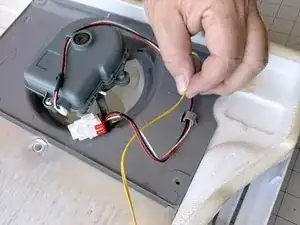
    • Unclip the thermistor wires and the wires to the evaporator fan from the evaporator fan assembly.

  10. QogWNJGSICWMBCQj
    QogWNJGSICWMBCQj
    4WFEc5UY1DxOagk5
    QwrZNWXHdWcbJ1Nf
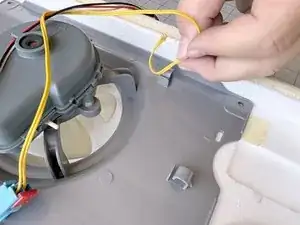
    • Lift the evaporator fan assembly to separate it from the evaporator cover.

Conclusion

To reassemble your device, follow these instructions in reverse order.

Take your e-waste to an R2 or e-Stewards certified recycler.

Repair didn’t go as planned? Ask our Answers Community for help.
Bill Gilbert

Member since: 30/06/22

34697 Reputation

0 comments