Introduction
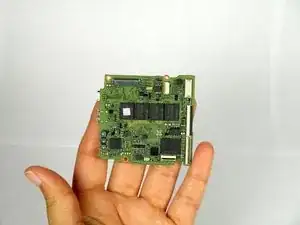
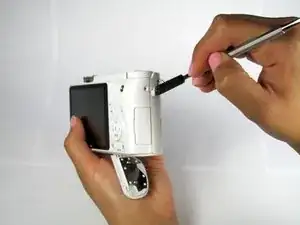
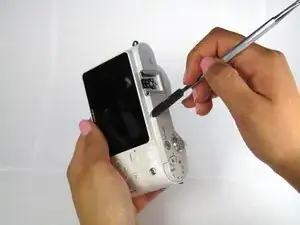
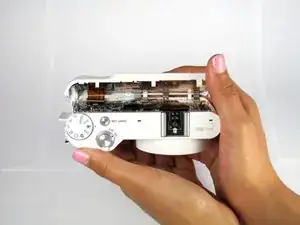
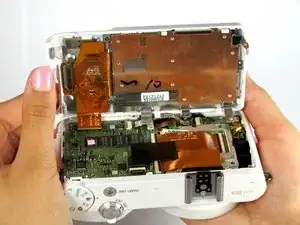
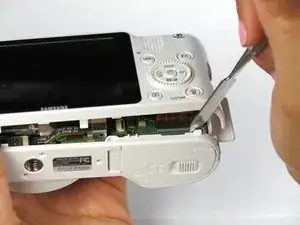
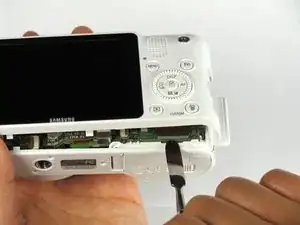
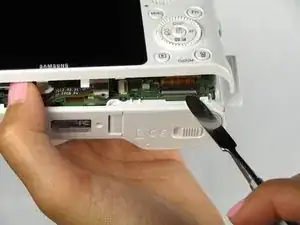
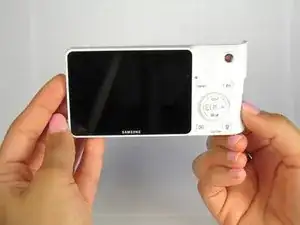
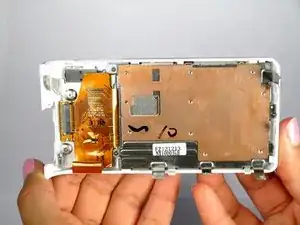
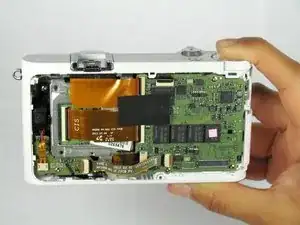
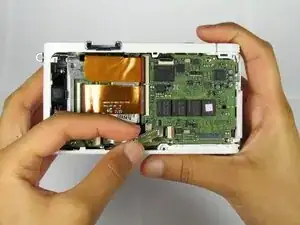
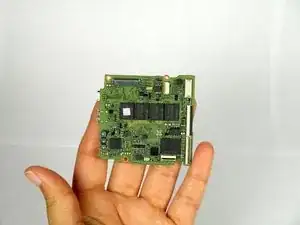
This guide will show you how to replace the motherboard in the camera. Be sure to turn off the camera and remove the battery before you being your replacement.
Tools
-
-
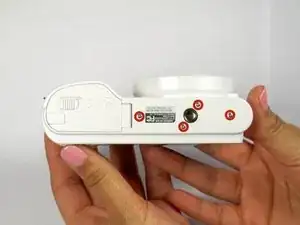
Locate the bottom panel of the camera.
-
Unscrew the four 4.5mm Philips #000 (perpendicular cross) screws with the Philips #000 screwdriver.
-
-
-
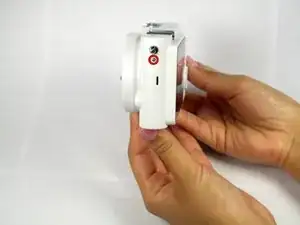
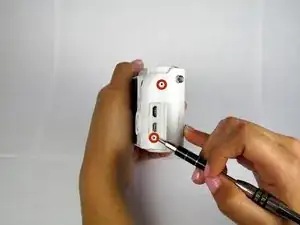
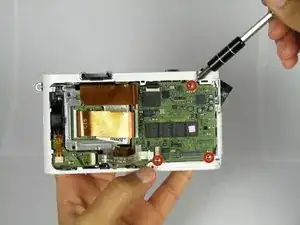
Unscrew the three 4.5mm #000 Philips screws on the sides of the camera using the Philips #000 screwdriver.
-
-
-
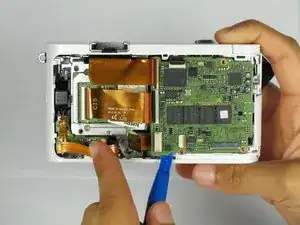
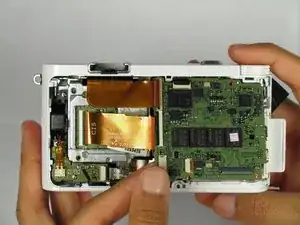
Remove the ribbon by lifting the grey tab on the ZIF connector with the metal spudger.
-
Push the ribbon out of its socket with the plastic opening tool.
-
-
-
Disconnect the bottom ribbon by grasping the ribbon and wiggling it out gently from the connection.
-
-
-
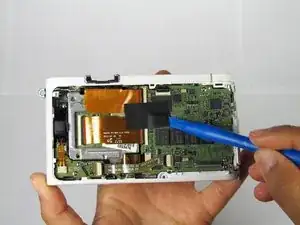
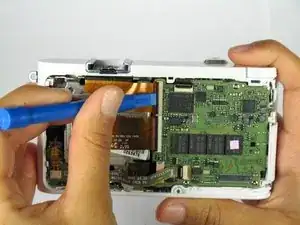
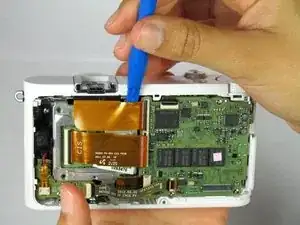
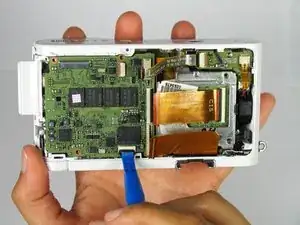
Open the ZIF connector on both of the larger ribbons by lifting the black latch with the plastic opening tool.
-
-
-
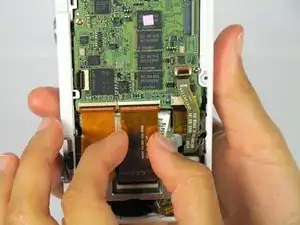
Disconnect the bottom of the larger ribbons by gently wiggling it away from the ZIF connector.
-
-
-
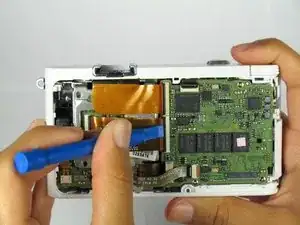
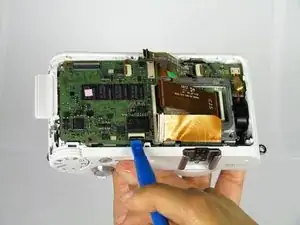
Disconnect the top of the larger ribbons by wiggling it out of the ZIF connector / prying the ribbon out with the plastic opening tool.
-
-
-
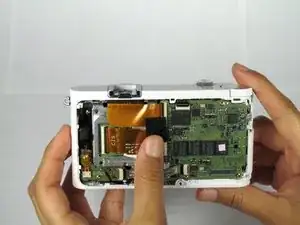
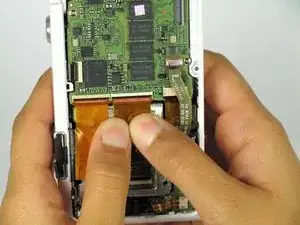
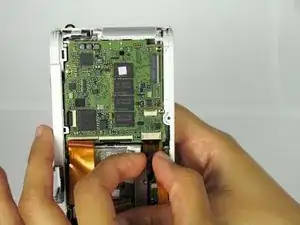
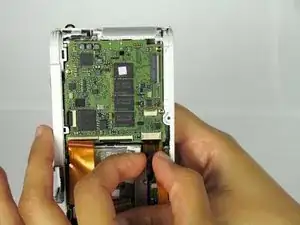
Hold back the ribbons to access the second smaller one at the bottom of the camera.
-
Slowly wiggle the ribbon out of the ZIF connection.
-
-
-
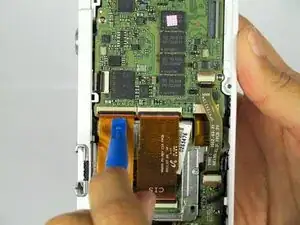
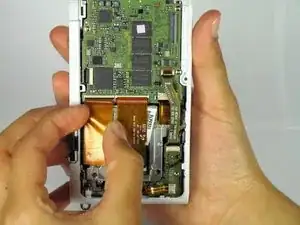
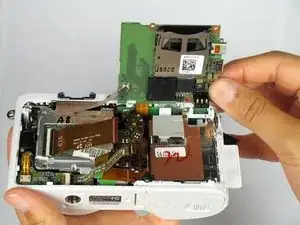
Carefully place the motherboard back down to remove the last ribbon. Lift the black latch up from the ZIF connector of the last ribbon with the plastic opening tool.
-
-
-
Slowly and carefully wiggle the ribbon out of the ZIF connection (Do this by holding the back of the ribbon).
-
To reassemble your device, follow these instructions in reverse order.
One comment
Is NX210 works the same way?
