Introduction
Tools
-
-
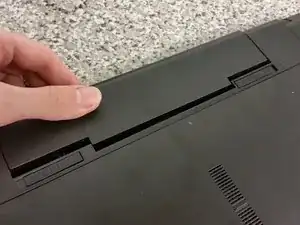
At least this part is easy. Simply push both tabs outwards, away from the center of the laptop, let go, and push/pull the battery out.
-
-
-
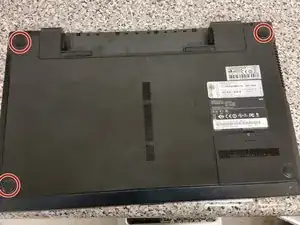
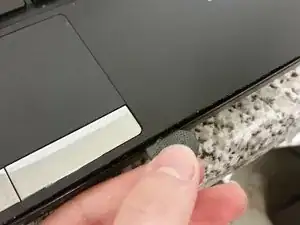
Annoyingly, in many newer laptops, screws are hidden under the rubber feet. This is one of them. Only the circled rubber feet have screws under them, the fourth one does not. Pry them off.
-
-
-
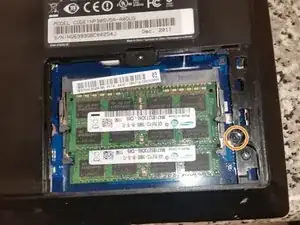
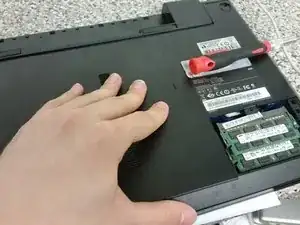
Remove the single screw from the memory door, and pry the door up.
-
Remove the single screw under the memory door.
-
-
-
With the laptop's battery area facing away from you, pull the bottom cover towards you. It will slide towards you.
-
Pull the cover upwards, and it will come off.
-
-
-
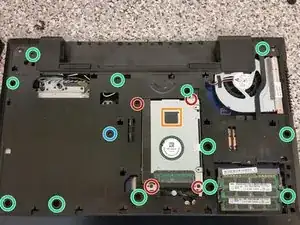
Remove the four Philips screws securing the hard drive.
-
Remove the twelve Philips screws securing the palmrest.
-
Remove the single Philips screw securing the disc drive.
-
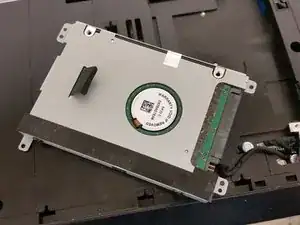
Pull upwards on the caddy's tab.
-
Pull the connector away from the caddy, and set the hard drive aside.
-
-
-
Remove the four heatsink screws surrounding the CPU socket. This is necessary as the heatsink blocks the hinges from being removed.
-
Remove the 7 Philips screws securing the hinges to the palmrest.
-
Turn the hinges away from the palmrest. You may need to use a screwdriver to pry, but be careful if you do!
-
Remove the antenna connectors from the Wi-Fi card.
-
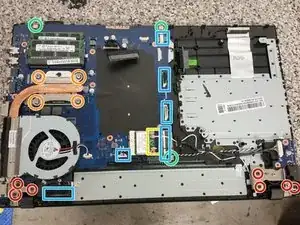
Remove all of the shown connectors. Remove the motherboard screw hidden by the video cable. You'll have to break out the Philips #0 bit for this, if you haven't already.
-
Remove the three remaining motherboard screws.
-
-
-
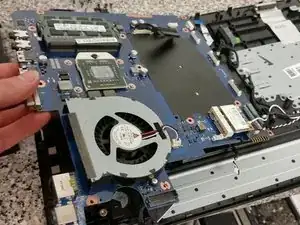
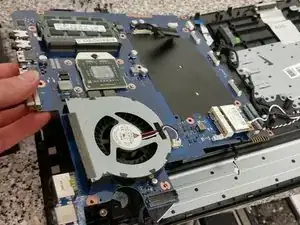
At this point, the motherboard should just lift out. If not, check carefully for cables or screws you may have forgotten to undo.
-
Now you're done! In this laptop's case, the DC jack is the problem, but I'm not going to go over that because there are other howtos on the Internet on DC jack replacement.
-
To reassemble your device, follow these instructions in reverse order.
