Introduction
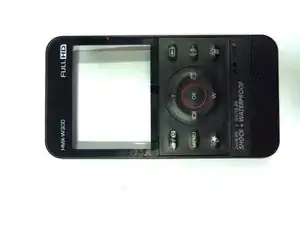
Demonstrates how to replace the rear case of the camera through instructive pictures and words. Replacement of rear case requires the removal of the motherboard and LCD screen.
Tools
-
-
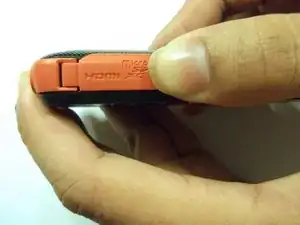
Open the HDMI door on the side of the camera.
-
Remove the single screw using a Phillips #00 screwdriver.
-
-
-
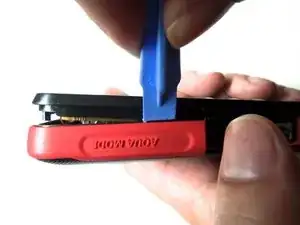
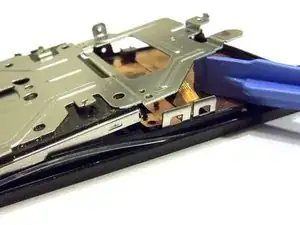
Use the iFixit opening tool on both sides on the device. Pry apart both sections with light force.
-
-
-
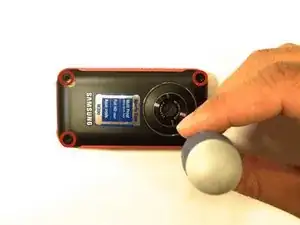
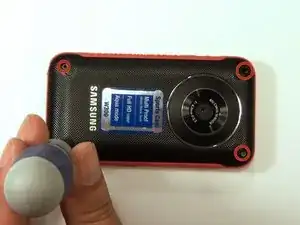
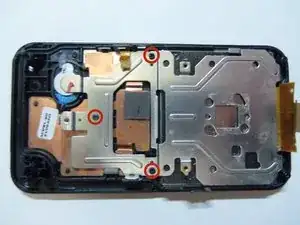
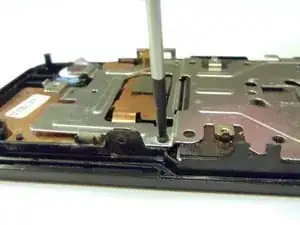
There are 5 Phillips size 00 screws. Remove all 5 screws.
-
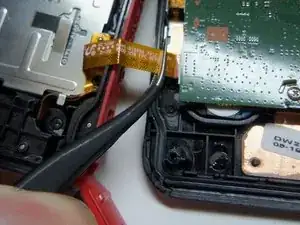
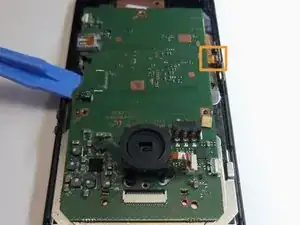
Wire ribbon is attached to the motherboard.
-
-
-
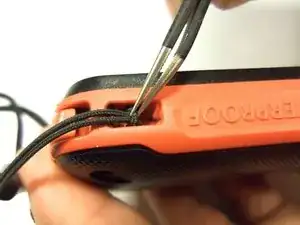
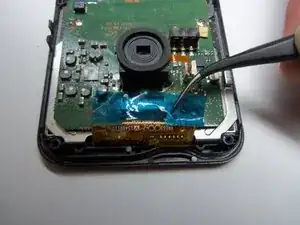
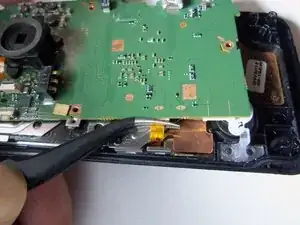
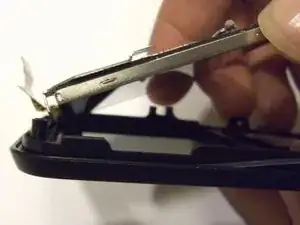
Use tweezers to disconnect the wire as shown. This will loosen the motherboard from the rear case.
-
-
-
Grab the end of the screen, then pull towards the inside of the case. This is a bit tricky. This will release tabs at the top of the screen to the rear case.
-
To reassemble your device, follow these instructions in reverse order.
