Introduction
Tools
Parts
-
-
Start out by separating the screen from the back cover using the larger plastic opening tool to pry them apart.
-
-
-
Once every part of the screen is separated from the back cover, you should be able to fully remove it with your hands.
-
-
-
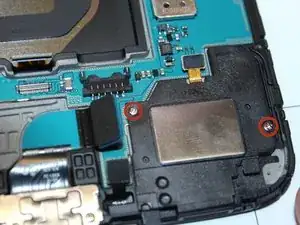
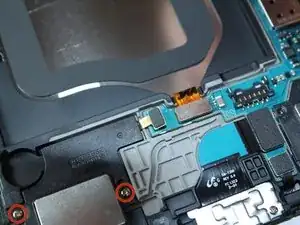
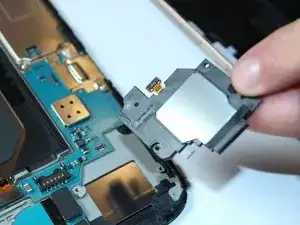
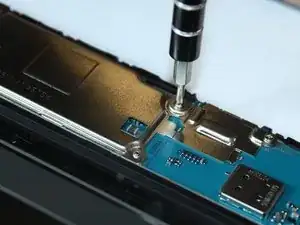
Unscrew the 2.9mm screws from the speakers using a Phillips head #000 screwdriver, then lift the speakers from the device.
-
-
-
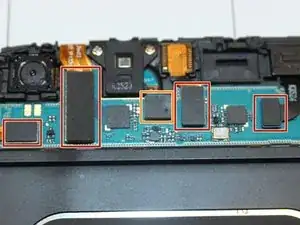
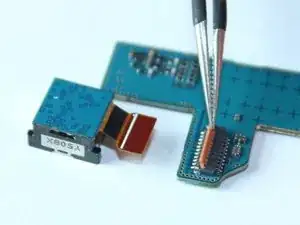
Using the plastic remover tool carefully unseat the four rectangular electric leads from the board. Each rectangle is a different size, the first one is large, the second one is medium, and the last two are small.
-
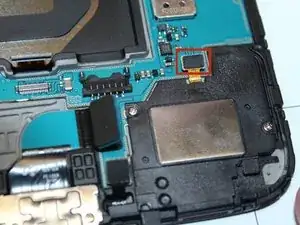
Using the plastic remover tool carefully unseat the square electric lead (marked in orange) from the board.
-
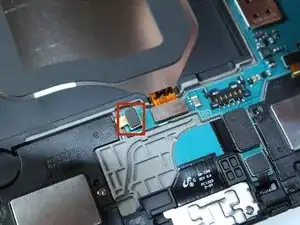
Using the plastic remover tool carefully unseat the small square and the two rectangular electric leads (marked in yellow) from the board.
-
-
-
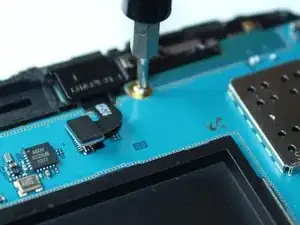
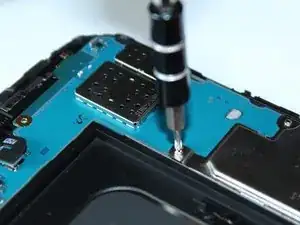
Unscrew the one 2.9mm Phillips #000 screw above the battery, and the three 2.9mm Phillips #000 screws to the right of the battery.
-
To reassemble your device, follow these instructions in reverse order.
One comment
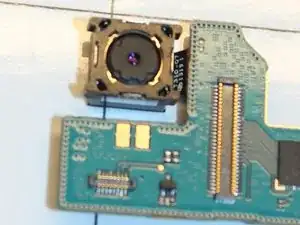
That worked a treat, thanks a lot Anthony, I don’t quite know when I broke my rear camera but I suspect it’s after being dropped, unfortunatly more than once, a replacement camera was sourced from ebay and only cost £3.29 that included the postage! So all is well again now.
Here’s a link to where I bought mine, I can recommend them 100%
https://www.ebay.co.uk/itm/Genuine-Rear-...
Once again, Cheers!
mooog1 -

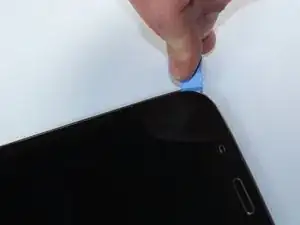





Separating the back cover was the hardest part of the procedure for me (a retired electrical/software engineer). I used a large flat screwdriver blade instead of the hard plastic tool shown. Go slow all the way around the tablet and expect pops as the pieces separate. I was not able to re-connect the back cover completely, accepting a paper-thin gap about 30% around the cover, but it is secure.
Rick Nungester -