Introduction

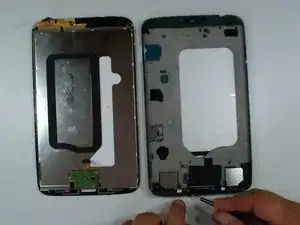
If your tablet has a broken touch screen glass (digitizer), LCD display or you want to chang the micro USB charging port, loudspeakers, audio jack connector, etc., with this guide we will help you to do it.


  1. p1ZtyLTjCubPM1Ln
    p1ZtyLTjCubPM1Ln
    VOQYYS4uWccXcWF4
    O1JS1PEQloGPcFvn
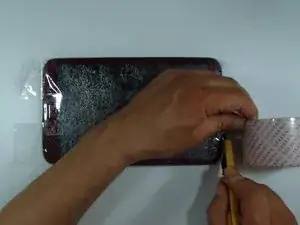
    • Put the scotch tape in order not to scatter pieces of glass.

    • Remove any memory card and SIM card (if the tablet is 3G version).

  2. tHVKXHUpDjS4YV45
    tHVKXHUpDjS4YV45
    wUNeXSqs4q66uGwW
    rf5R1jApOYouKYgi
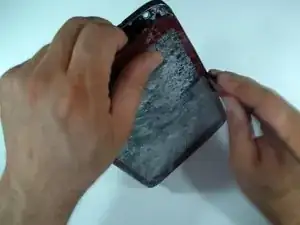
    • Using plastic tools remove the back / battery cover.

    • Be careful with the Power and Volume buttons.

  3. uH1FQTchSJBSHUJb
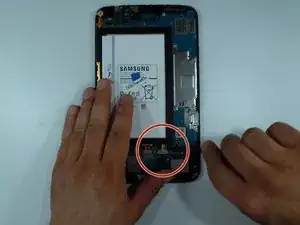
    • Before doing anything, disconnect the battery.

  4. ECZEDP21VuxdOOFB
    ECZEDP21VuxdOOFB
    VYWQdgVZpI4WgNFG
    dGQJPLWbxmpuqGd3
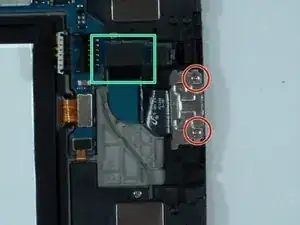
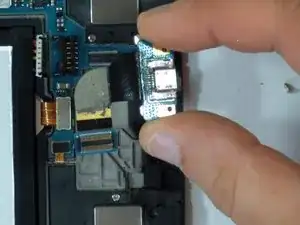
    • This step is only if you want to replace the micro USB port flex cable.

    • Remove the two screws and disconnect the charging port flex cable from the main board.

    • Use a plastic tool to unstick the flex cable from the middle frame.

  5. ByXn5YSZBZXFYJOl
    ByXn5YSZBZXFYJOl
    xErJbFikldGqABl4
    ucMdjCeBXqGQXoJT
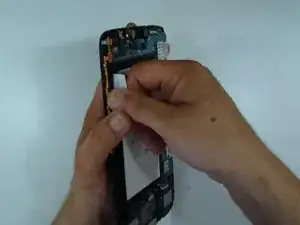
    • This step is for only if you want to change the battery.

    • The battery is stuck to the middle panel.

    • Use the white sticker to remove it.

  6. KegdgrOgF1ekjBFt
    KegdgrOgF1ekjBFt
    1BuGCS3YcCseDaDB
    cJiGApnS2Exj2EuI
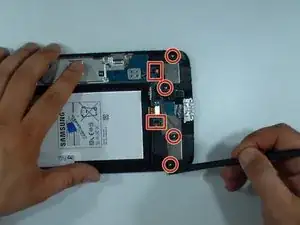
    • 2x loudspeackers

    • Power & Volume buttons flex cable

    • Audio jack flex cable

  7. 5QbCcnDOtgGMU3qx
    5QbCcnDOtgGMU3qx
    WsX1n2ck33yVWyc2
    • Front camera

    • Wi-Fi antenna

  8. uV6edXsIQEbbsWB2
    uV6edXsIQEbbsWB2
    AVbrDy5LICCUcMCH
    qVSDgoG24IDvPo6H
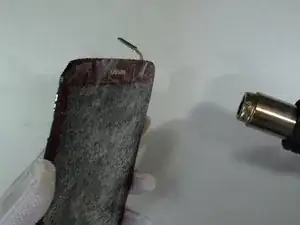
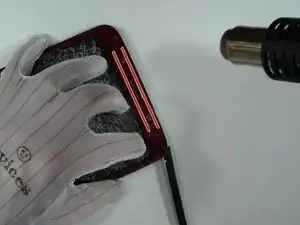
    • Use a heat gun or hair dryer and warm the touch screen glass. This will make the adhesive more flexible and the separation easier.

    • Use a gloves to avoid any injurys from glass.

    • Do not rush.

  9. eChKRjTUSqSkqTWv
    eChKRjTUSqSkqTWv
    xRL2KjAPNyppmDXK
    ssffoKJOHAhVCtJO
    • Beware for the menu buttons flex cable.

  10. LRowVDXockIjQsLp
    LRowVDXockIjQsLp
    hjTvUGMGtjQpmXEF
    • Always test the new spare part before final installation.

  11. WeR2SKRYDRfsjVFg
    WeR2SKRYDRfsjVFg
    aOtYcOXtFc2jBlrP
    VLkliQNwNIJs3QRO
    • Transfer the black tape from the old display. It keeps the distance the display from the battery and protects it from overheat.

    • If the adhesive tape is not in good condition you must install a new one.

  12. 3MfANvyGKP6C5wqI
    3MfANvyGKP6C5wqI
    ZvKabO2BGvsd5TXy
    • Start with reassembling.

    • .

    • .

    • .

    • .

    • .

    • .

    • Did you do it successfully.

Conclusion

To reassemble your device, follow these instructions in reverse order.

ZFix

Member since: 09/12/13

192718 Reputation

One comment

Awesome guide, was so easy to replace complete LCD digitiser and glass all in one unit.

capinneemo -