Introduction
Use this guide to replace the battery in your Samsung Galaxy S6.
Before disassembling your phone, discharge the battery below 25%. A charged lithium-ion battery can catch fire and/or explode if accidentally punctured.
If your battery is swollen, take appropriate precautions. Do not heat your phone. If needed, you can use a dropper or syringe to inject isopropyl alcohol (90+%) around the edges of the back cover to weaken the adhesive. Swollen batteries can be very dangerous, so wear eye protection and exercise due caution, or take it to a professional if you're not sure how to proceed.
This guide involves removing the rear glass. Removing the rear glass destroys the adhesive holding it in place. Follow this guide to reinstall the rear glass.
Tools
Parts
-
-
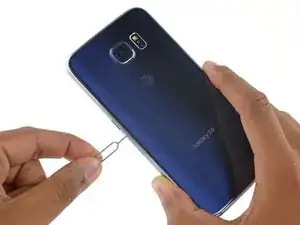
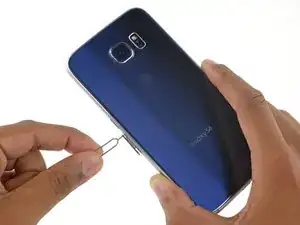
Insert a paper clip or SIM eject tool into the hole in the SIM card slot on the power button side of the phone.
-
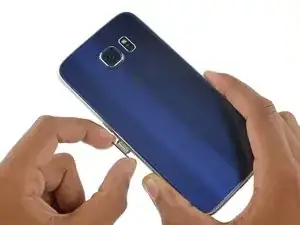
Press to eject the SIM card tray.
-
-
-
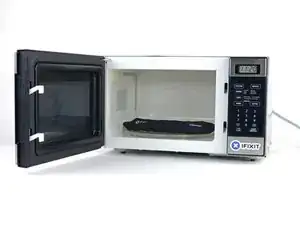
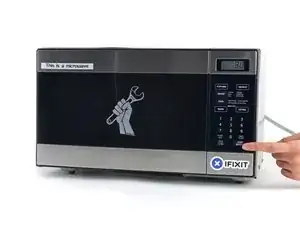
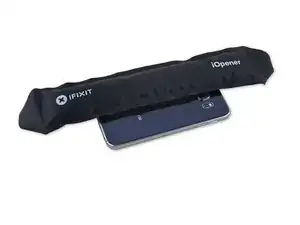
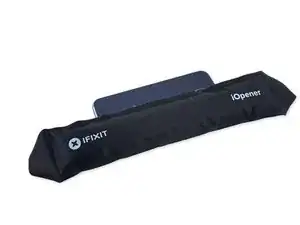
Heat the iOpener for thirty seconds.
-
Throughout the repair procedure, as the iOpener cools, reheat it in the microwave for an additional thirty seconds at a time.
-
-
-
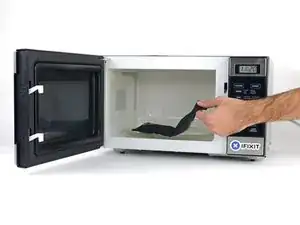
Remove the iOpener from the microwave, holding it by one of the two flat ends to avoid the hot center.
-
-
-
Fill a pot or pan with enough water to fully submerge an iOpener.
-
Heat the water to a boil. Turn off the heat.
-
Place an iOpener into the hot water for 2-3 minutes. Make sure the iOpener is fully submerged in the water.
-
Use tongs to extract the heated iOpener from the hot water.
-
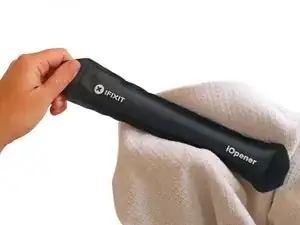
Thoroughly dry the iOpener with a towel.
-
Your iOpener is ready for use! If you need to reheat the iOpener, heat the water to a boil, turn off the heat, and place the iOpener in the water for 2-3 minutes.
-
-
-
Lay the heated iOpener over the rear panel for about two minutes to loosen the adhesive around the edge of the glass.
-
Shift the iOpener to heat the remaining section of the panel for another two minutes.
-
-
-
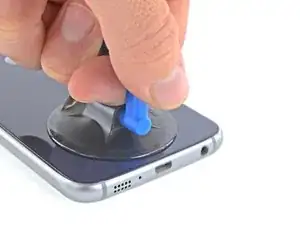
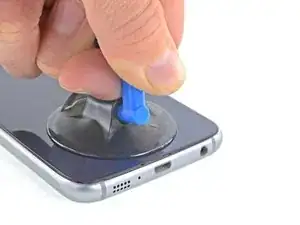
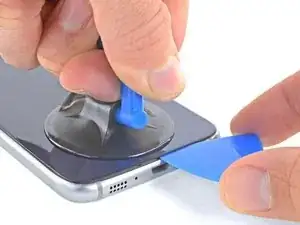
Once the rear glass is hot to the touch, apply a suction cup near the bottom edge of the glass.
-
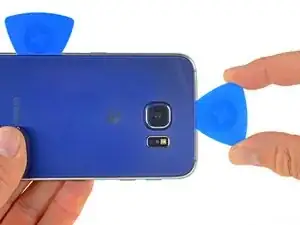
Lift on the suction cup to create a small gap underneath the rear glass, and insert an opening pick into the gap.
-
-
-
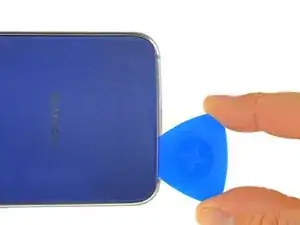
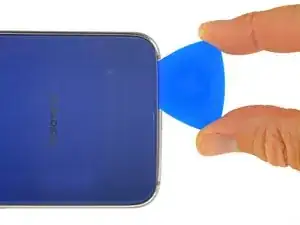
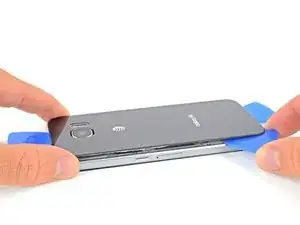
Slide the pick along the bottom edge of the phone to slice through the adhesive securing the rear glass.
-
-
-
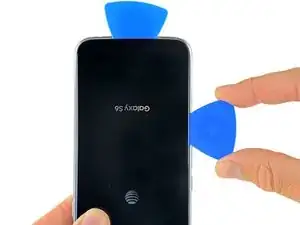
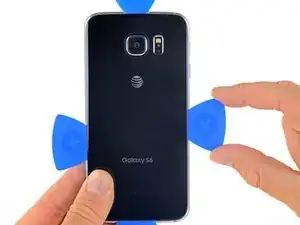
Repeat the heating and cutting procedure for the remaining three sides of the phone.
-
Leave an opening pick under each edge to prevent the adhesive from resealing.
-
-
-
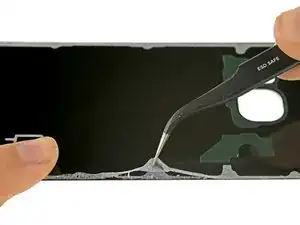
Use tweezers to peel away any remaining adhesive from the phone's chassis.
-
Clean the adhesion areas with high concentration isopropyl alcohol (at least 90%) and a lint-free cloth. Swipe in one direction only, not back and forth. This will help prep the surface for the new adhesive.
-
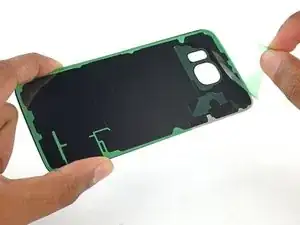
Peel the adhesive backing off of the new rear glass, carefully line up one edge of the glass against the phone chassis, and firmly press the glass onto the phone.
-
-
-
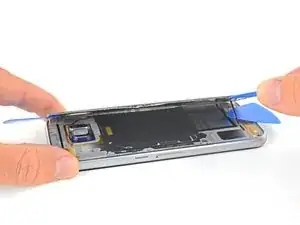
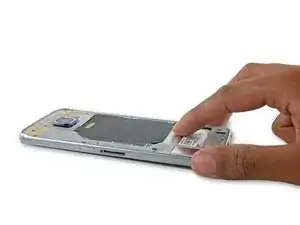
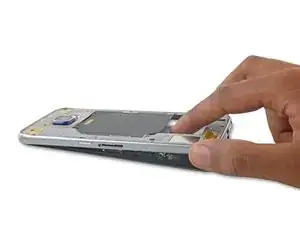
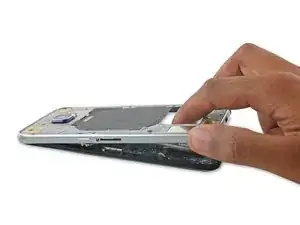
Firmly grasp the edge of the midframe assembly.
-
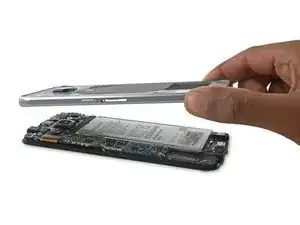
Lift up on the midframe assembly while pushing down on the battery to separate the midframe assembly from the rest of the phone.
-
While lifting the midframe, be careful to avoid snagging it on the audio jack or charging port.
-
Once the midframe is partially seperated, carefully run an opening pick around the edges of the rest of the phone to separate the top of the midframe.
-
To avoid damage to the headphone jack, remove the top of the midframe first, then push the midframe downwards to disengage it from the headphone jack.
-
You may need to heat and apply an iOpener to the edges of the display to soften the display adhesive if midframe separation is difficult.
-
-
-
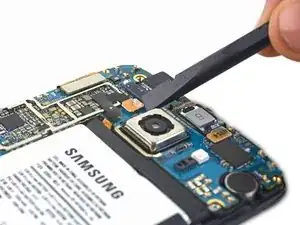
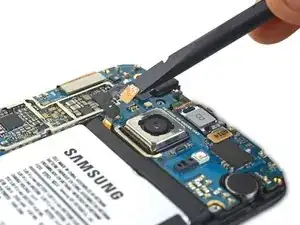
Use the flat end of the spudger to disconnect the battery connector from its socket on the motherboard.
-
-
-
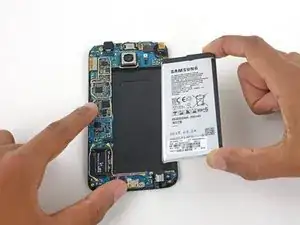
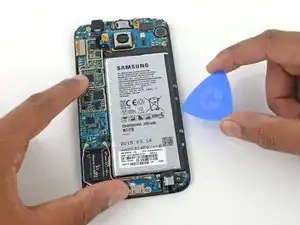
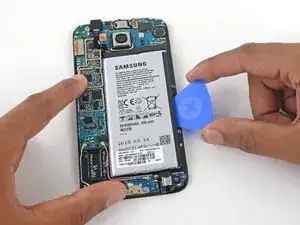
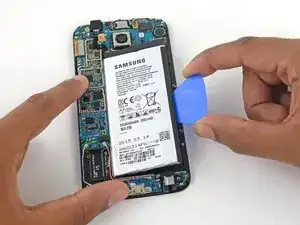
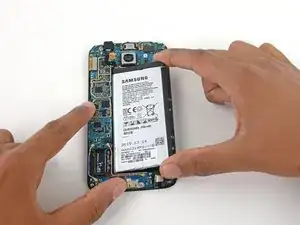
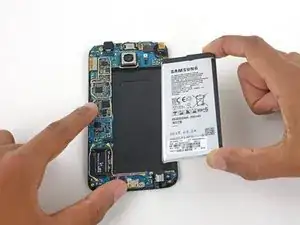
Insert a plastic opening pick between the case and the battery.
-
Push the pick further in to separate the battery from the phone.
-
If the battery is too strongly adhered for the opening pick, place a warm iOpener over the battery to loosen the adhesive.
-
Alternatively, apply some isopropyl alcohol under each corner of the battery and allow it to penetrate for several minutes to help weaken the adhesive.
-
To reassemble your device, follow these instructions in reverse order. When reinstalling the rear glass, refer to the rear glass adhesive replacement guide.
After completing this guide, calibrate your newly-installed battery.
Take your e-waste to an R2 or e-Stewards certified recycler.
76 comments
If I had known that replacing the battery was this complicated I would have never bought Galaxy s6.
Mcgyver variation: guitar pick, safety pin, hair dryer, and a west marine camera mount kit's suction cup. got it.
devcyr3n -
Do ya THINK this process MIGHT void your warranty?
weird question , if its under warranty , why would anyone go thru so much trouble just to replace a %#*@ battery
limz555 -
Samsung warrenties are rubbish. Only had the phone 6 months and the charger point broke but bacause my phone had a small crack on it they voided the warrenty and wanted me to pay nearly £200 to replace the screen and back!!!! Now the battery has gone completely- phone is only 8 months old and no use. Safe to say won't be having a Samsung again.
In the United States it's actually against the law to void someone's warranty because they opened their device up, unless they make any unsupported modifications which are the sole causation of the damage/defect.



It really needs to be stated at the outset that if doing this repair to replace the daughterboard, there is a high likelihood that the display will be destroyed (even if you don’t break the display, the foil backing on it will likely be destroyed rendering it unusable). The PDF version of this guide states this at the beginning, but this online version does not.
David White -
Done. Thanks for the tip!
Minor editor -