Introduction
For the official iFixit guide, follow this link. This guide has been archived for historical purposes.
Tools
Parts
-
-
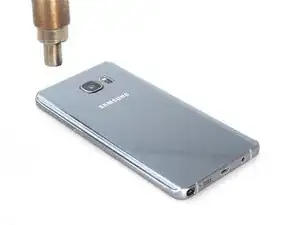
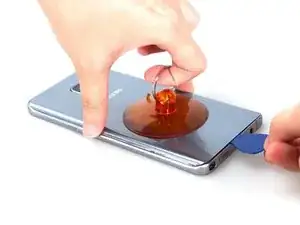
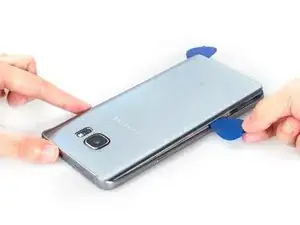
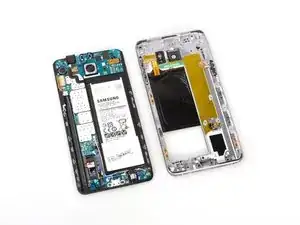
Heat the edges of the phone up so that the back lifts up evenly without cracking. Use many picks to cut the adhesive and take your time and reheat if necessary.
-
-
-
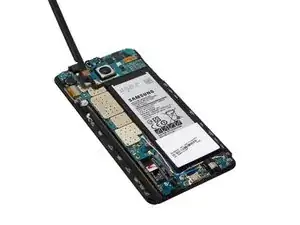
Carefully slip a spudger or something thin and sturdy underneath battery. There is adhesive holding it down on the left and right side. DO NOT try to force it as the screen could be damaged.
-
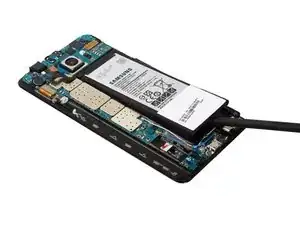
Slowly cutaway at the adhesive on both sides. When that is done the battery should come out with ease.
-
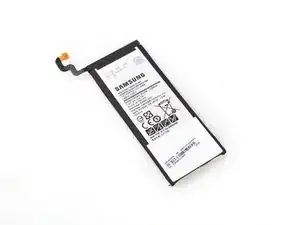
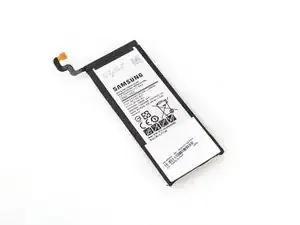
When the adhesive is cut, the battery should come out and you can put your new battery in.
-
Conclusion
To reassemble your device, follow these instructions in reverse order.
