Introduction
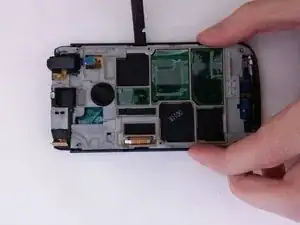
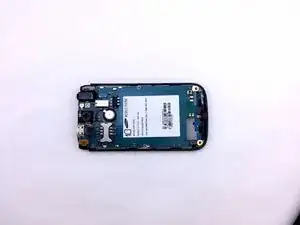
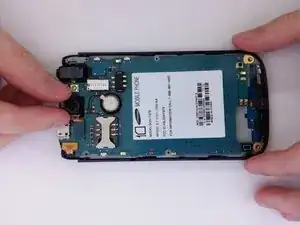
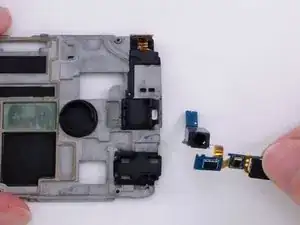
Use this guide to replace a defective Headphone Jack.
Tools
-
-
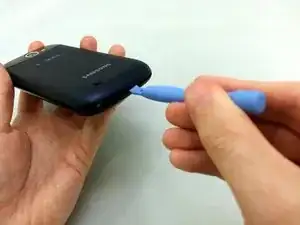
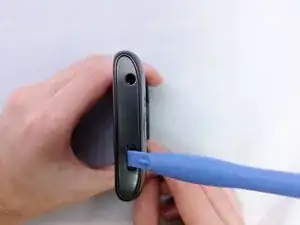
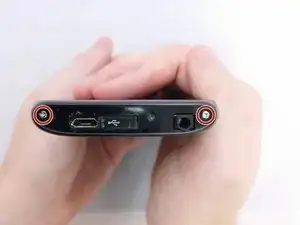
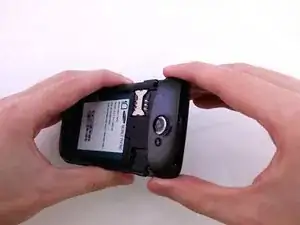
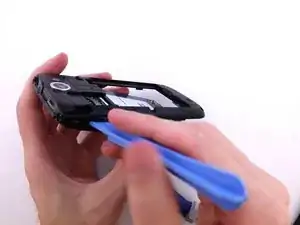
Insert plastic opening tool under back cover.
-
Apply pressure on tool while using a downward motion to pop off back cover.
-
-
-
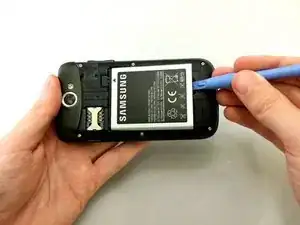
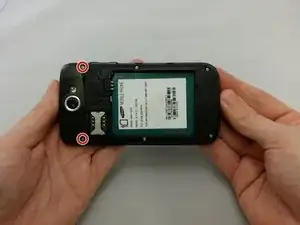
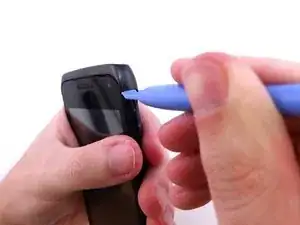
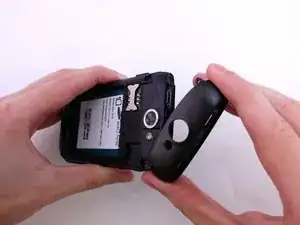
Insert plastic opening tool under back cover.
-
Pry the top cover upward to remove it from the phone.
-
-
-
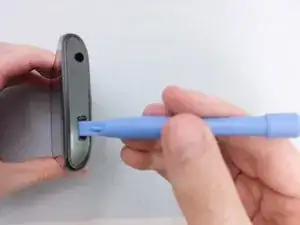
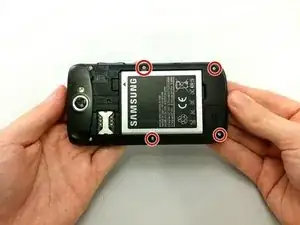
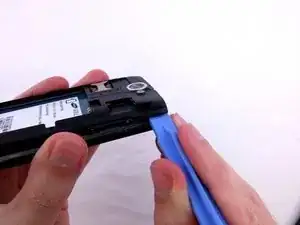
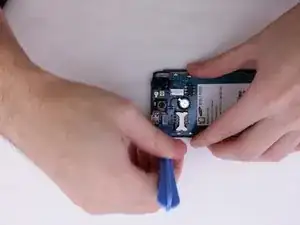
Insert plastic opening tool between back assembly and phone.
-
Pry the back assembly away from phone.
-
-
-
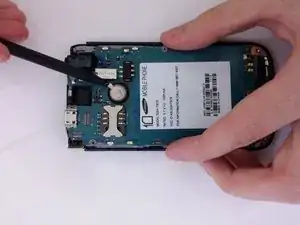
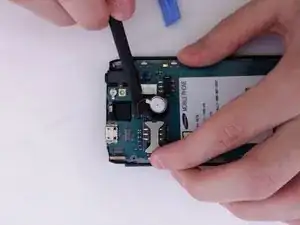
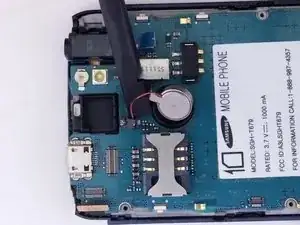
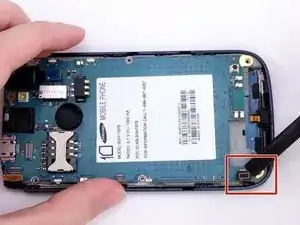
Insert the pointed end of a spudger into the gap in the round housing frame.
-
Using spudger to remove vibrator remove from the adhesive.
-
-
-
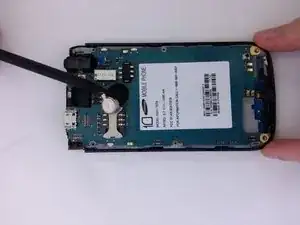
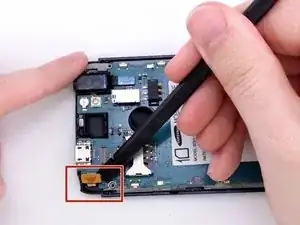
Insert the spudger under each corner ribbon cable and lift them out of the way.
-
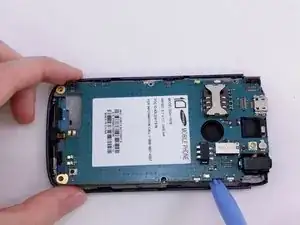
Insert a plastic pry tool into the gap between motherboard and base of phone
-
-
-
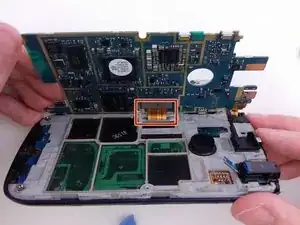
Tilt the motherboard up carefully.
-
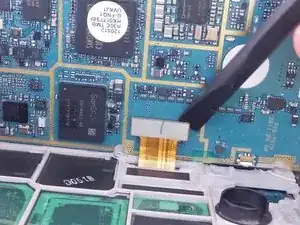
Use a spudger to pry the connector from the socket on the motherboard.
-
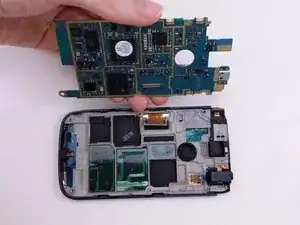
Lift motherboard from frame.
-
-
-
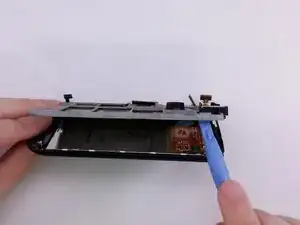
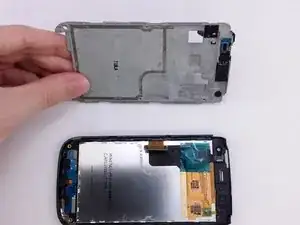
Insert flat end of spudger between support panel and front assembly.
-
Using a spudger pry up to create opening to insert plastic opening tool.
-
-
-
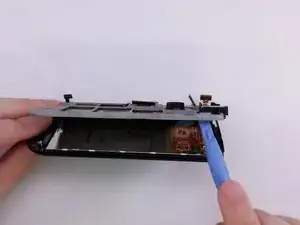
Insert a plactic opening tool in opening.
-
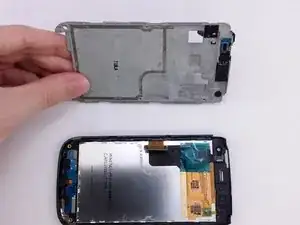
Use plastic opening tool to pry around the edge of support panel to free it from front assembly.
-
-
-
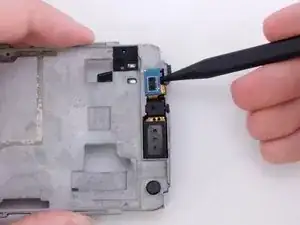
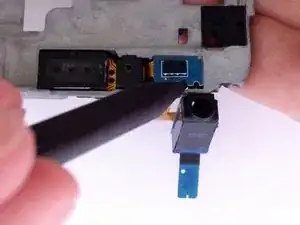
Insert the pointed end of a spudger into gap.
-
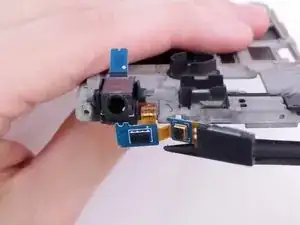
Lift spudger away from support plate to remove headphone component.
-
-
-
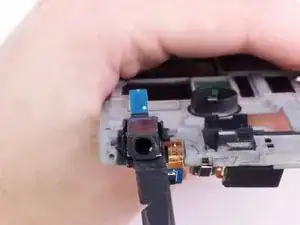
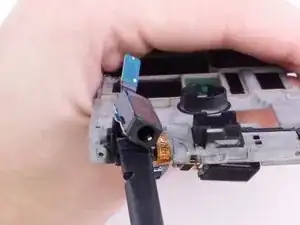
Use the flat end of the spudger to remove headphone jack component from rectangular housing.
-
To reassemble your device, follow these instructions in reverse order.
