Introduction

  1. V2vjMkt2cq5RTQtQ
    V2vjMkt2cq5RTQtQ
    NitJuVahLcf1HgMQ
    SBXI3UGOLCS3oDDd
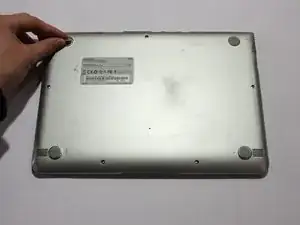
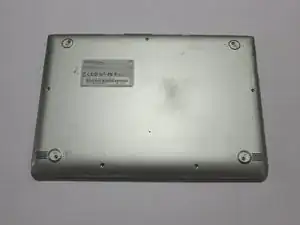
    • Lay the Chromebook down so that the bottom cover is facing up.

    • Remove the rubber feet on the four corners of the Chromebook in order to get to the screws underneath. They are stuck on with an adhesive.

  2. ixAHHaIJcpKswNYE
    ixAHHaIJcpKswNYE
    YPrqxfN1AFAVldFr
    aIUJSih1iGdhLnIk
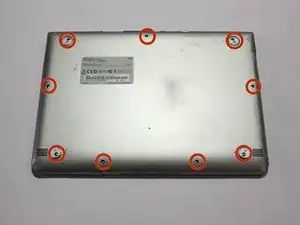
    • Remove the nine 4.7 mm screws on the bottom cover using a Phillips #00 screwdriver.

  3. XGjSBHuSn1aC3PVc
    XGjSBHuSn1aC3PVc
    WIvbkBHFmxoaMKYp
    hjaZtDbBHEovlRTF
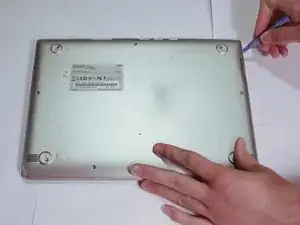
    • Pry up the plastic strip on the back of the Chromebook using a plastic opening tool.

    • It is not necessary to remove it completely. It just needs to be separated from the bottom cover.

  4. tKXhalC1MQqIAum3
    tKXhalC1MQqIAum3
    UHHsZaXUUcg2wqVD
    Mu3uWZuteg6dIjCE
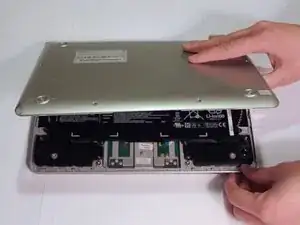
    • Pry off the bottom cover using a plastic opening tool.

  5. sYtXOIi5irLPOhwp
    sYtXOIi5irLPOhwp
    kECLgHnRjGvy6CZL
    HJwixBLNMjniRJMO
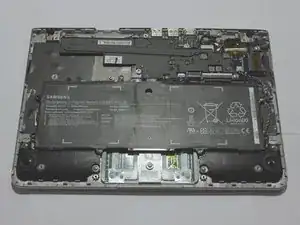
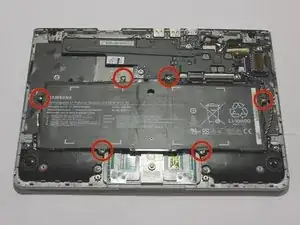
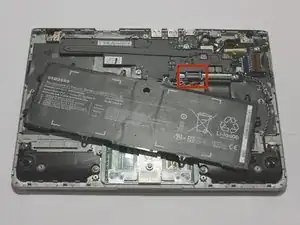
    • Remove six 3.5 mm screws holding the battery using a Phillips #00 screwdriver.

    • Pull out the battery partway in order to easily get to the battery connector.

  6. ckfij6cd1WsuQpqs
    ckfij6cd1WsuQpqs
    3KcInQnILRmP2DbS
    biYTGTLLVDNvJOAm
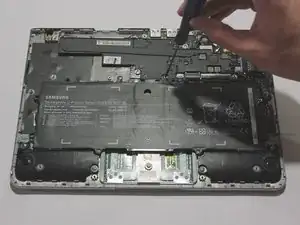
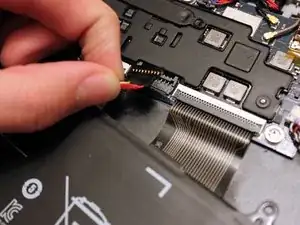
    • Disconnect the battery connector by pulling straight up at its base.

    • When reassembling, simply position the connector above it's original place, and push down.

  7. rSCG366QIDYK5Uvw
    rSCG366QIDYK5Uvw
    ipCSPOkWrQHPiQVM
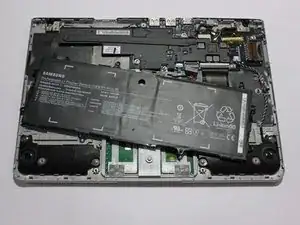
    • You can now remove the battery.

  8. cFk4dlROlRNX22TL
    cFk4dlROlRNX22TL
    lbhnANCvnuAw12rX
    C5VjiRUAETeBT4uU
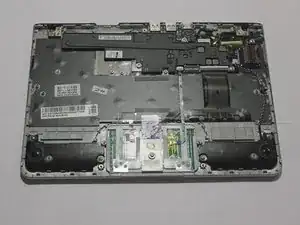
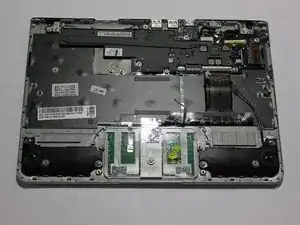
    • Disconnect the cable connecting the speakers to the motherboard by pulling on it away from the motherboard.

  9. 6ZCL5sXqgrNJqAp3
    6ZCL5sXqgrNJqAp3
    AqZKOBUpiDZVjiOp
    Hd3lgSvDSSXJQ2IT
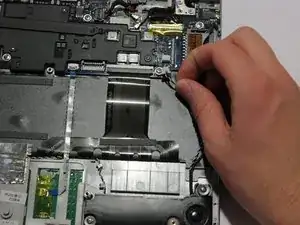
    • Lift up the piece of tape covering the trackpad ribbon cable.

    • Lift up the lock on the trackpad ribbon cable using a plastic opening tool.

    • Disconnect the trackpad ribbon cable by pulling it out.

  10. trVQbIenEGpojLKT
    trVQbIenEGpojLKT
    SMVggLHVqMOtOBcK
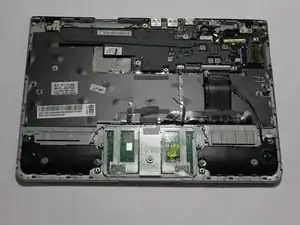
    • Lift up the trackpad ribbon cable so that it is not covering the speaker wire.

    • Lift up the two pieces of metallic tape so that they no longer cover the speaker wire.

    • When reassembling the device, make sure to lay down the metallic tape in the same place it was prior to disassembly. The tape serves as a connector for certain electrical circuits that should not be disconnected.

  11. OrYojo3wCpojsd51
    OrYojo3wCpojsd51
    AsC6XTobEStnb2YP
    GMQkCgeIlkNqGOXx
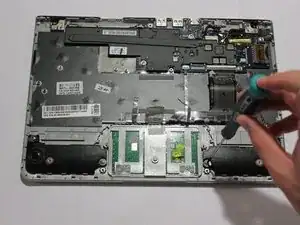
    • Unscrew the four 3.7 mm screws holding down the speakers using a Phillips #00 screwdriver.

  12. VcFKZ3wBeZjJjqkV
    VcFKZ3wBeZjJjqkV
    W2eh31uxMnUIQG4i
    • Pull the speakers up to remove them.

Conclusion

To reassemble your device, follow these instructions in reverse order.

Andrey Radchishin

Member since: 21/01/15

1860 Reputation

One comment

Many thanks.

Excellent guide .

Triumph Trident -