Introduction
When the body on the steam valve is cracked, it has to be replaced. This will show how to do that.
Parts
-
-
Remove all attachments such as drawers, water tank, brewing unit.
-
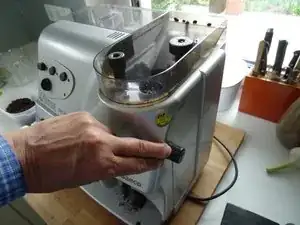
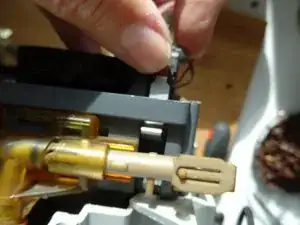
Carefully pull the steam button out. If it is too tight, first loosen the cover (steps 2 to 4), lift slightly and then push the ratchet nose with a small screwdriver.
-
-
-
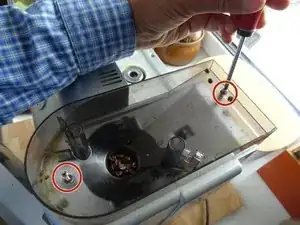
The bean container is fixed with two Phillipps screws. Unscrew those.
-
Lift the bean container up und remove it from the device.
-
-
-
Remove the single T10 Torx screw on the rear edge of the top cover under the water reservoir.
-
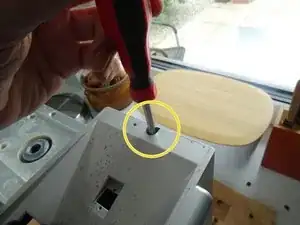
Remove the single Phillipps screw on the rear edge of the top cover under the container of the coffee beans.
-
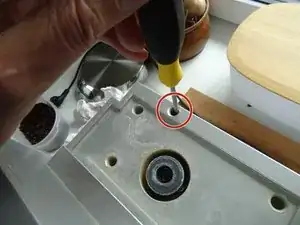
There are two Phillipps screws on the frontal unterside edge of the top cover. Turn them out.
-
-
-
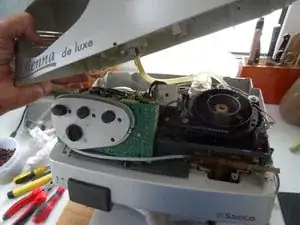
Now the cover can be lifted off. Pull backwards, then diagonally forward. Remove the silicone hose from the water tank.
-
-
-
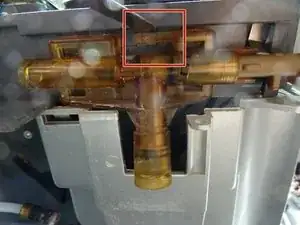
The steam valve is located on the top right of the machine. If it has cracks, water will drip out of the valve body.
-
-
-
Remove the clamp securing the pressure hose to the valve body.
-
Disconnect the pressure hose from the valve body.
-
-
-
The microswitch is mounted on the underside of the gray frame with two notches. Insert a small screwdriver into the gap under the gray frame. Gently push the two notches one after the other and lift the microswitch upwards. The cables can stay connected.
-
-
-
The steam valve is still secured with a catch. Lift the catch with a flat-head screwdriver and slide the complete valve to the right.
-
To remove the valve it can now be pulled out of the gray frame in a forward direction.
-
To reassemble your device, follow these instructions in reverse order.

