Introduction

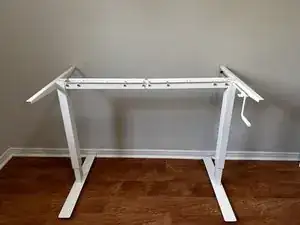
Over time, the O-ring in your manual standing desk may wear out, causing difficulties in height adjustment. This guide will walk you through the process of replacing the O-ring on the IKEA SKARSTA manual standing desk (model # 004.585.55), ensuring your desk continues to function smoothly.

The O-ring plays a critical role in the desk's height adjustment mechanism. A worn-out O-ring can lead to uneven or difficult adjustments.

Before starting, ensure the desk is clear of items. In Steps 3 and 11, you may want assistance to lift the table off and back on the table stand.

  1. wnEiP5pqJGlb3X14
    wnEiP5pqJGlb3X14
    q14JFqUPqBhUXV4a
    gOLFGIhmvIGE2e4M
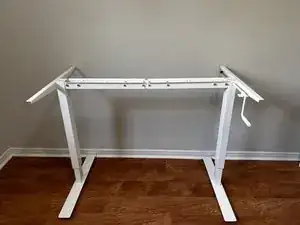
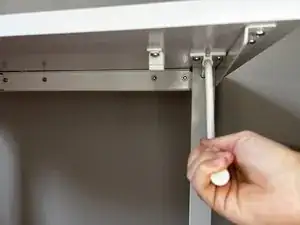
    • Remove the height adjustment crank by pulling it down and out from its clip.

    • Do not turn the crank at any point during the process to avoid an alignment issue.

  2. aVEkDeRxkBrLM5DM
    aVEkDeRxkBrLM5DM
    jmMeTxYoLHQJp1bu
    qyqSHwYaWemEELGk
    • Position yourself so you can comfortably reach underneath the desk. This might involve kneeling or sitting next to/under the desk.

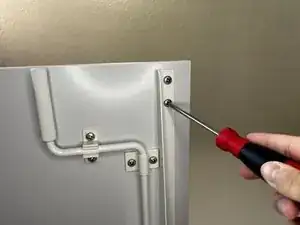
    • Remove the two 15.2 mm Phillips #2 screws connecting the crank to the table.

    • Remove the eight 15.2 mm Phillips #2 screws connecting the table to the legs.

    • Do not use a power tool to screw/unscrew the screws, as it may crack the desk.

  3. hKhXHZOqobyj4HCm
    hKhXHZOqobyj4HCm
    HANXP4Jthe55HK5Z
    IfT2vHxagpuJLJPD
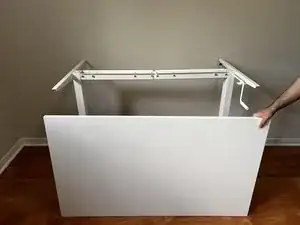
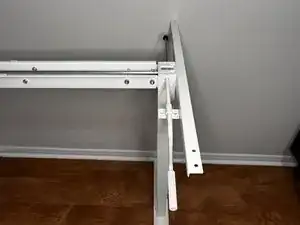
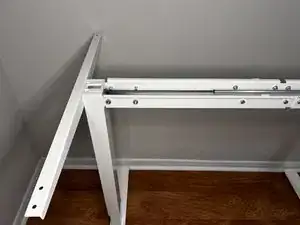
    • Carefully lift the table off the stand and set it aside.

    • Ask for help if needed to avoid accidentally damaging the desk or if it is too heavy for you.

  4. 4tfNPg2WSN6E3MTv
    4tfNPg2WSN6E3MTv
    3HpYJD2XVBj6aO4J
    25BHRvr46T1KVMIw
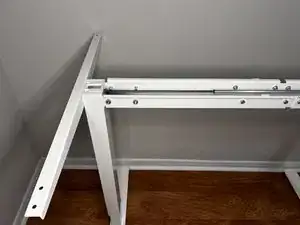
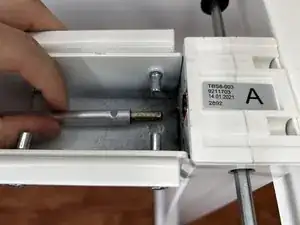
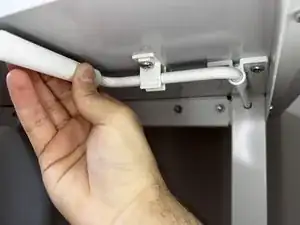
    • Remove the broken O-ring from the adjustment mechanism.

    • The broken O-ring might not be on the rod as shown in the picture but underneath it.

  5. 2XBURqcgjW6P61Mu
    2XBURqcgjW6P61Mu
    piAwUMORDe6Nplai
    hrrcOSa6joSGpxbp
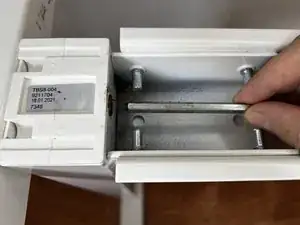
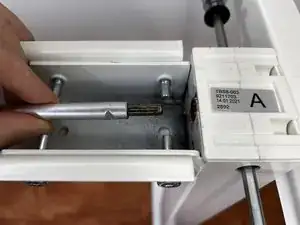
    • Pull the rod out to detach it from the stand.

    • Set the rod down to use at reassembly.

  6. OJcVFW3nFuan3jfy
    OJcVFW3nFuan3jfy
    tfIJApISWXInNqc6
    aNIOHufyu212UVAS
    • Repeat the previous step on the opposite end of the rod.

  7. oHG5CbWMIeBQapaS
    oHG5CbWMIeBQapaS
    KOwwWrXTlQbQOAHc
    mWfHcca4t5NRnVIm
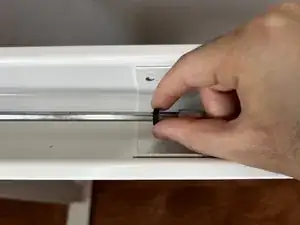
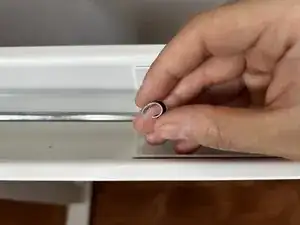
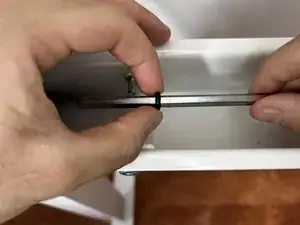
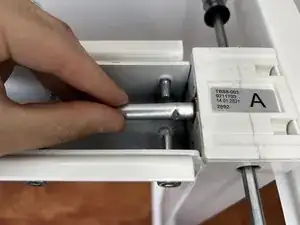
    • Slide the new O-ring over the thin side of the rod.

    • There may be lubricant on the rod; avoid wiping it off.

  8. UH2J4bhU5IG4fmgR
    UH2J4bhU5IG4fmgR
    S5ADjUpOIaRujE2X
    1FhDCvf3pYGPLGFB
    • Push the thick end of the rod back into the stand to reattach it.

  9. rED4a5PgsosAa4iN
    rED4a5PgsosAa4iN
    fTRR4NewC6NenIL6
    JMdsQVnAipSkirbS
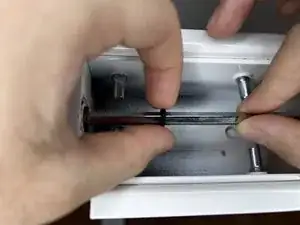
    • Hold the thick end of the rod in place while sliding the thin end outwards.

    • Push the thin end back into the stand while holding the thick end in place.

    • The thick end of the rod might slide out during this process so be sure to hold it in place when sliding and attaching the thin end.

  10. hC42EAOOMuCQuxJw
    hC42EAOOMuCQuxJw
    3CHkoIhS2CjkElFX
    dTZ6DK62qMdUJFnY
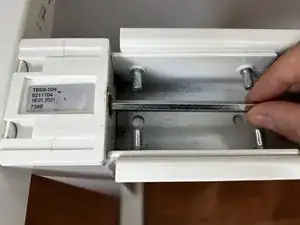
    • Slide the O-ring towards the thicker end of the rod.

    • Pull the thick and thin ends apart and push the O-ring as close to the thick end as possible to secure the rod in place.

  11. tiHooGpOEwpICfpu
    tiHooGpOEwpICfpu
    psF3nUjRokJgSpNk
    aVUECeprKyNYBWi1
    • Carefully place the table back on the stand.

  12. wHeaIjrXn2hyUgEZ
    wHeaIjrXn2hyUgEZ
    3Vw1axEQMurR5mta
    F3pgTxEi6iVyBmEO
    • Use a Phillips #2 screwdriver to replace the eight 15.2 mm screws securing the table to the stand.

    • Turn all the screws halfway first, then tighten them completely.

    • Use a Phillips #2 screwdriver to replace the two 15.2 mm screws that secure the hand crank.

    • Make sure the handle is facing the correct direction before replacing the screws.

  13. uBvOWTdqbNmNFMSV
    uBvOWTdqbNmNFMSV
    H3UyI1LHErpHOPaQ
    CHyYkGCKjBIuGaak
    • Rotate the crank inward to the clip until it clicks into place.

Conclusion

Congratulations! The repair is complete.
Nasser Choudhri

Member since: 04/07/24

217 Reputation

0 comments