Introduction

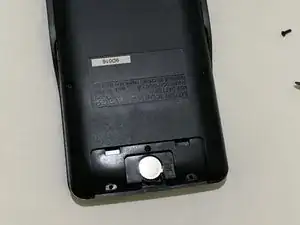
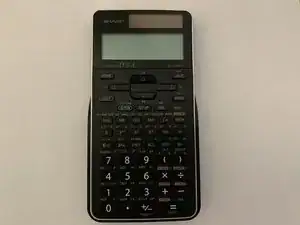
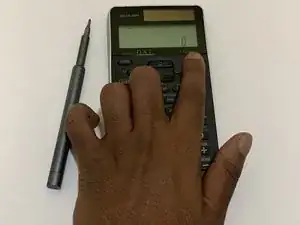
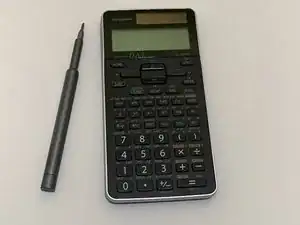
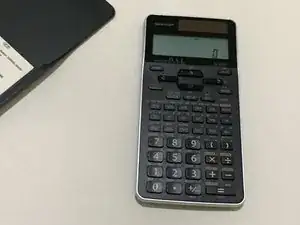
This guide will show how to replace the battery for the SHARP EL-546XT scientific calculator. Whether you're a student, professional, or someone who relies on calculators in your daily tasks, maintaining optimal functionality is crucial. If your calculator won't turn on, the display appears dim or flickering, or the calculator abruptly shuts off while you're using it, it may be time to replace the battery.

In this guide, I will walk you through the step-by-step process of safely and effectively replacing the battery in your SHARP EL-546XT Calculator. Let's get started and ensure that your calculator is always available for use!

  1. kupM1u2XQBuuLLTh
    kupM1u2XQBuuLLTh
    6LTd6uW6TAugARgC
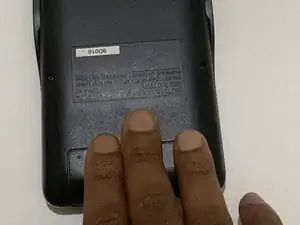
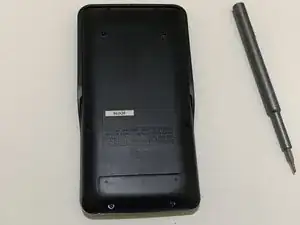
    • Place the calculator on a clean workspace with the back facing up.

  2. 1CFEeC2rYpQlAZsO
    1CFEeC2rYpQlAZsO
    rTqcL1obWOPEdJuB
    BL4KoQsGEWLk1dt5
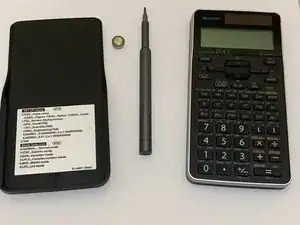
    • Remove the calculator cover if you had it on.

    • Turn off the calculator using the 2nd F button then clicking the ON button.

  3. xGe3nMAELMed4gQJ
    xGe3nMAELMed4gQJ
    xbtVXDCRGBATSNAX
    SB1BltLnQ1WLWq4a
    • Put the calculator cover back on to ensure you don't accidentally press any buttons.

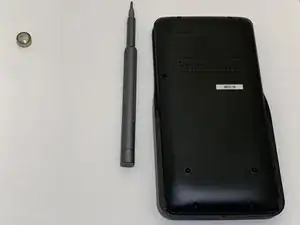
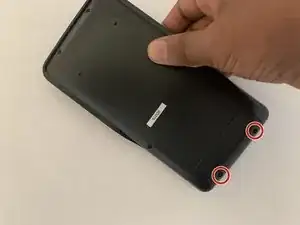
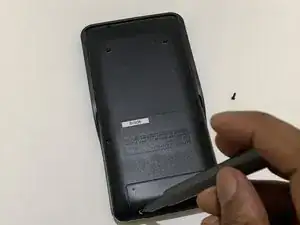
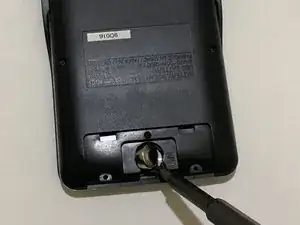
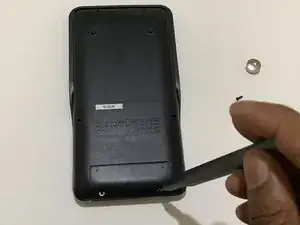
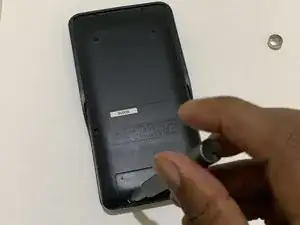
    • Remove the screws from the battery door.

    • Do not remove the other screws as they are not for the battery compartment.

  4. WGurrglIC2oUXCOW
    WGurrglIC2oUXCOW
    l2PiCNxDNxwXViX4
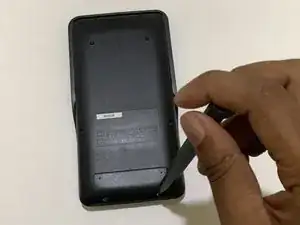
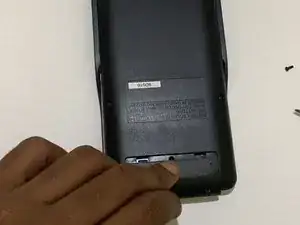
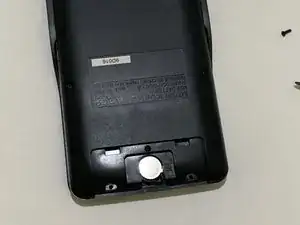
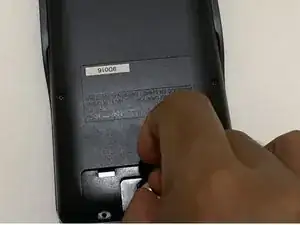
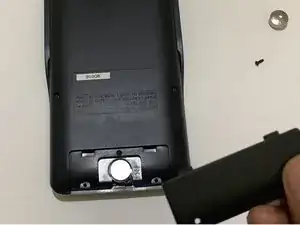
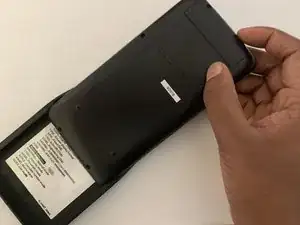
    • Remove the battery door from the calculator.

  5. gSLFeuPITklsJ2tA
    gSLFeuPITklsJ2tA
    iYEKivDGQjbtBjRQ
    NrWFnynFPvWuQwDZ
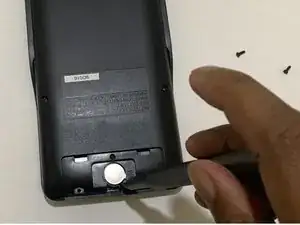
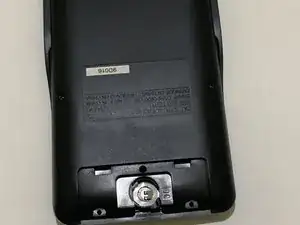
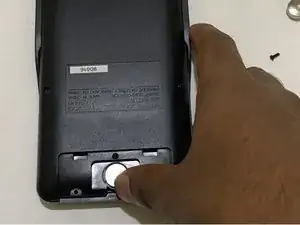
    • Use a spudger to gently push the coin battery out through the small hole located below the battery.

    • Be careful not to apply too much force when pushing the old battery out to avoid damaging the calculator or the battery compartment.

  6. sCMcWnDnFeP2d4sT
    sCMcWnDnFeP2d4sT
    xiNk6KtPs2n16QIk
    cgBo533EedwiCVai
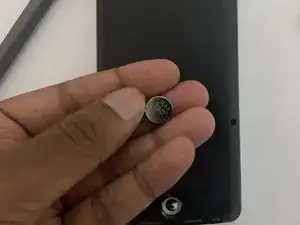
    • Gently insert the new battery into the battery compartment.

    • Handle the new batteries with care.

  7. T43DMWoFjQvIjqrC
    T43DMWoFjQvIjqrC
    cQKHuRI4rfbYScf5
    • Ensure the battery is properly slotted in the battery compartment.

    • Close the battery compartment with the battery door.

  8. 6MAQaWv6fXPYFvZa
    6MAQaWv6fXPYFvZa
    vnCMRcLuG4qqXRav
    b6HGAMkqrCLQlvMD
    • Attach the screws back to the battery door.

  9. qPKwbNo2pJtBxnjP
    qPKwbNo2pJtBxnjP
    kpOAdUZGLMEvnAVR
    jVcOSeUnEW5ow2Al
    • Take the calculator out of the cover.

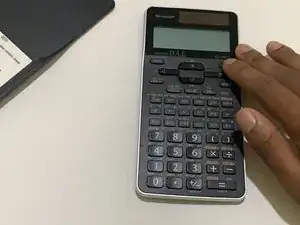
    • Turn on the calculator and test if it's functioning.

Mithunan Sivagnanam

Member since: 23/05/23

169 Reputation

0 comments