Introduction
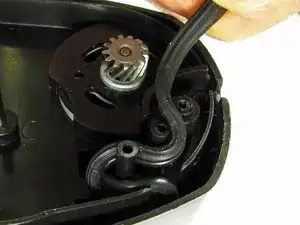
This guide will help you remove the power cord and requires the use of a soldering iron. Check out this soldering guide for help if you don't know how to solder.
Tools
-
-
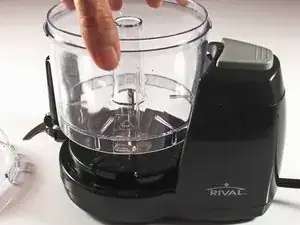
Twist the plastic lid counterclockwise to unlock it.
-
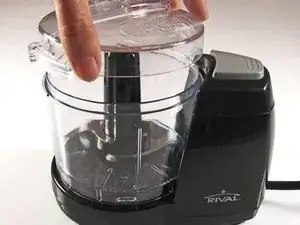
Lift the lid to remove it from the container.
-
-
-
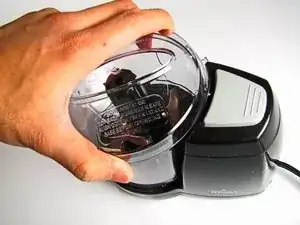
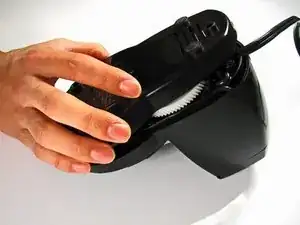
With your hand, twist the container counter-clockwise until it unlocks from the base. Remove the container by lifting it straight up.
-
-
-
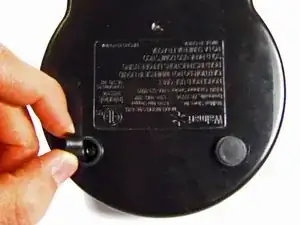
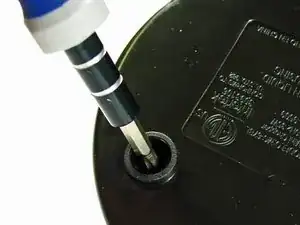
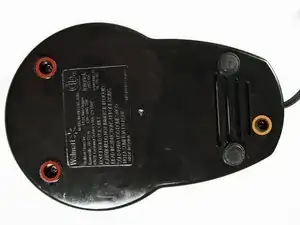
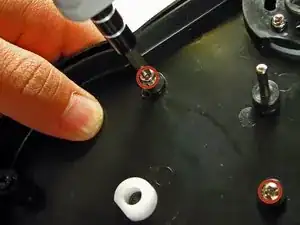
Use the Phillips #2 screwdriver to unscrew the two 12.7-mm screws underneath the rubber feet.
-
Use the same screwdriver to unscrew the 15.88-mm screw from the back of the chopper.
-
-
-
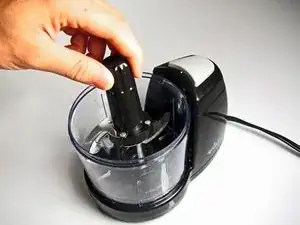
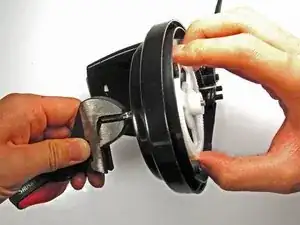
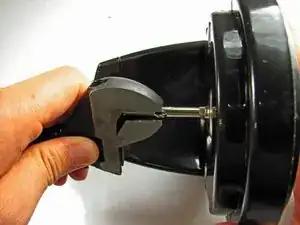
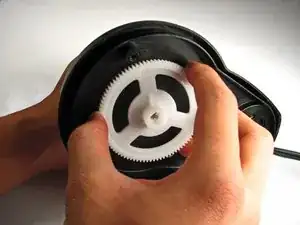
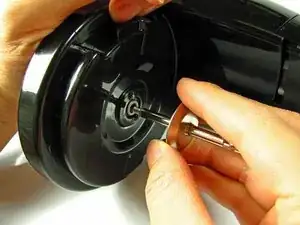
Use a pair of pliers or any other clamping tool to securely hold the blade-shaft that sits above the base.
-
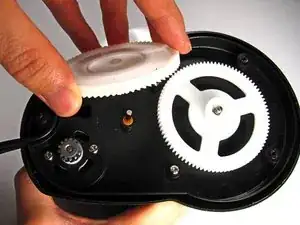
Continue turning the gear until completely removed from the blade-shaft.
-
-
-
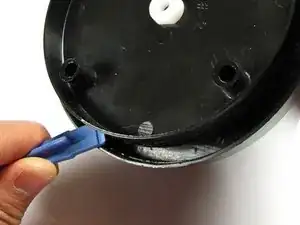
Use the plastic opening tool to pry open the base from the main body.
-
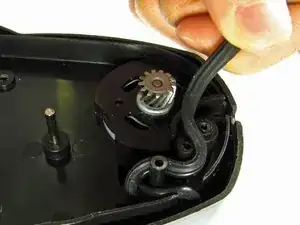
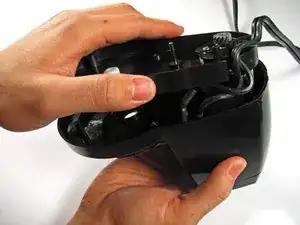
Once freed, lift the base panel from the main body. The motor and power cable are connected to this panel.
-
-
-
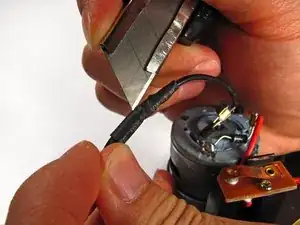
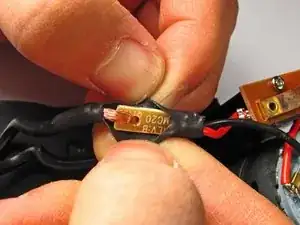
Carefully cut into black wire casing for both wires using a small knife and peel away the black casing.
-
-
-
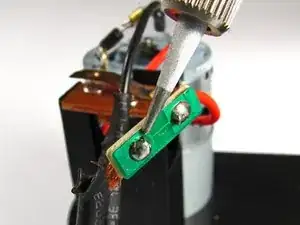
Using a soldering kit, remove the solder for the black power cord from the circuit board.
-
Follow this soldering guide if you need extra help!
-
-
-
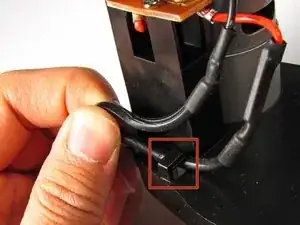
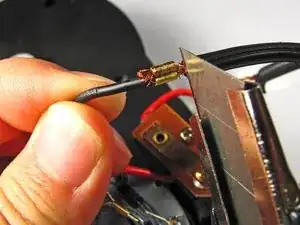
Use a small knife to cut the copper wires from the bracket holding the black wire and power cord together.
-
To reassemble your device, follow these instructions in reverse order.
