Introduction
If the zipper on a jacket breaks and needs to be replaced, it can be difficult to sew in a new one. This is especially true if the jacket is lined or if it is made of stretchy fabric. Then unpicking the seams can be very tedious and difficult.
In this tutorial, I'll show you how to sew a new zipper on a jacket without having to unravel seams. My jacket is lined and made of sweat fabric (stretchy fine knit).
Important: Not in every case a broken zipper really needs to be replaced! Sometimes it is enough to clean and grease it or replace the Zipper/slider. Also other zipper damage can be repaired without a complete replacement.
Your new zipper should ideally be the same length as the old one. If you can't get that length commercially, you can either take one that's just a few inches shorter (that's what I did in this case) - or take a longer one and shorten it at the top. A good guide on how to shorten a too long jacket zipper at the top can be found at SewSimple, for example.
For the inside you will need fabric strips as facings:
- If your jacket is made of stretchy fabric, use stretchy fabric for the facings as well; if the jacket is made of solid fabric, use solid for the facings as well.
- The fabric for the slips should not be too thin, otherwise the slips will not be strong enough, and not too thick, otherwise they will be uncomfortable.
- The fabric strips should be 6-8 cm wide and about 5 cm longer than the zipper you want to sew in.
Tools
Parts
-
-
Open the zipper.
-
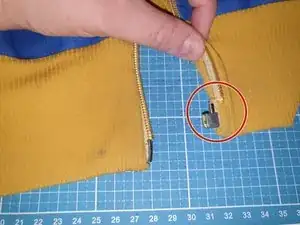
Just above the reinforced piece, carefully cut through the spiral and zipper tape, to just in front of the fabric. Mine broke right at that point - handy in this case.
-
Cut the zipper along the edge of the fabric to the top of the zipper. Cut as close to the fabric as possible without damaging it.
-
Do the same with the other half of the zipper.
-
-
-
Using the seam ripper, carefully unravel the seams around the bottom end of the zipper until you can pull it out.
-
Cut off the bottom end of the zipper. Now there should be no teeth left on the remaining part of the old zipper tape.
-
Do the same with the other half of the zipper.
-
-
-
The fabric strips should be about 5 cm longer than the new zipper, and 6-8 cm wide.
-
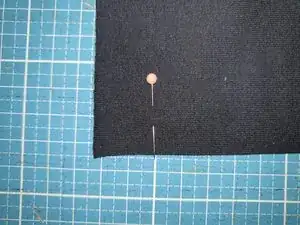
Place a strip of fabric with the right (nice) side in front of you. Measure 2 cm from the end and mark the spot with a needle or tailor's chalk.
-
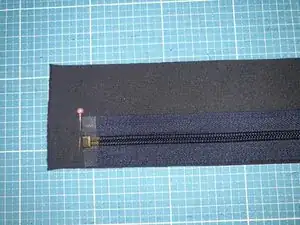
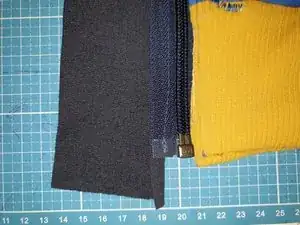
Then place the new zipper on the fabric strip so that the bottom end with the box part exactly touches the mark. The zipper should lie completely on the fabric strip, edge to edge.
-
Pin the zipper to the fabric strip along the edge with pins.
-
-
-
If you have a zipper foot for your sewing machine, insert it. Keep the needle in the middle position, the seam does not have to go right next to the zipper teeth.
-
Set the stitch length as long as possible (5-6).
-
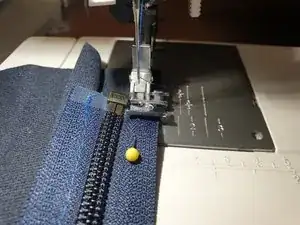
Start sewing at the bottom of the zipper, where it is reinforced with plastic. The sewing machine will pass through it without any problems.
-
Bartack the seam well with a few stitches back and forth.
-
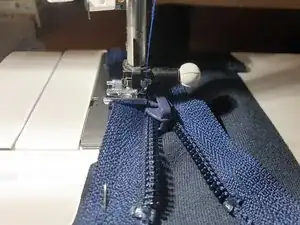
Sew the zipper on. Run the presser foot right along the teeth of the zipper, this way the seam will be straight.
-
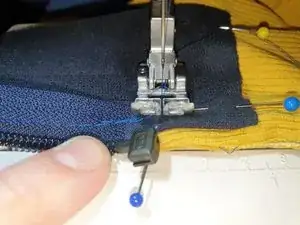
When you are still 6-8 inches from the top, stop, turn the handwheel so the needle lowers and sticks in the fabric, and raise the presser foot. Then open the zipper and slide the zipper past the needle under the presser foot.
-
Lower the presser foot and finish sewing the zipper. Also backtack the top of the seam with a few stitches back and forth.
-
-
-
Place the second strip of fabric in front of you with the right (pretty) side facing up.
-
Fold over the already sewn-on fabric strip and place it right sides together on the second strip. The narrow sides of the strips are exactly on top of each other, and the zipper is edge to edge with the second strip of fabric.
-
Pin the zipper and the second strip of fabric together.
-
-
-
Sew the second strip of fabric to the zipper. Also start at the bottom; the zipper foot must be adjusted so that the needle runs along its other side.
-
Sew the second strip of fabric in the same way as the first (step 4)
-
When both strips of fabric are sewn on, place the zipper face up in front of you. Check the following points:
-
The fabric strips should fold over so that they are wrong side up.
-
The entire zipper is visible, including the zipper tape.
-
The overhanging ends of the fabric strips at the bottom are the same length.
-
-
-
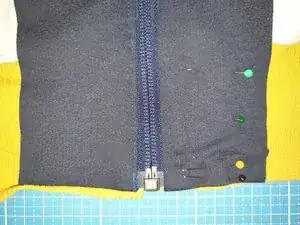
Lay the jacket in front of you with the inside facing up. Mark the place where the zipper should start with a pin. I want mine to go all the way down, if possible, so I put the pin in just 2 mm from the bottom of the cuff.
-
Open the zipper all the way. Fold the slips over so that the zipper teeth are exposed. Place the facings in front of you with the wrong side facing up.
-
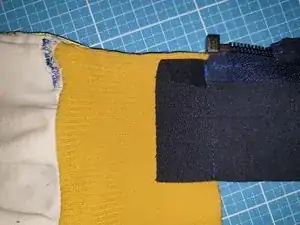
Place the matching half with the facing on top of the cuff so that the end of the zipper is right against the needle.
-
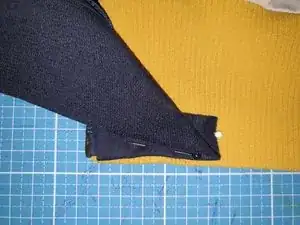
Pin the bottom end of the facing to the cuff.
-
For the next step, choose a thread as bobbin thread that matches the color of the cuff.
-
-
-
It's best to start on the side that doesn't have the zipper - the fabric is thinner there and will feed better.
-
The seam should be at the same distance where you placed the marking pin in step 7, in my case 2 mm.
-
Choose a normal straight stitch (stitch length 3). Bartack the seam and sew the facing onto the cuff. When you get to the zipper, sew as close as possible to its bottom edge. Do not sew over the zipper! And don't forget to take out the marking pin....
-
-
-
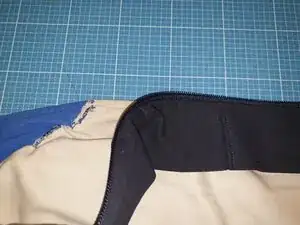
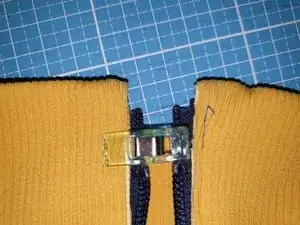
Now flap the facing and zipper over the seam you just sewed so that the zipper is between the jacket and the facing. The zipper tape should now no longer be visible.
-
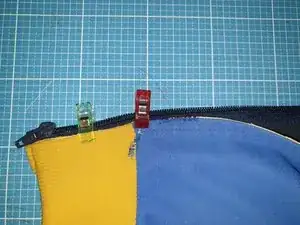
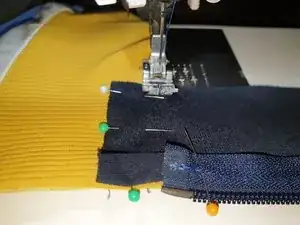
Place the jacket opening against the zipper and secure with fabric clips. The edge of the jacket fabric should end as close as possible to the seam where you sewed the zipper to the facing.
-
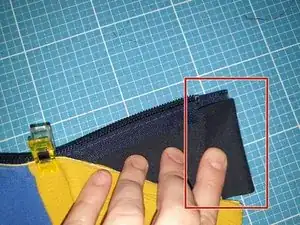
When you get to the top, fold the overhanging part of the fabric strip around the top of the zipper. Secure everything in place with a fabric clip.
-
-
-
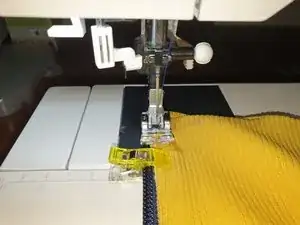
Choose a top thread that matches the jacket fabric and a bobbin thread that matches the facing fabric. Set a slightly longer stitch length than normal so you can get through the thick layers of fabric easily (length 3-3.5).
-
Start at the bottom. Move the zipper up a bit so you can start sewing close to the box piece.
-
Lock the seam with a few stitches back and forth and continue sewing close to the zipper.
-
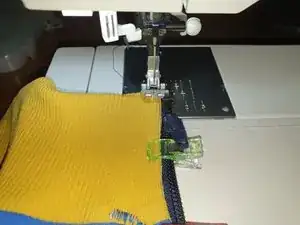
Keep the needle in the fabric, lift the presser foot and slide the zipper past the needle.
-
-
-
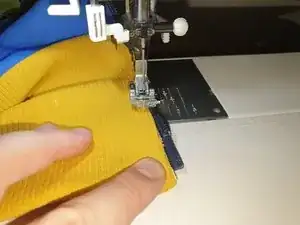
Lower the presser foot and topstitch the zipper and facing to the jacket opening. Make sure the facing is smooth under the zipper and keep it taut as you sew, so there are no overhangs that the zipper could snag on later.
-
When you get to the top, hold it tight so the folded end of the fabric strip doesn't slip out.
-
-
-
Close the zipper.
-
Then turn the jacket inside out so that it lies in front of you with the inside facing up.
-
Place the side of the jacket that is not yet sewn to the zipper as it will be sewn later. It is important that the bottom of the cuffs end at exactly the same height. (It doesn't look like that in the picture, because the fabric curves a bit, but actually the two sides are at the same height).
-
Fold the facing that is not yet sewn to the jacket around the zipper. Then fold it onto the jacket and pin it in place with several pins.
-
-
-
Open the zipper.
-
Now carefully take out the upper pins. Hold the fabric tightly. As soon as you can carefully fold away the upper part of the cover and the folded-over part becomes visible underneath, pin it in place.
-
Then fold the cover completely away and pin it with a few more pins so that you can sew it right away.
-
-
-
Sew the 2nd facing to the bottom of the waistband in the same way as the 1st (step 8).
-
Be careful not to sew over the zipper tape, but just next to it.
-
-
-
Now fold the facing onto the jacket. The edge of the jacket fabric should lie on the seam with which you sewed the zipper to the facing.
-
Secure with fabric clips.
-
When you get to the top, check that the zipper ends the same distance from the top of the jacket on both sides. Correct if necessary.
-
Sew the 2nd piece to the jacket in the same way as the 1st (step 10).
-
Start at the bottom again. This time you don't have to pay attention to the zipper.
-
At the top, be careful to keep the excess fabric folded around the zipper.
-
-
-
Now you only have to sew the facing to the upper edge. Pin them in place with pins. The top edge of the facings should run parallel to the top edge of the jacket.
-
For the bobbin thread, choose a thread that matches the color of the jacket's top fabric on this piece.
-
Topstitch the facings with a single straight stitch close to the edge. Start sewing on the side where the zipper is not, so that the fabric is transported better.
-
Bartack the seam beginning and end with a few stitches back and forth.
-
If this bothers you, you can also sew the facings in place. If the fabric is stretchy, use an elastic stitch, such as a zigzag or the stich that looks like a lightning bolt. With a firm fabric, a straight stitch will suffice.
-
Alternatively, you can spot-fix the facing in a few places by sinking the feed dog and sewing a few zigzag stitches (which will not make a zigzag, but a small bar that is less visible from the outside than a seam).
-
If your jacket has a lining, you can also hand stitch the facings in place with a blind stitch.
-
Finished - your jacket is saved!
