Introduction

Overview:

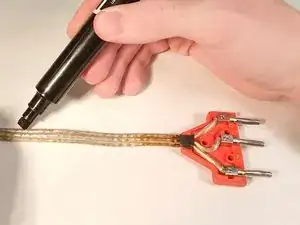
This guide is useful for repairing all types of German (prongs and hard plastic case) fencing bodycords: Foil, Epee, and Sabre. Bodycords can become damaged from normal use over time and/or improper handling. This guide demonstrates how to fix the most common problem with this style of bodycord: a wire break at the clamshell juncture.

Prior Knowledge:

  • How to strip wire insulation without damaging the inner conductor.
  • How to find location of the break. When plugged into the scoring boxes, the break can be found by wiggling the wires at the bases of the plugs and either seeing a white light turn on (foil & sabre) or by holding down the tip and seeing the score light turn off.
    • A side to side motion works best for wiggling.
    • This guide only covers 3-prong plugs, so if you find the break at the 2-prong end (foil & sabre), then this guide can only serve as a reference, not a complete guide.
  1. W1suUajyfCyyT4La
    W1suUajyfCyyT4La
    XD33EvJSCLHy3BIP
    rqnt3agdxycDxlrP
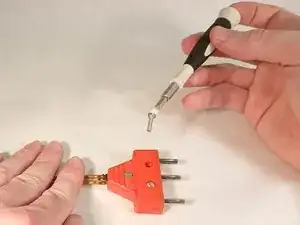
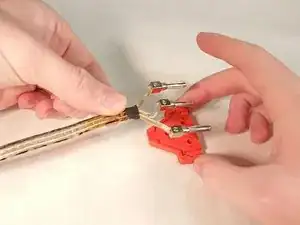
    • Remove the three bolts from the clamshell using a 4mm screwdriver.

    • The clam shell is the hard plastic that protects the internal wiring of the prongs.

    • During reassembly, remember to replace the nuts into their respective holes if they fell out during disassembly.

  2. BKvWrAkkwqgYr5XW
    BKvWrAkkwqgYr5XW
    JFsRvGmFLQ2EvSGq
    gJLEfWkKxSwLD1OQ
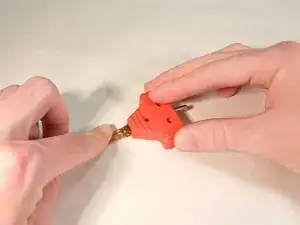
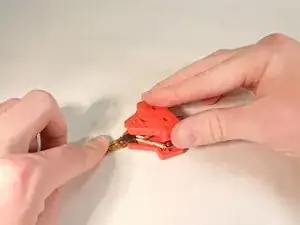
    • Remove the top piece of the clamshell.

    • When reassembling, run the wires within the grooves to prevent pinching. If the wires are pinched, they can become damaged.

  3. hbhr31jA2WBgaGg3
    hbhr31jA2WBgaGg3
    YbDXQoEKTiQgVVSG
    TkiMQV3OevsdAio2
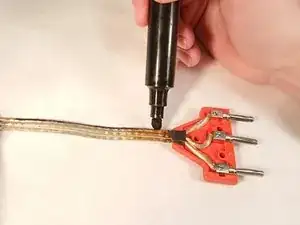
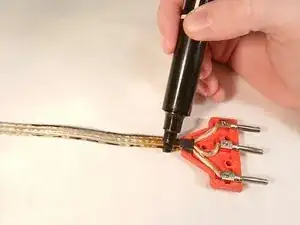
    • Mark the wires with a marker in unique patterns to remember their order.

    • In this case, a solid line marks the wire that leads to the prong that is on the outside and near to the middle prong. A dashed line marks the wire leading to the prong that is far from the middle prong.

  4. 5APBGbXGEQIKAWDQ
    5APBGbXGEQIKAWDQ
    gApHgdyHhqxrUyIX
    Exsg3LQsHyEWrOeE
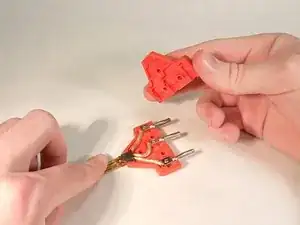
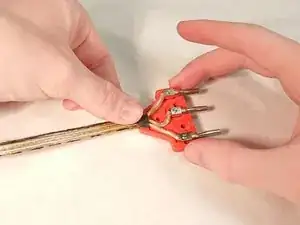
    • Lift the wires and prongs out of the clamshell.

  5. QXEpDHuChFnQHTb1
    QXEpDHuChFnQHTb1
    XrjReIbA66yYClXo
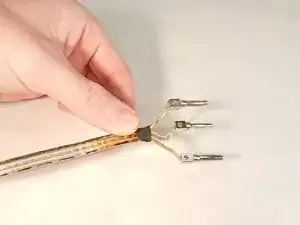
    • Pull the shrink wrap down the cord.

    • During reassembly, remember to place the shrink wrap partly into the clamshell.

  6. 6jZcFkSniuCYVBVu
    6jZcFkSniuCYVBVu
    MWEByj1Jdtuh6EeA
    aKdSGlolRafBWC2D
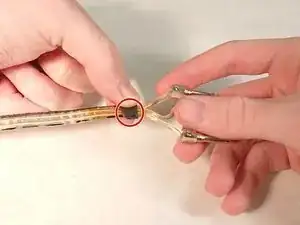
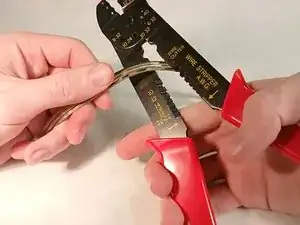
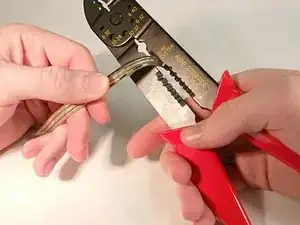
    • Be careful to cut all three wires to the same length.

    • Cut the wires below the break point.

    • Usually the break point is at the place where the wires enter the clamshell.

    • Start by cutting small amounts at a time; if you did not cut below the break point, you may cut more of the wire as needed.

  7. eEghRrBEgm1QKVee
    eEghRrBEgm1QKVee
    ghdKrLPSsNouaAyX
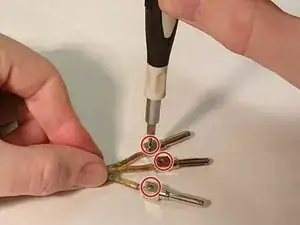
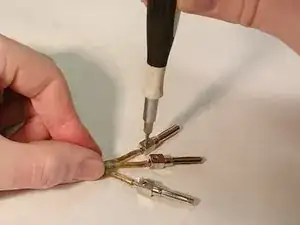
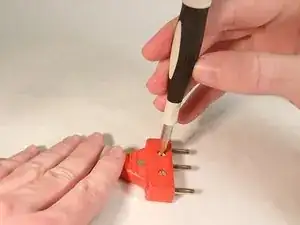
    • Loosen the grub screws on each prong using a 2mm screwdriver.

    • You can remove the screws. However, it is easier to just loosen them for reassembly.

  8. sSn4aUVhT14OXloe
    sSn4aUVhT14OXloe
    2ShUhPcKdJvlwx6l
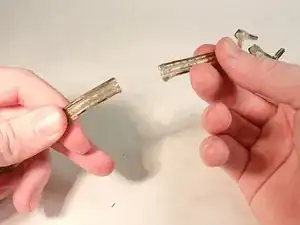
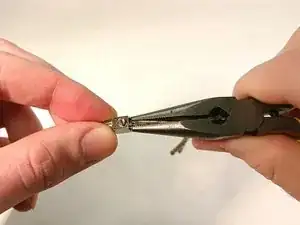
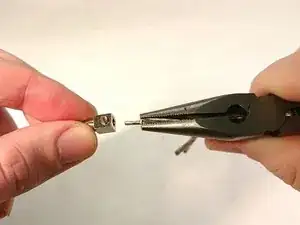
    • Remove the wires from the prongs using fingers or needle nose pliers.

    • Set the prongs aside.

    • If pulling straight out is difficult, try a gentle twisting motion inline with the prong.

  9. BxtTnQ3DnghDYVLF
    BxtTnQ3DnghDYVLF
    xrtLWIpq4i5bDd5S
    BngWxC5ZHXoFODkc
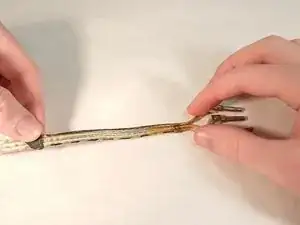
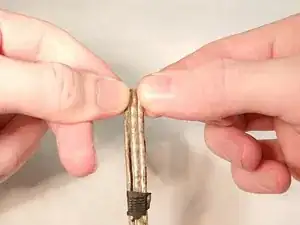
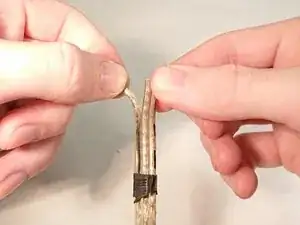
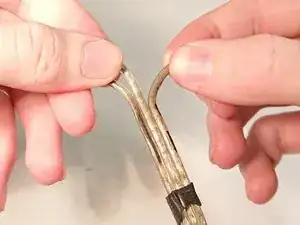
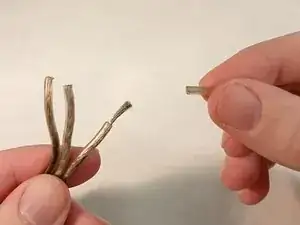
    • Peel the wires of the cord apart about 1" (2cm).

    • Use the part of the wire that you cut off as a reference for how far to peel the wires apart.

  10. H261X6dTBKRxUvE3
    H261X6dTBKRxUvE3
    Mr5keQvpaN4jTEIm
    eQBQTmuIxYtbmcR6
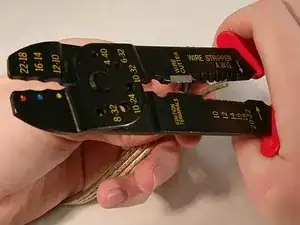
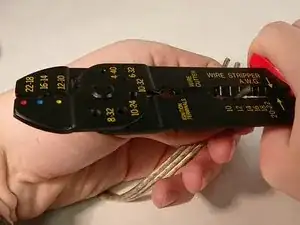
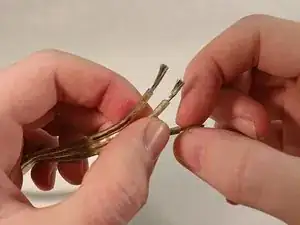
    • Strip the wires, about 1/4", or 5 mm, from the end.

    • Stripping the wires is removing the plastic insulation to expose the inner metal conductor.

    • Repeat for each wire.

  11. 1SpeXGCfIbFsYMQs
    1SpeXGCfIbFsYMQs
    UUKdOLFv1opXJlVI
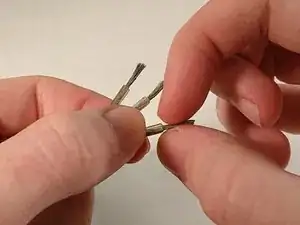
    • Twist the loose wire strands together.

    • Repeat for each wire.

    • This step facilitates reinsertion of the wires into the prongs.

Conclusion

To reassemble your bodycord, follow steps 1-8 in reverse order, skipping steps 3 and 6.

To keep your bodycord in working order longer, remember to always pull it out of the sockets by holding onto the plastic, not the wires.
Aidan Fox-Tierney

Member since: 20/02/20

205 Reputation

0 comments