Introduction
This guide required
Tools
-
-
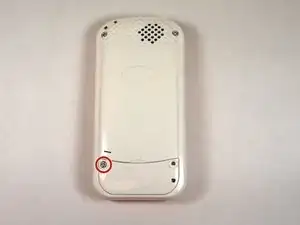
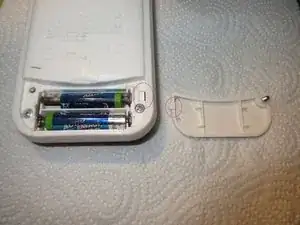
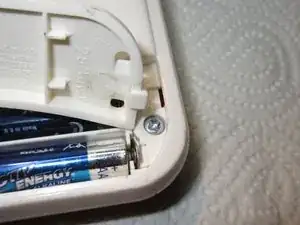
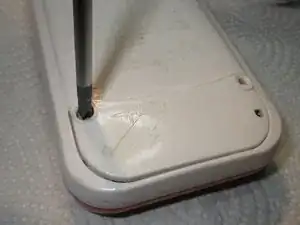
Using a Phillips #1 screwdriver, remove the 4.8mm screw on the battery cover by twisting the screwdriver counter-clockwise.
-
-
-
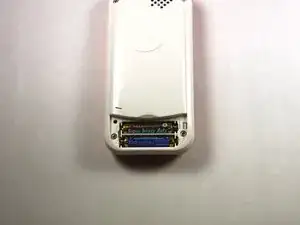
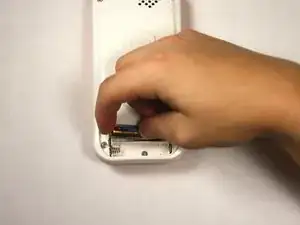
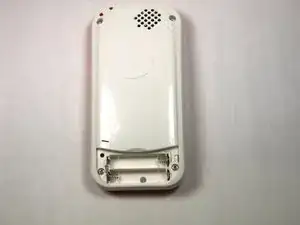
Remove the two AAA batteries by pulling on one end of the battery and lifting it straight out.
-
-
-
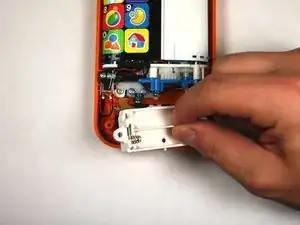
Remove a single 4.8 mm screw with a Phillips #0 screwdriver and lift away the battery pack being careful of the wires.
-
-
-
Remove the single 7.5mm screw with a Phillips #0 screwdriver.
-
Lift up the black plastic piece.
-
-
-
Lift the button board up and away to clear room for lifting the motherboard.
-
Tilt the assembly up but being wary that it is still attached to the front panel.
-
-
-
To reassemble, align the two black lines together by moving the belt back and forth.
-
Once aligned reinsert the toothed slider at the exact point shown.
-
To reassemble your device, follow these instructions in reverse order, skipping step 10 as the toothed slider has already been put in for proper alignment.
One comment
Good work !
Nice.
I did not see the black line in mine,
i opened the foil and glued it new together . Not so nice. :D
But it works.

