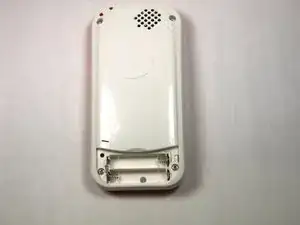
Introduction
This guide will required soldering, and if you do not have experience with soldering you should first read up on this process as it requires the use of a dangerous tool.
Tools
-
-
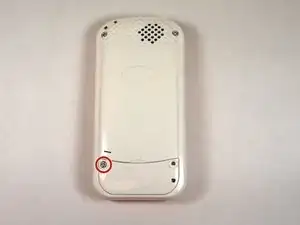
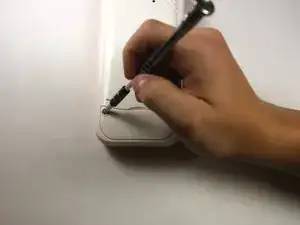
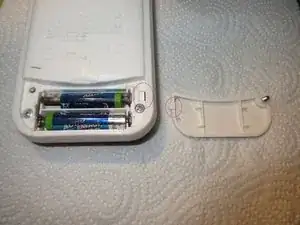
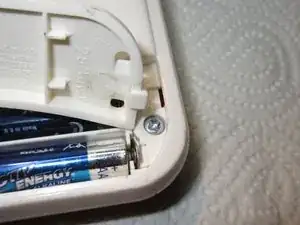
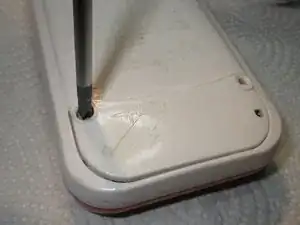
Using a Phillips #1 screwdriver, remove the 4.8mm screw on the battery cover by twisting the screwdriver counter-clockwise.
-
-
-
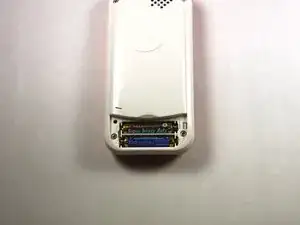
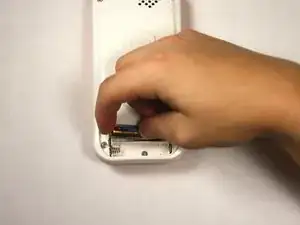
Remove the two AAA batteries by pulling on one end of the battery and lifting it straight out.
-
-
-
Remove the 1 4.8mm phillips head screw with a #0 Phillips head screw driver and lift away the battery pack being careful not to tug on the wiring.
-
-
-
If the batty casing solder has been disconnected you will see that the pair of red and black wires near the battery pack are no longer connected.
-
You will need to solder back on these wires to the two silver soldering plates on the battery case. The black wire should be soldered on to the plate closer next to the square plastic piece attached.
-
To reassemble your device, follow these instructions in reverse order.

