Introduction

This guide shows the owner how to clean a dirty scanner bulb that could be causing bad scans with your Repairing Microtek ScanMaker 5900 scanner.

  1. ZKKD2ODgdNE6ycPL
    ZKKD2ODgdNE6ycPL
    b3GsvWC5ZEMIYNKA
    kbNJVPUgVaKWgf3t
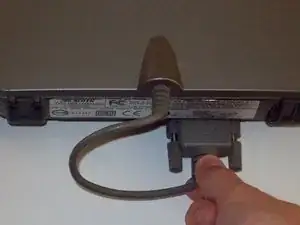
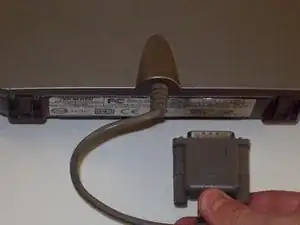
    • Loosen the screws on the serial port by turning them counter clockwise by hand.

    • After loosening the screws, pull the serial port out.

  2. dkFDbiKh1FEcQKJK
    dkFDbiKh1FEcQKJK
    n3WnQouIh6cnqyS2
    EnTuXlHFPdBOoHty
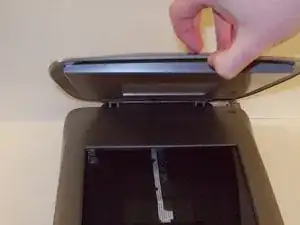
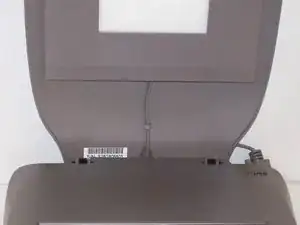
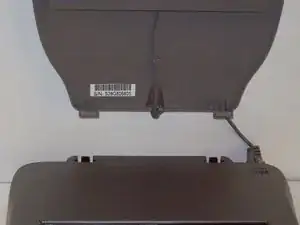
    • Lift lid to its vertical position.

    • Pull lid straight up to remove it from the scanner.

  3. wLDWDV2XaeuNmpR5
    wLDWDV2XaeuNmpR5
    jZnPhPqcLxoDQkg5
    HXGHaRfAp22jpQku
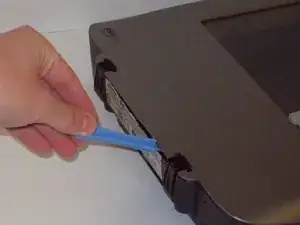
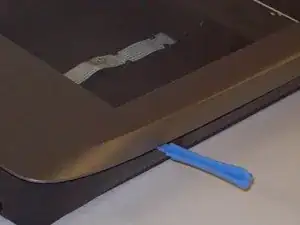
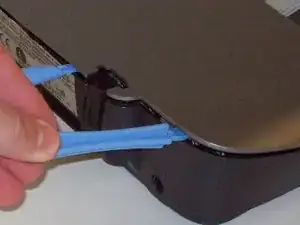
    • Push the plastic opening tools into the crack between the top and the bottom of the chassis.

  4. nSCVSiNHmwuLSBUr
    nSCVSiNHmwuLSBUr
    cXOp6JdrHXFk6vmy
    DKBPirTImIWRYKAS
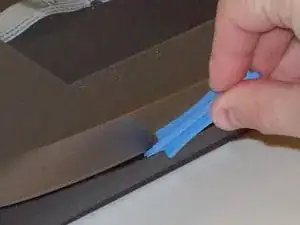
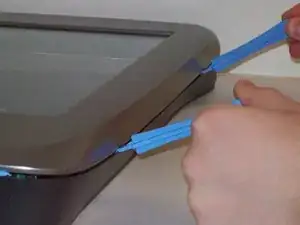
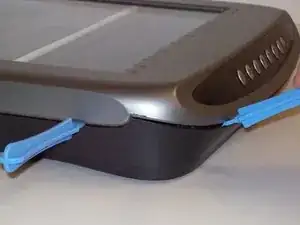
    • After placing one plastic opening tool into the slit, slide other plastic opening tools along the slit to detach the top from the bottom of the chassis.

    • Go all the way along the chassis until you can lift the upper lid.

  5. 5qZS4ybAA1THHcEQ
    5qZS4ybAA1THHcEQ
    w2IceuWIHWxxNUHs
    nYJWZ5uCTvfc1UsO
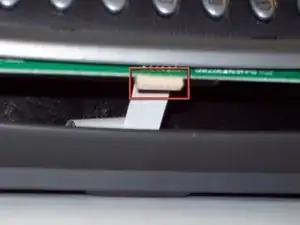
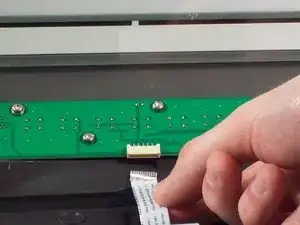
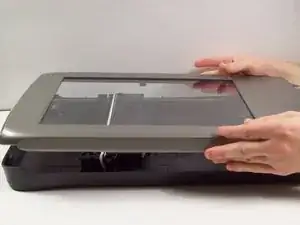
    • Do not fully remove the lid until you remove the ribbon cable attached to the front of the upper lid.

    • Do this by grabbing the upper lid from the sides and rotating it ninety degrees so it is perpendicular to the bottom lid.

    • Grab the ribbon cable and gently pull it out of its slot with your fingers.

    • The upper lid can now safely be removed from the bottom lid.

  6. Ywc1Sud4qoEjZEXO
    Ywc1Sud4qoEjZEXO
    t2IJYfhSb2OLmCMn
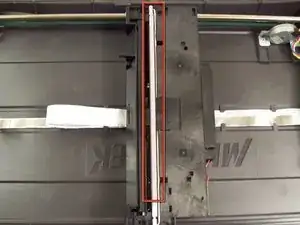
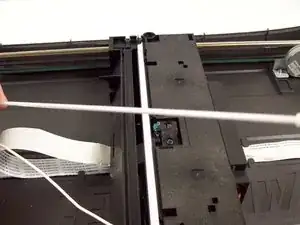
    • After opening the chassis, you will see a white bulb spanning the width of the scanner.

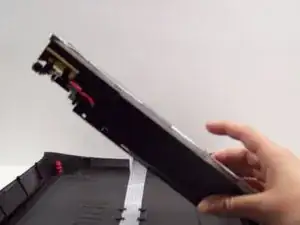
    • Lift up the black piece of plastic the bulb is attached to from the left hand side until it is perpendicular with the bottom lid of the scanner.

  7. hEDKVAjSupbDvwxS
    hEDKVAjSupbDvwxS
    ssWB3GtAmjDeVOHE
    i6YSqcyDPBQgZyxM
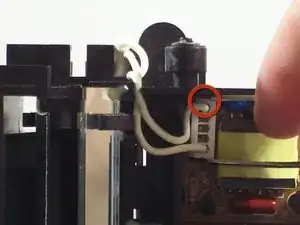
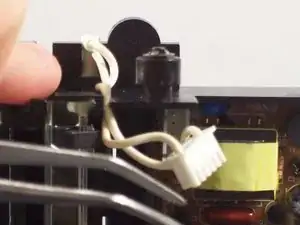
    • Use tweezers to grab the plastic casing the wires are housed in.

    • Gently jiggle the plastic back and forth until it can be pulled from its connection.

    • Pull the wires out of the circuit board.

    • Pull the wires up and out over the top of the plastic housing.

  8. wFeFEQcue5ilGgXh
    wFeFEQcue5ilGgXh
    g2MrpLhlGS3VwxZn
    xXDWrADJKrmHntQM
    • Place the plastic housing back into the bottom lid of the scanner.

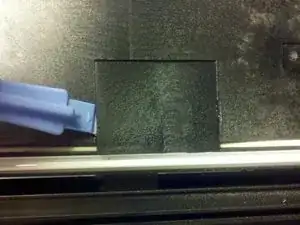
    • Remove the plastic panel by gently pushing on the plastic latches with a plastic opening tool.

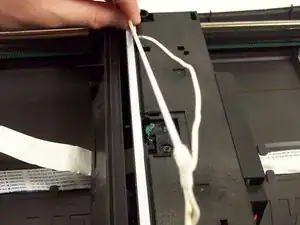
    • Pull the bulb and wire out of its plastic casing.

    • The bulb is now free to be replaced.

  9. M5RdQD1kOPXaXrRv
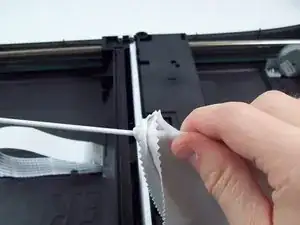
    • After opening the chassis and removing the bulb, simply take a cloth and wipe down the bulb.

Conclusion

To reassemble your device, follow these instructions in reverse order.
Taylor Nesheim

Member since: 12/10/11

59 Reputation

0 comments