Introduction

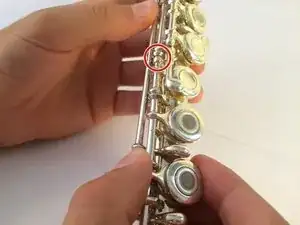
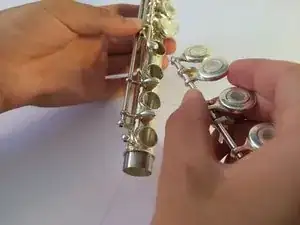
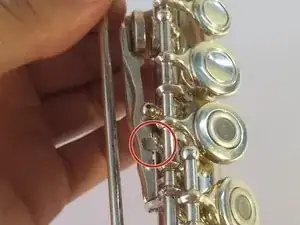
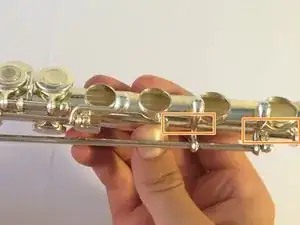
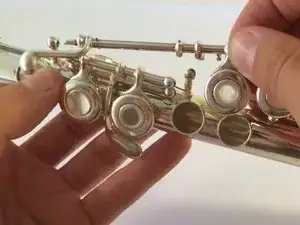
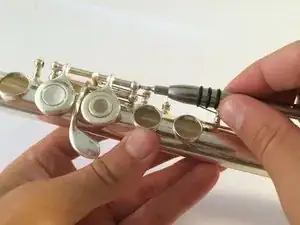
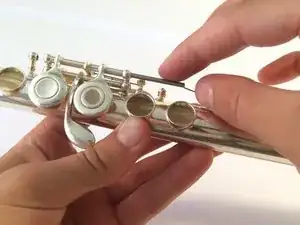
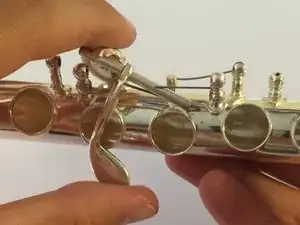
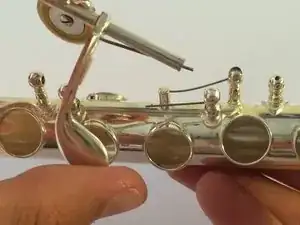
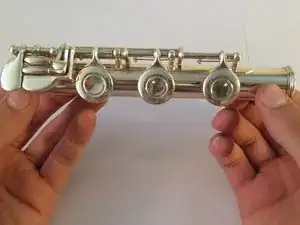
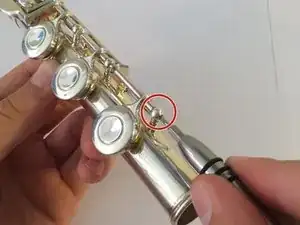
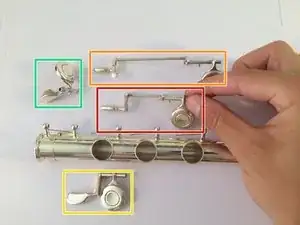
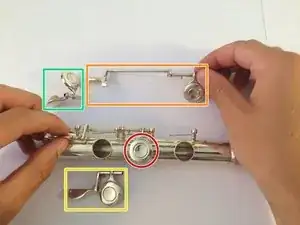
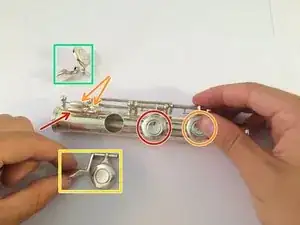
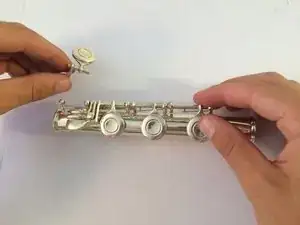
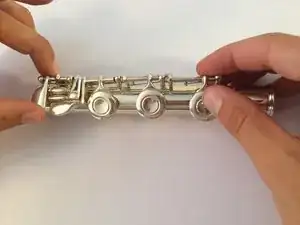
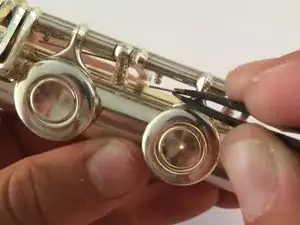
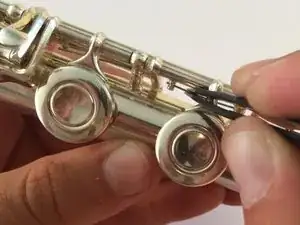
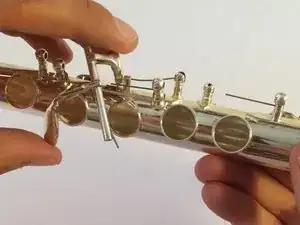
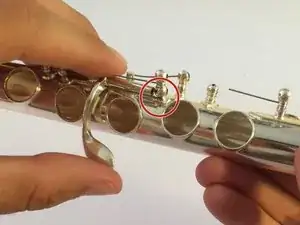
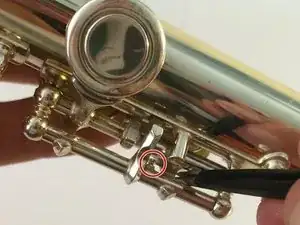
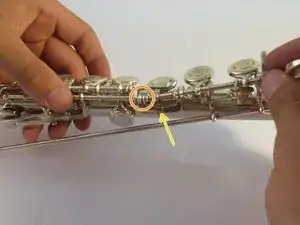
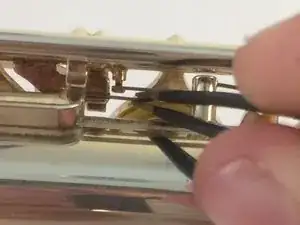
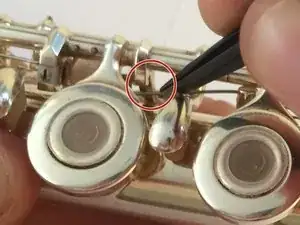
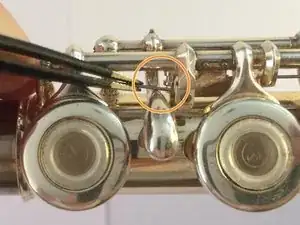
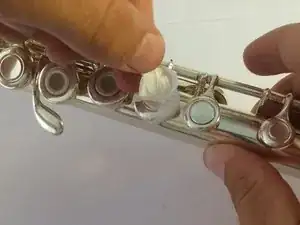
The flute I'm about to show how to repair is a French Model flute (open hole keys). However, this method is applicable to the Plateau Model as well as other types of traditional concert flutes. If the connected keys on your flute aren't synchronized properly, follow step 1 and then skip ahead to step 40. If your flute has sticky keys, after following the first step, skip ahead to step 41. If your key has a missing pad, complete the first step and skip ahead to step 42. If your flute still won't play after completing these steps, then continue from step 2. Based on the location of the key needing repaired, some steps may not be necessary. Follow the instructions contained in the guide for details.

  1. IhBFAKCbO5Eisrhv
    IhBFAKCbO5Eisrhv
    VytoMevfulcadfdl
    yZdS41TrY4eqXonx
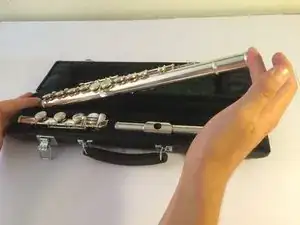
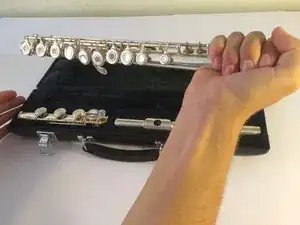
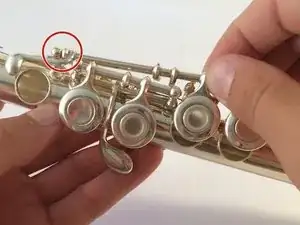
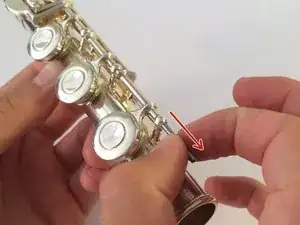
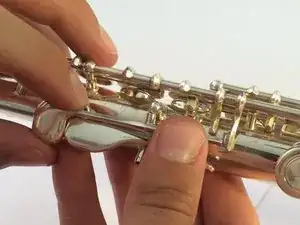
    • Do not grab the body of the flute by its keys when removing it from the case.

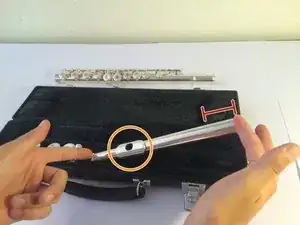
    • Instead, grasp it by the tenon section, where you won't put stress on the springs.

    • Remove the head piece in a similar fashion.

    • Avoid contact with the nickel-silver portion of the tenon when holding the head piece. The sweat from your skin leaves behind acids that can eventually corrode it.

    • Also, don't grab the head piece by its lip plate. If you are wearing a ring, you could scratch the embouchure hole.

    • It is okay to grab the foot joint by the bottom two keys (the ones connected to the B and C rollers).

  2. dCxsQJDfgLeBT1Zt
    dCxsQJDfgLeBT1Zt
    WKxdbUgsYMU4SWW3
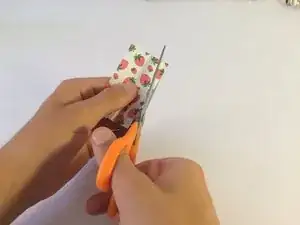
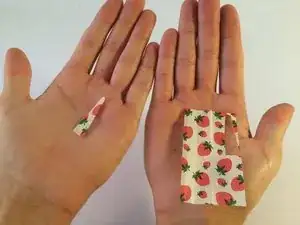
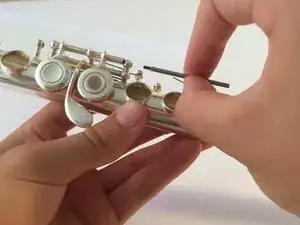
    • Use a pair of scissors to cut out a small strip of rolling paper.

    • The size isn't critical, so don't worry if it doesn't look identical to the one in the guide.

  3. FLD1Ukh6SfOLf6RP
    FLD1Ukh6SfOLf6RP
    UtEhDHTGDwboQ1st
    tdJhiPYJ3PPxQuuJ
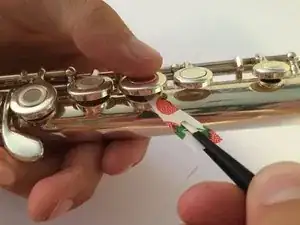
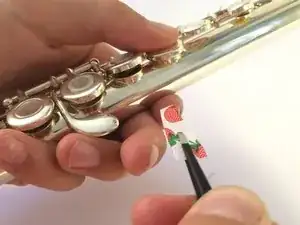
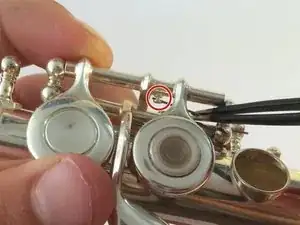
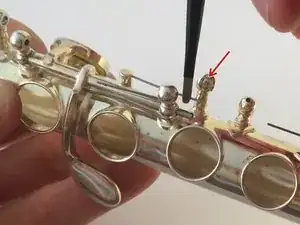
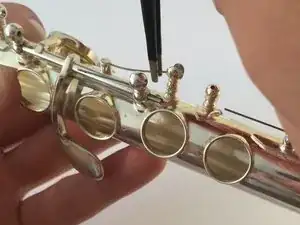
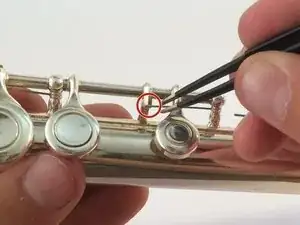
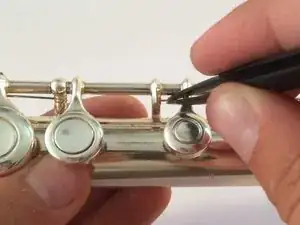
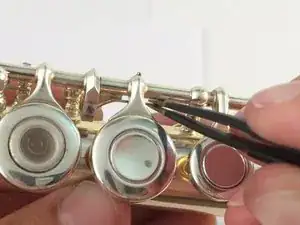
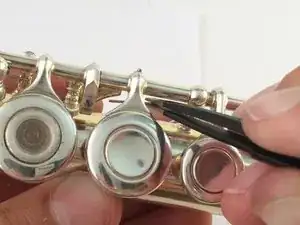
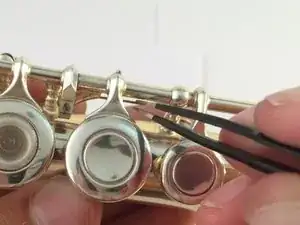
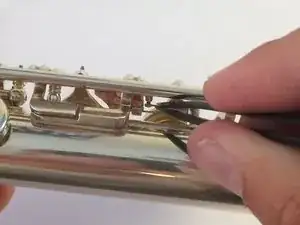
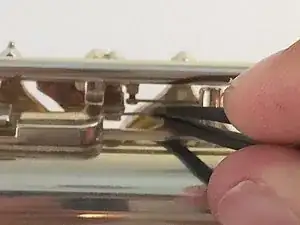
    • Use tweezers to hold the rolling paper.

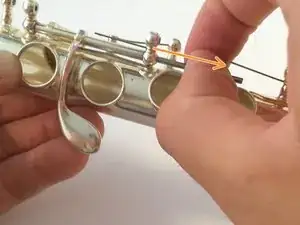
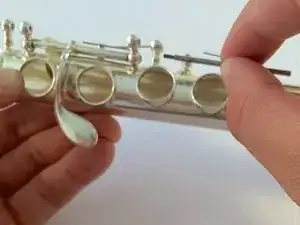
    • Press the key lightly on the paper and pull outward.

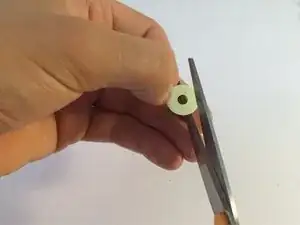
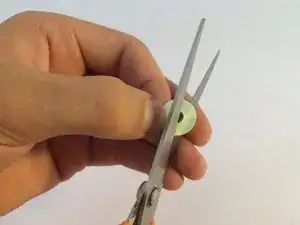
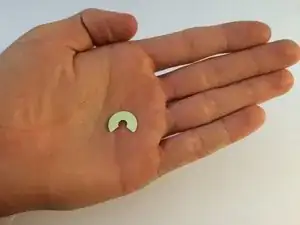
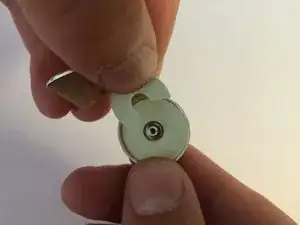
    • Try this at eight different angles from the center of the key.

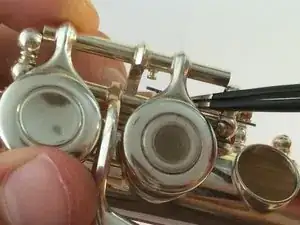
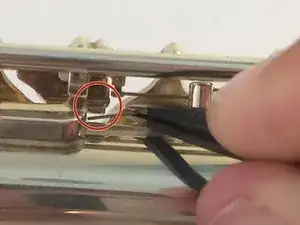
    • If the felt pad is making proper contact, you should feel a drag. If you feel that there is little or no drag, then you have identified the key that needs to be repaired.

    • Hopefully, there is only one side of the key that has this issue. Otherwise, you may need a new felt pad.

  4. rxVjFcec2LmlXwii
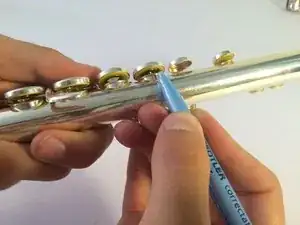
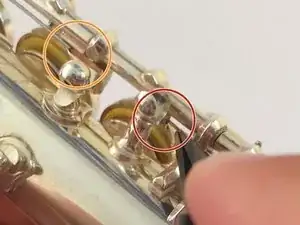
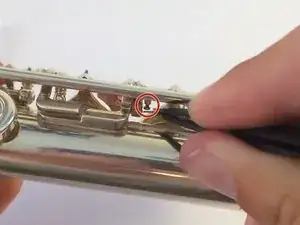
    • Mark the felt pad and the metal next to it where you felt little or no contact.

    • This step is important! We will use this later as a reference for the fix.

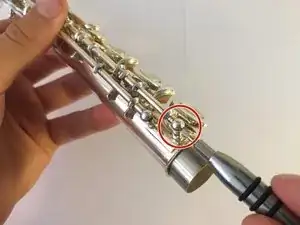
    • If your misaligned key is located only on the foot joint: skip ahead to step 20 to avoid unnecessary disassembly.

    • For repairing a key located on the body: follow the proceeding steps until you've successfully disassembled the key of interest. There is no need to disassemble the flute any further, so follow the guide as far as necessary and then, skip ahead to either step 20 (if a key in the foot joint needs fixing) or step 22.

  5. IkCuKKXFciIxsTdx
    IkCuKKXFciIxsTdx
    g6ELSAimThvCLPjQ
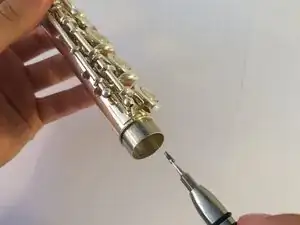
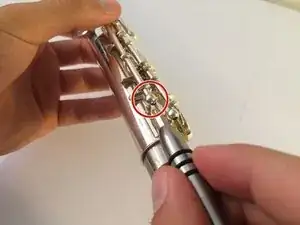
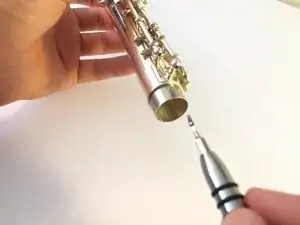
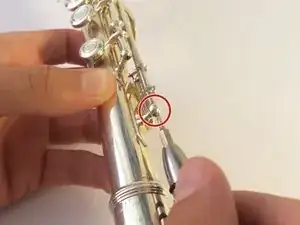
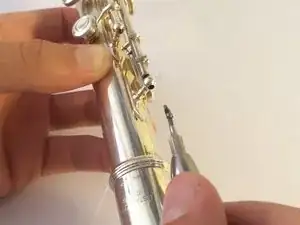
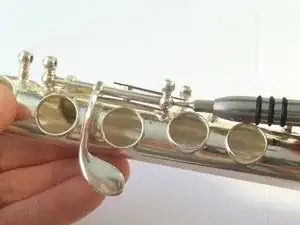
    • Remove the screw connected to the F, E, and D keys.

    • Keep track of which screw goes where for when you reassemble it.

  6. CoCnYYheOA5QcmAV
    CoCnYYheOA5QcmAV
    Ob5hHZTkgwEKDMXu
    • Repeat this step for the rail below the first one.

    • The keys will become lose and the rails will become misaligned. Relax, this is supposed to happen!

  7. EoPFggsbfoNTcTXX
    EoPFggsbfoNTcTXX
    H4STopKfiBhdVQVV
    • On the other side of the flute, remove the screw connected to the same rail from the previous step.

    • That rail should be free when you loosen the screw.

  8. VT5XhNHsZfKMtal1
    VT5XhNHsZfKMtal1
    XXCkDSEsc2xbl5ZR
    tpXS4qod6Y3t6dtu
    • Remove the rail that has the F, E, and D keys.

    • The long rail can budge to the left enough for the shorter rail to slip out.

  9. TwFGkHD4IpQcG1eI
    TwFGkHD4IpQcG1eI
    XGUIKWR3BSNTEJhx
    • The D key should be free to slide from the rail. Be sure not to lose it!

  10. bJMp4H2dwjxYgjX2
    bJMp4H2dwjxYgjX2
    PI15QTQSjExGSSpG
    VyfEKrtGvJgFhQNA
    • Push the rail out of the small groove.

    • Weave the two trill keys (D and D#) out from underneath the springs.

    • It's OKAY if they bend.

  11. L1rDEcetipjiZoF2
    L1rDEcetipjiZoF2
    lJ142pFtZnn5YDdC
    bbaHKUPDOlowp4Jt
    • This step is not necessary unless your misaligned key is the B tab. If this is not your misaligned key, skip this step.

    • Remove the rod located at the bottom of the vertical rail.

    • All the rods are like long screws and it's all one piece.

  12. JLZReBGgkXxcp6CI
    JLZReBGgkXxcp6CI
    ArVlq1YANFufhXje
    ayjxqaPtZYy1EsiE
    • Next, loosen the screw connected to the C, B flat, and A keys. This screw is actually a rod. Pull this rod out using your fingers.

  13. 2KlMbx2Gxk4wA2ME
    2KlMbx2Gxk4wA2ME
    3RAfObTOOHOBWmxD
    CQYkWBDMObQWrFwd
    • Remove the C key. This will make the next steps easier to complete .

    • On the same rail, remove the rest of the keys (B flat and G).

    • There should be a point where it connects. Just pop it out and remove the rail.

  14. bshR1w4YlgHTJQTK
    bshR1w4YlgHTJQTK
    REWWvUcNTQFPfcUx
    x5CRIh3kW1DNINpk
    • The next step is to loosen the screw that holds the inline G keys.

    • Same drill: pull out the rod that holds it together.

    • There are a few rods involved in this disassembly. To avoid confusion, place them aside in an order that will remind you how to put them back.

  15. EpyY5tkAix4sftT4
    EpyY5tkAix4sftT4
    LJVV2NPpmATSr1qC
    KNank22WaJUVFsWk
    • To make the removal of the inline G keys easier, use tweezers to move the spring out of position.

    • The spring will hang loose for now.

  16. cRejR31EmKTLniSo
    cRejR31EmKTLniSo
    4QYuR1UqtQJ1UuQK
    • The inline G keys should come out easily.

    • Now, loosen the rod connected to the G# lever.

  17. WyVocWO1GDt5LIjp
    WyVocWO1GDt5LIjp
    ndQTBUOp24AykZ3t
    • This is the most difficult rod to remove, so to make it a little easier on yourself, get the spring out of the way by moving it up into the groove.

    • Don't worry about bending the spring too much. If it loses it's original tension, it can be easily be corrected by stretching it in the opposite direction.

  18. ROHjjVcXSCJEk2XB
    ROHjjVcXSCJEk2XB
    3jQMavYlYDnV42f4
    • Be careful when removing this rod! The spring opposing your direction of motion means business! You can use your free hand to hold it out of the way if necessary.

    • Carefully slide the rod out.

  19. h2NQ6dRvKLYJuRli
    h2NQ6dRvKLYJuRli
    5vyKoUNNRGhLLBrW
    • The G# lever should come out easily.

    • This is the last key to be removed from the body.

    • If you do not have a misaligned key on the foot joint, skip step 20 and step 21.

  20. dcDMhCpcg2BngGDW
    dcDMhCpcg2BngGDW
    K2kGJ4i3vAdDWhIL
    VOJjvMQKbrCwyuYX
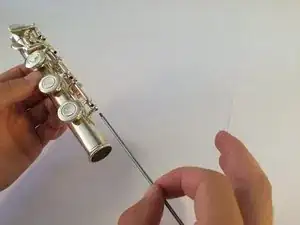
    • Disassembling the foot joint is simple. Loosen the screw at the end of the rail and pull out the long rod holding it all together.

    • This is by far the longest rod in the flute!

  21. ySpcwqFsFaZPJeNu
    ySpcwqFsFaZPJeNu
    QuQyPK35XGOhPp4o
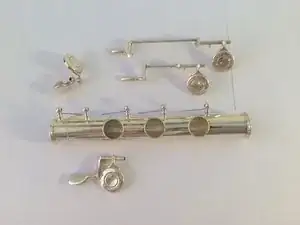
    • When you pull out the rod, everything will fall apart. This is okay, it is what is supposed to happen. Just be sure not to lose any parts in the process!

  22. XvYrMtaWLJOjPYCi
    XvYrMtaWLJOjPYCi
    JWbeNysy6njn4QpU
    rOfA4Dof2FOVR622
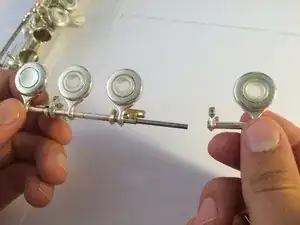
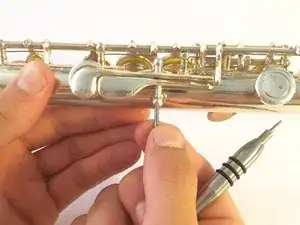
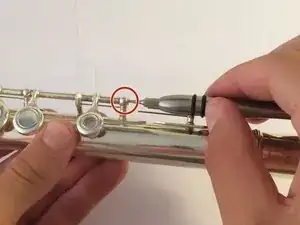
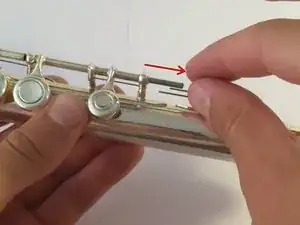
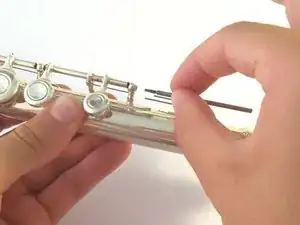
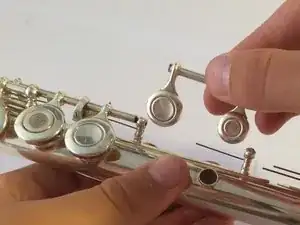
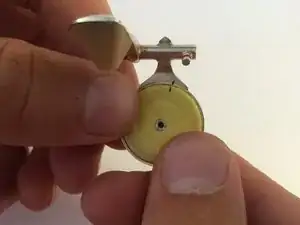
    • Once you've been able to remove the malfunctioning finger key, it is time to take it apart.

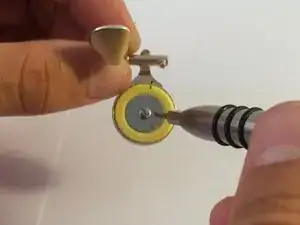
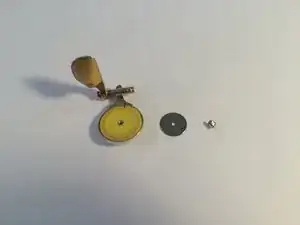
    • Be careful removing the screw, it is tiny, as well as nonmagnetic. It is very easy to lose!

  23. MuYYZrTv3k6oOcsW
    MuYYZrTv3k6oOcsW
    2BqP6ZxQl4JfLMgv
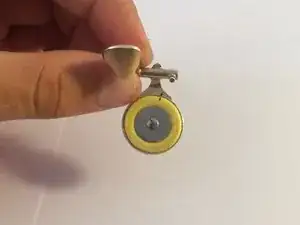
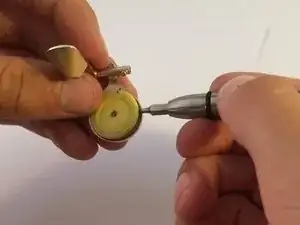
    • Using the screwdriver, gently lift the pad out of the cup.

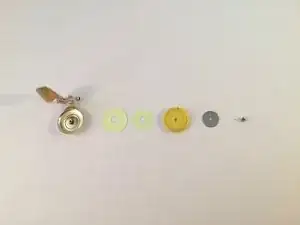
    • Behind the pad there will most likely be a couple paper shims that were placed there previously.

    • The items laid out left to right go in the cup from bottom to top, respectively.

  24. FsrtGKnyRZVVTKj4
    FsrtGKnyRZVVTKj4
    tsqQa1j4VS2h1MEQ
    1FkpTa5sjiR5fcPZ
    • The amount of additional paper shims you may need ultimately depends on the condition of the repair.

    • Using scissors, cut out about a third of a new paper shim.

  25. nHpRPwxsnDGGDdfG
    nHpRPwxsnDGGDdfG
    IRsnXJps62HiMrBN
    rkoRFGNXMOSVCEXI
    • Place the cut paper shim back into the cup after the supporting, whole shims. You may need to place more than one cut paper shim if the misalignment is more severe.

    • Important: Be sure that the orientation of the cut shim aligns with the mark made on the metal of the cup.

    • If your repaired key is located only on the body, skip ahead to step 29.

  26. CMnZALZowmwECZvH
    CMnZALZowmwECZvH
    tuIKDLVkwtS12OQS
    TMOgFrvAxtw5DKSf
    • For the reassembly of the foot joint, the keys go back in this order:

    • C roller.

    • B roller.

    • This part has a "gizmo," which is a distinct tab attached to the roller.

    • C# touch.

    • D# touch (pinky key).

  27. WnctDjICIww3TKtO
    WnctDjICIww3TKtO
    fydl2EBLbUWQAG1k
    • It's a bit tricky trying to keep all the pieces lined up when inserting the rod.

    • It's a bit easier to slide it in one section at a time, rather than trying to do them all in one shot.

  28. 2CYO2UIlfRjRgYSR
    2CYO2UIlfRjRgYSR
    2vxCYAWqCjlZepB1
    • You'll notice that all the keys aren't open. This is because the springs aren't in the proper place.

    • To fix this, use the ridged tweezers to grab the spring and put it behind the peg.

    • You may need to wrestle the spring a little bit. Try your best not to scratch the silver plating of the flute with the tweezers.

    • If your repaired key is located only on the foot joint, skip ahead to step 40.

  29. Vi2mG23pIwYu2VLh
    Vi2mG23pIwYu2VLh
    ejyGvAl6JFwtsUok
    • When putting the G# lever back in place, make sure its spring is loaded against the post on the right.

    • Follow the disassembly directions in reverse order, as well as these steps to ensure that all the springs are put back in place. The flute doesn't need to be taken apart a second time.

  30. 1qVfOVTx6s1Am2gk
    1qVfOVTx6s1Am2gk
    GI1obkPwVLRJb5u6
    • After putting back the inline G keys, make sure to put back the spring behind the peg.

    • This is the only spring you removed during disassembly.

  31. 3ESJBtyI1HWnlivs
    3ESJBtyI1HWnlivs
    6hnxFihmEaf2yylV
    • This is the spring by the C key.

    • Notice that the spring is in front of the metal groove.

    • Use the tweezers to put the spring behind it and in the groove.

  32. WxAe4GALvehZ6cik
    WxAe4GALvehZ6cik
    DhTMbj2mJSmeuWtR
    McFUNT5sSEhdIFeU
    • This is the spring of the B flat key (next to the C key).

    • Again, this spring needs to go behind the small plate, into a little slot.

  33. G4kG1m1LEGMimIFI
    • This spring needs to be put back behind its peg.

    • For reference, that plate with the spring in its groove is the spring that was fixed in the previous step.

  34. UDFaYaU2qftO4bem
    UDFaYaU2qftO4bem
    uwKTNbkJjFELVt3X
    • If you did not remove the B tab, skip this step.

    • Align the two separate tabs so that the rod fits back through.

    • Make sure that the tip at the end of the skinny tab returns under its corresponding strip of metal.

  35. WbJfatW3FZ2jkkmI
    WbJfatW3FZ2jkkmI
    KsnrwqwPgy36aYmi
    • In order for the reassembly to work for this piece, remember to put the trill keys under the corresponding springs.

    • Make sure the rail is rejoined at that point.

    • That tab fits behind the one fixed there.

  36. OB1eo2EaR3frTRLU
    OB1eo2EaR3frTRLU
    LYp1TRAkTuyGUABQ
    O1yrFnfnWUtiFKYR
    • After putting the screws back, fix the springs that connect to the trill keys.

    • It will be easier if you do the top one first.

  37. QpVQEmHjPxxlbxqH
    QpVQEmHjPxxlbxqH
    uEXMnOYy3tNITtbV
    • These are the springs behind the F and E finger keys.

    • The top spring goes behind the peg.

  38. MtaFYmEvToNGNmml
    MtaFYmEvToNGNmml
    DYudQwdIBJ2tkYYF
    adMFLFdeyq1IRYoC
    • The bottom spring goes behind the small plate in a groove.

  39. 2KQkMxExEFKSBxUb
    2KQkMxExEFKSBxUb
    FZCUwpLAepgUVTbh
    BFsssXY4lE6DHTLC
    • This spring between the F and E keys isn't hard to reach. Fit it in the small groove.

    • The spring between the E and D keys goes behind a small peg.

  40. 6fQx5jDpUcethcBY
    6fQx5jDpUcethcBY
    qLtJbPr5kJLDSUgD
    NYK6e1P5MHi3Myxs
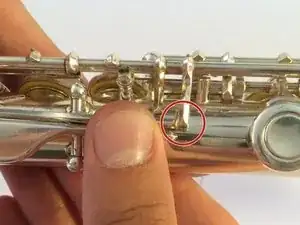
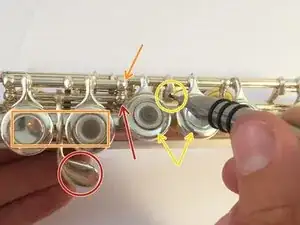
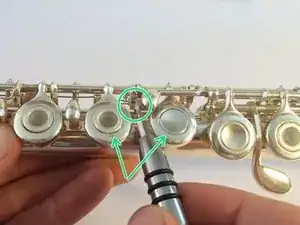
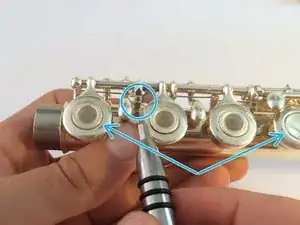
    • When putting your flute back together, some keys may seem either too easy or to hard to press. This is related to the tightness of the screws in the rails, as well as small screws between finger keys that have not yet been mentioned.

    • The tighter the screw, the more finger keys that will resist being closed.

    • To adjust the G# lever, change the tightness in the corresponding screw in the railing.

    • To adjust the inline G keys, play with the screw in the attached rail on top of the G# lever railing.

    • The B tab on the other side of the flute is also adjusted in this fashion.

    • This screw, as well as the next two screws in this step, do not hold anything together. They act as modifiers that adjust the synchronization of connected keys not attached to a rod backbone.

    • This alters the F and F# pair.

    • This screw changes the coordination of the D and F# keys.

    This is related to the tightness of the screws in the rails, as well as small screws between finger keys that have not yet been mentioned.

    If the key is too easy or too hard, it is either the spring tension behind the key, or that the screw doesn’t fit well anymore and needs adjusting by a professional. Please don’t over-tighten these screws in an attempt to make the key move less easily.

    The tighter the screw, the more finger keys that will resist being closed.

    1. Just, no

    2. The screws in the rails do NOT do this. They are pivots, on which the key rotates. If they are tightened as suggested, then the key will resist opening just as much as it resists closing, and can cause major problems.

    Merip -
  41. 1OUa43FQVl2WSGG1
    1OUa43FQVl2WSGG1
    P6JTlHjnqhYOHqcO
    bZIWFHxHhsTOO2TZ
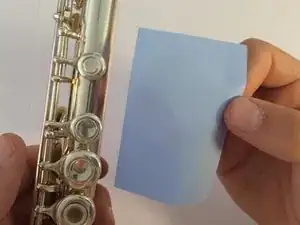
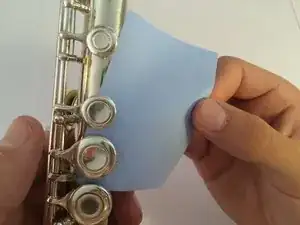
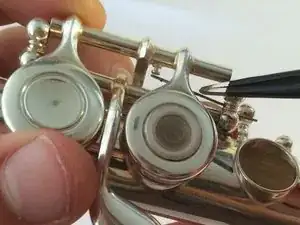
    • When practicing the flute for a good amount of time, finger keys often get sticky. This can affect the time it takes for the pressed key to return to its original open position, something fast playing musicians can't afford.

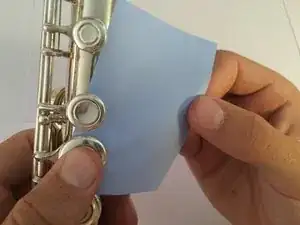
    • Put an oil absorbing sheet under the sticky key and lightly press down on the sheet.

    • Release and gently remove the sheet.

    • DO NOT pull the sheet out like the rolling paper. This could lead to misalignment of the felt pad.

    • When cleaning the silver plating on the flute, do not wipe underneath the keys. Similarly, this could also lead to damage of the felt pads.

    • You'd be amazed by the amount of grime you might find trapped in the keys. Oil absorbing sheets work best to get the moisture out of the keys, in addition to the grime.

    • Dollar bills also can work, but not everyone has that kind of money.

  42. KBkXjnNQgKpptkfD
    KBkXjnNQgKpptkfD
    INqsxEwKkJEKRXWP
    TXQDAxwNs1RyAep5
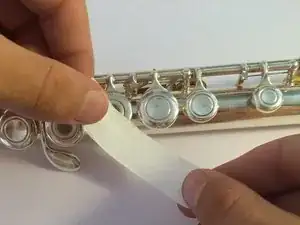
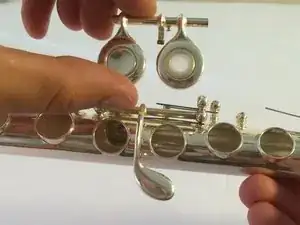
    • In the case that you are missing a felt pad entirely (just a bare cup), you can still fix your flute temporarily.

    • Cut a small strip of teflon tape (about 4" )

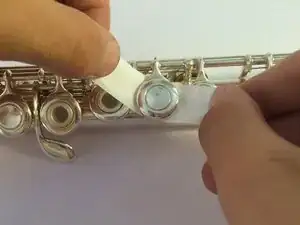
    • Holding both ends, slip the tape under the key with the missing felt pad. It's quite the surgery, but manageable.

    • Make sure the part where the key makes contact with the body is fully covered.

    • With the remaining tape, twist it together at the top to hold it in place.

    • This is a temporary fix, but works perfectly.

    We can use toflon tape over the felt pad if the fish bloodor skin yellow layer is damaged .without felt in the cup of key Teflon tape wounding is getting useless

    karraazariah -
Luke Williams

Member since: 29/09/15

500 Reputation

0 comments