Introduction

Mechanical keyboards are conventionally expensive to buy. Having functional keys are essential for a mechanical keyboard.

With the help of this guide, fix unresponsive keys on your mechanical keyboard.

  1. kyhi32RlTIcD1if4
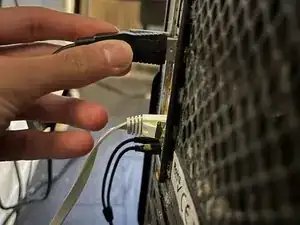
    • Unplug the USB cable to prevent issues during the repair.

  2. AXhJ3VNs2PWAZrOx
    AXhJ3VNs2PWAZrOx
    IpKMcWmx3adPCUWd
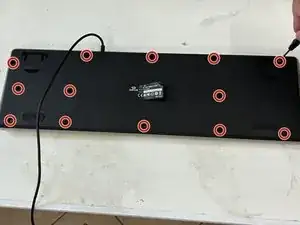
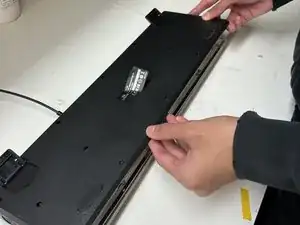
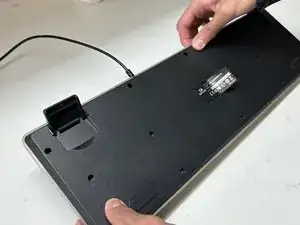
    • Remove all 13 Phillips screws located on the underside of the keyboard and gently remove the casing.

  3. sJKYRJUtTudvWpYm
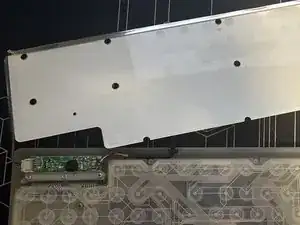
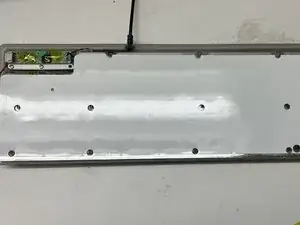
    • Lay the RGB LED panel flat on the desk.

    • Make sure that you do not damage the black wire on the left corner of the keyboard connected to the LED panel.

  4. LGPHxUbCEEQqaNa1
    LGPHxUbCEEQqaNa1
    rZoYdfVVvcLQG4T1
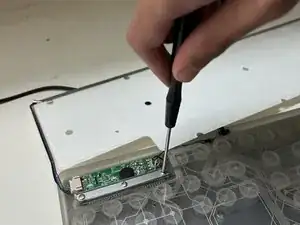
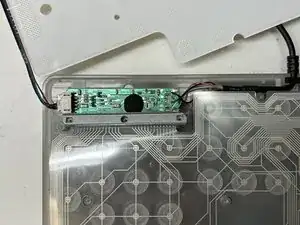
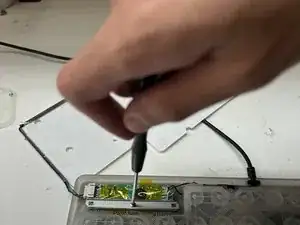
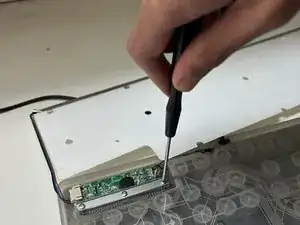
    • Remove the three screws on the metal bracket located towards the top left on the keyboard.

    • Remove the rubber underneath the metal bar.

  5. XrDefNvju45pN3g3
    XrDefNvju45pN3g3
    yuBd3sNmJobQ1tiU
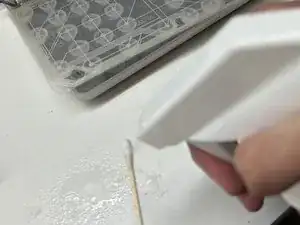
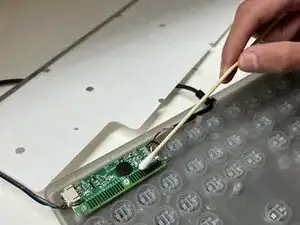
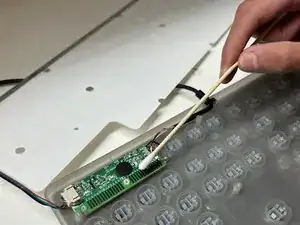
    • Use a cotton swab and add isopropyl alcohol to thoroughly clean the green membrane sheet and place the green membrane back onto the key switches.

  6. Ab53uqiEveq66SRV
    Ab53uqiEveq66SRV
    bYBgnR3JiRHiUF6e
    iGQdXRopDUrrRRoS
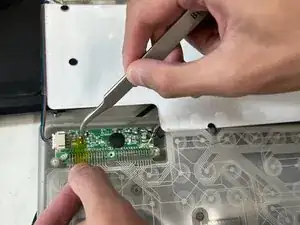
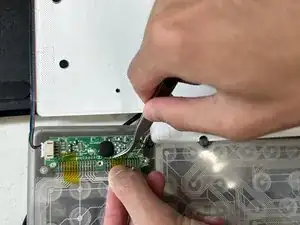
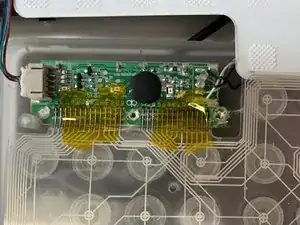
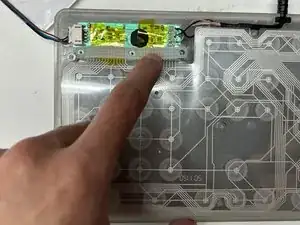
    • Use electrical tape to fix each contact strip that connects the green membrane to the motherboard into place.

    • Align the contact strips in place with the black lined traces provided on the motherboard.

  7. 5wxdfHAcWDTlnR1t
    5wxdfHAcWDTlnR1t
    4MJJtbYckSKKKocI
    4mcT2H2u4PTLgPDX
    • Place the rubber and metal bar back into place. Reinstall the three screws tightly as this will ensure no complications with the alignment of contact strips.

  8. UKimKuCKbhFojNAs
    UKimKuCKbhFojNAs
    uopITycdIHfWNfiH
    • Place the RGB LED panel back onto the green membrane sheet. Reinstall the casing.

Conclusion

To reassemble your device, follow these instructions in reverse order.
Usman Khan

Member since: 18/01/23

430 Reputation

0 comments