Introduction

  1. hdhZ3koobfDZjMBX
    • Insert wisdom here.

  2. J6x25CPr6gQtObLy
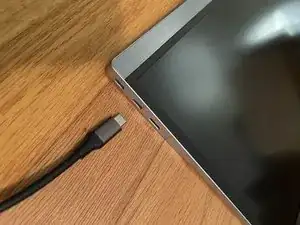
    • The cable connection plugs can come loose

  3. sQdWWbiYNMCTkB4P
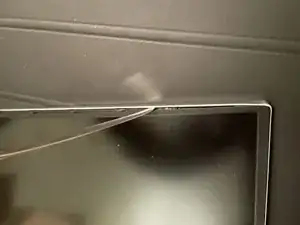
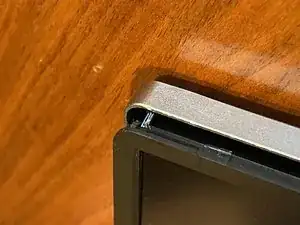
    • Use a butter knife to separate top of screen from frame.

  4. llFlvUBKTTRKtveZ
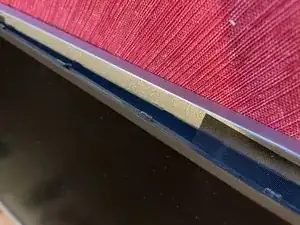
    • Clips that hold the screen to the frame.

  5. SBxUK4uEtmMHedsQ
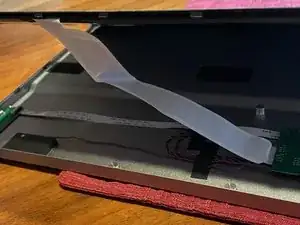
    • Screen separated from frame.

  6. F3esfSI4tiKJtpG5
    • Be careful of the cable in the top left corner, don't try to pull it loose.

  7. VWFKE1OeIDJTEvkJ
    • Also be careful of the ribbon cable. Don't pull the screen too far from the frame.

  8. pGix5aIoRjVANTBU
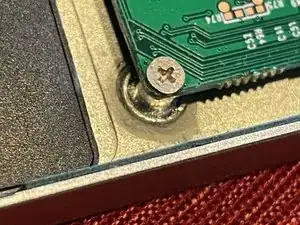
    • One of the three screws that hold down the circuit board at the bottom right of the screen. The USB C and HDMI cables plug into this board.

  9. yCkxLexvIKdZhSuL
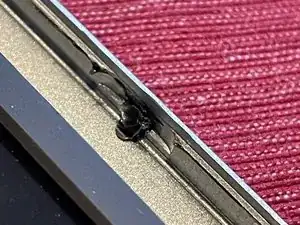
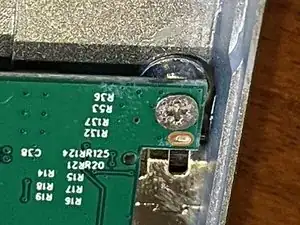
    • Another of the three screws. The mounts of these screws are glued to the frame, and can come loose.

  10. 4gQGZrs1POtC2bkI
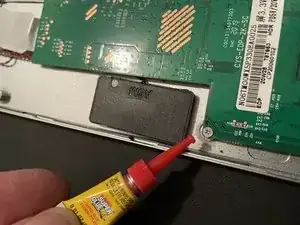
    • Use super glue to re-glue the mounts to the frame. Add additional super glue on top of mounts after glue dries.

  11. AN5LPEO3hHWO36Gs
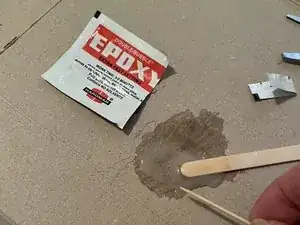
    • Mix up some 5 minute epoxy.

  12. TyoHueJXBCj1CUfK
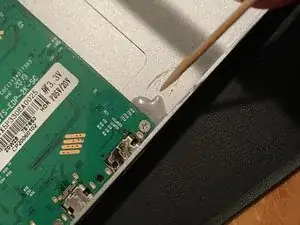
    • Apply epoxy to screw mounts. You might want to apply some to the screw mounts on the left side circuit board as well.

  13. MmG4yKTKlIHZ4Yro
    • Be careful in the future with these connections, as they are not super sturdy.

    • Snap the frame back onto the screen and plug it in!

Conclusion

To reassemble your device, follow these instructions in reverse order.
ScienceMagic

Member since: 31/10/23

232 Reputation

0 comments