Introduction

If your port is either wobbly or non-functional, use this guide to replace it. This guide should take a half hour.

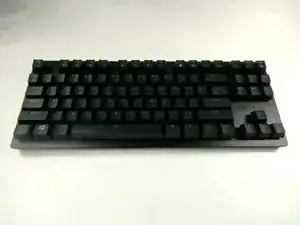
The Razer Huntsman Tournament Edition is a tenkeyless mechanical keyboard. Its USB port is easily swappable, being held in by a screw and a cable.

You must know how to remove the back of the keyboard before beginning this guide.

  1. 5tEiymEdtBJsVkb2
    • Place the unplugged keyboard on a flat, clean surface appropriate for working on.

  2. pKJvZfxRWdOKSdBO
    pKJvZfxRWdOKSdBO
    A5SYbGYk2EhHYGnF
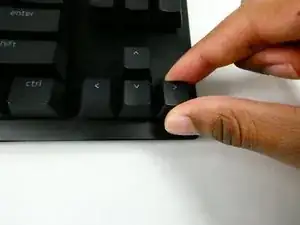
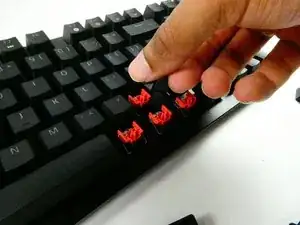
    • Grip the keycap with your keycap puller.

    • You can remove keycaps with your fingers if you don’t have a puller, but the adjacent keycaps must be removed first for sufficient grip.

  3. ypxwG6HKqYEJZ5rE
    ypxwG6HKqYEJZ5rE
    jG5qffwEXkUQDK5E
    jjutFKDvejrLq164
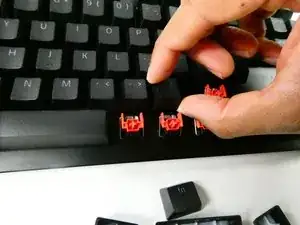
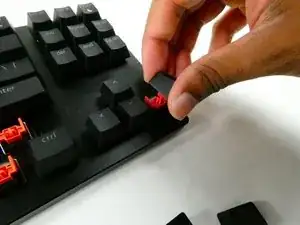
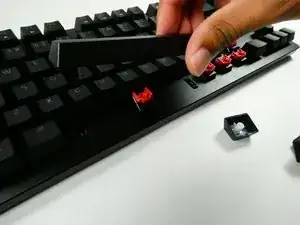
    • Pull with an upwards force to remove the keycap.

    • Take a moment to clean the area that was previously obscured if it’s dirty.

    • Use gentle force so as not to damage the stabilizers.

  4. KSUPZsuf1dswpmD5
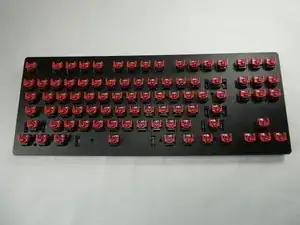
    • Remove all of the keycaps with a keycap puller.

  5. rjg2YU4Hb5ifHmO2
    rjg2YU4Hb5ifHmO2
    H6QN3C5WulxVRNeP
    • Unscrew the thirteen 6.5 mm screws, using the Phillips #0 screwdriver, that are located in the front panel.

    You forgot about the screw near the USB-C socket you need to unscrew the screw from the back of the case, it is under the sticker!

    альpha&ωμέγα -

    The Phillips #0 head is actually too big and can strip the screws, the #00 is a better fit

    James Rudd -

  6. kgrQ1daHhqZh1aKM
    • Use an opening tool to pry open the chassis.

    • Be careful not to use excessive force during this step so the plastic doesn't warp or break.

    This is sorely lacking. After taking out the thirteen screws on the top plate, there is a hidden screw under an inconspicuous sticker (that's textured to look just like plain black plastic) facing the USB type-C port. Peel that sticker to reveal the screw and unscrew it before attempting to lift the top plate off.

    Abe -

  7. NFMxRtYLWUQbSFlg
    • Gently lift the front panel off.

    • The front panel should be connected to the USB board. Do not tug the panel off as this may damage other parts.

  8. aUOhXNh4SIJysTLO
    • Disconnect the internal cable.

  9. GhTBXp33xMOoVZLU
    GhTBXp33xMOoVZLU
    2RODDyLauZDfKIQV
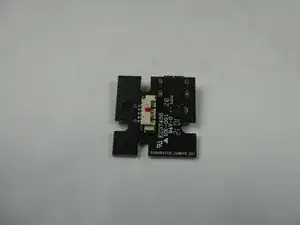
    • Unscrew the board with the port.

    • It should be located on the upper left, held in by two 6.5mm Phillips #0 screws.

    • Move the cable out of the way for the second screw

  10. kktaJg5Fn3WB6yqA
    • Detach the internal cable from the USB board.

    • Do this carefully.

  11. iWfGYOWlAp3hITjX
    • Remove the USB board.

Conclusion

To reassemble your device, follow these instructions in reverse order.

Joseph O'Dowd

Member since: 25/10/22

383 Reputation

One comment

how do i get a new port and where
Guardian Suit -