Introduction
Tools
-
-
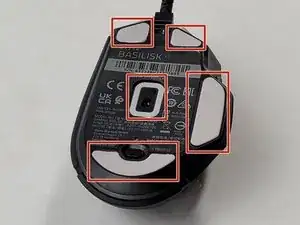
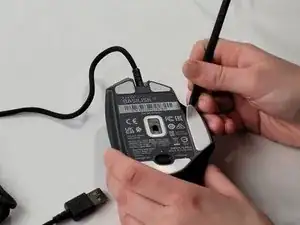
Heat the skate using a heat gun or hair dryer.
-
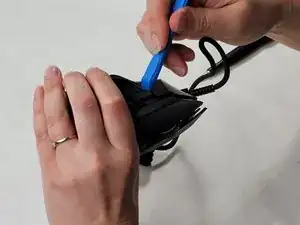
Using the pointy end of the spudger pry away a corner of the skate.
-
Once the corner of the skate comes free use the flat end of the spudger to peel off the rest of the skate.
-
Repeat these steps for each of the skates.
-
-
-
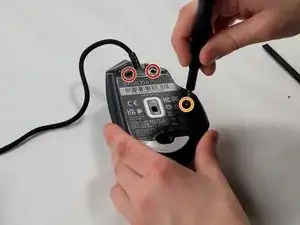
Remove two 4.8 mm screws that were hidden under the skates using a JIS #1 screwdriver.
-
Remove the single 4 mm screw beneath the thumb grip using a JIS #1 screwdriver.
-
-
-
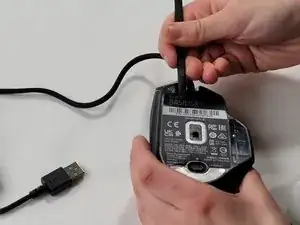
Heat the label gently with a heat gun or hair dryer.
-
Once the adhesive is loosened, use a spudger to peel off the label carefully, revealing two additional screws.
-
Remove the two 4.8 mm screws using a JIS #1 screwdriver.
-
-
-
Carefully pry apart the mouse's top and bottom halves. Using the iFixit opening tool, start at one corner and work around the edge.
-
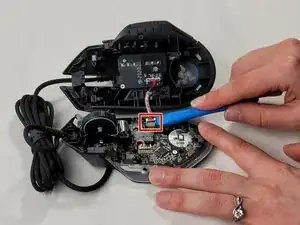
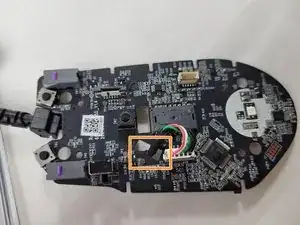
Using a plastic opening tool, gently pry the connector apart by moving side to side to avoid bending the pins.
-
-
-
Remove six 4 mm screws using a JIS #0 screwdriver.
-
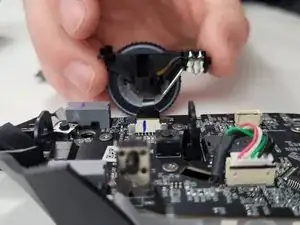
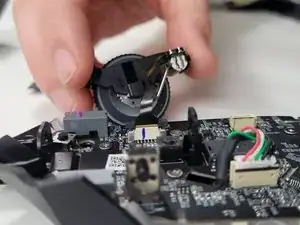
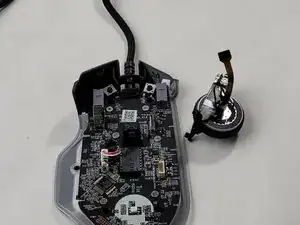
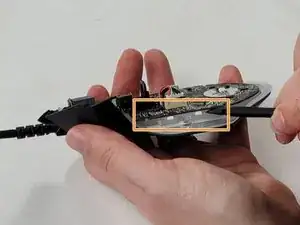
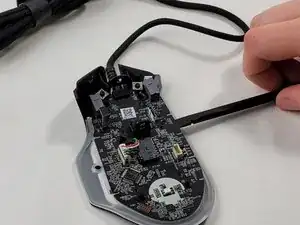
Insert the flat end of a spudger in the gap between the motherboard and the rest of the mouse.
-
Slowly pry up the edge of the board, moving around the mouse slowly in a counterclockwise direction.
-
To reassemble your device, follow these instructions in reverse order.

