Introduction
Outline what you are going to teach someone how to do.
Tools
-
-
Using a separating tool, look for a seam in the plastic casing that looks most accessible.
-
Use the prying tool to separate the front and back casing, working your way around the perimeter.
-
Utilize a card tool or a pick to assist in keeping the case separated.
-
-
-
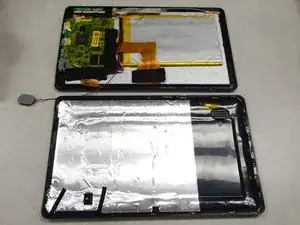
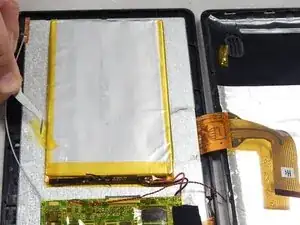
Flip over the back of the device while keeping it close to the front, the speaker is attached to it.
-
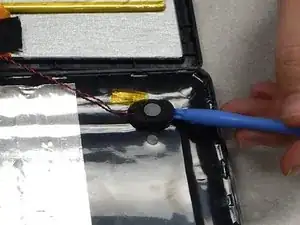
Remove the yellow tape securing the speaker to the back casing.
-
-
-
Use the separating tool to pry the speaker from its surface.
-
Cut or desolder the wires to replace or repair the speaker.
-
-
-
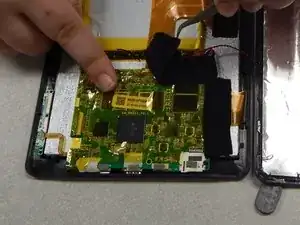
Peel off the black tape on the battery and main-board.
-
Peel off the black tape securing the screen ribbon cable to the back of the screen.
-
-
-
Slide out the ribbon cable lock that is securing the screen ribbon cable.
-
Move the ribbon cable out of the way using tape if necessary.
-
-
-
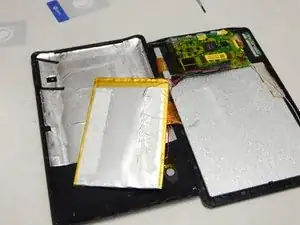
Remove the yellow tape securing the battery to the screen.
-
Use a plastic card or pick to separate the battery from the screen.
-
Cut or desolder the wires on the battery to remove or replace it.
-
To reassemble your device, follow these instructions in reverse order.
