Introduction
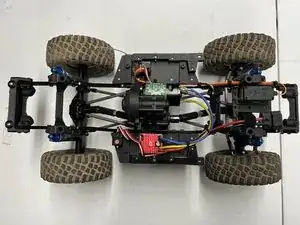
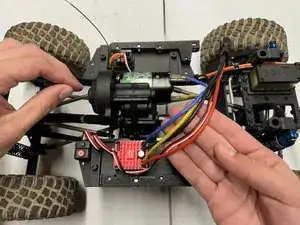
If your Electronic Speed Control is no longer working on your Remote Controlled vehicle, use this guide to replace and guarantee your ESC functions correctly again.
The Electronic Speed Control unit sends signals to the remote control to allow the car to move at different speeds. A broken or faulty Electronic Speed Control unit will not transmit the signal to the control, ultimately making your vehicle not able to move.
In this Electronic Speed Control tutorial, I will be showing you how to replace and install your new Electronic Speed Control unit. To complete this guide you will only need a few tools and some household items. This is fairly simple to do and I'm positive you will be able to complete it!
Tools
-
-
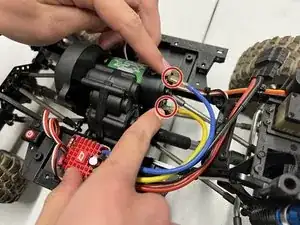
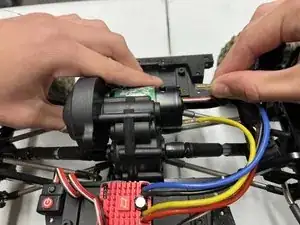
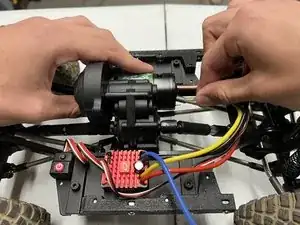
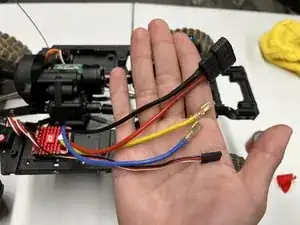
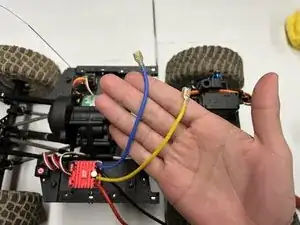
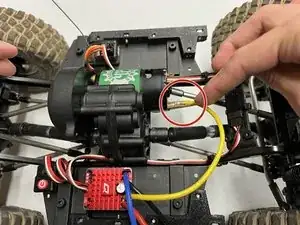
Unplug the yellow and blue wires. Begin by unplugging the blue wire first, followed by the yellow wire.
-
-
-
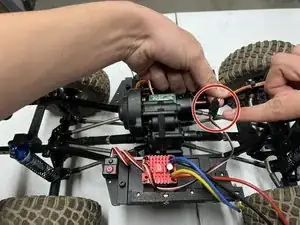
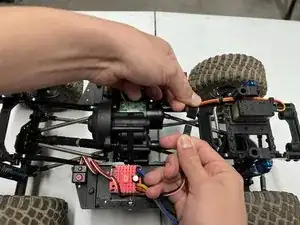
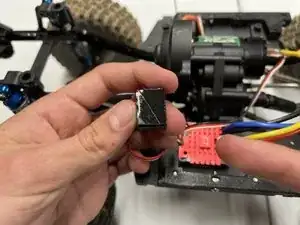
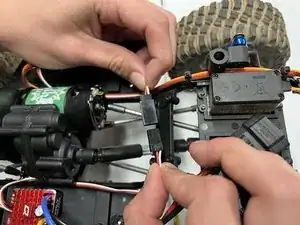
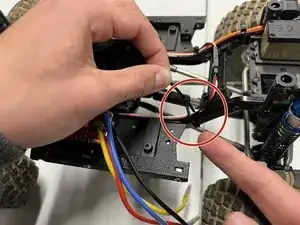
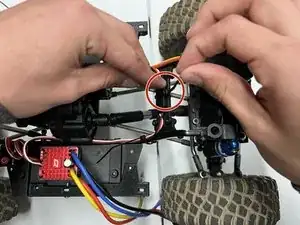
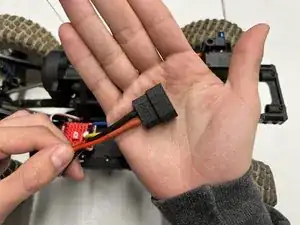
Simply unplug the thin black, white, and red wire from each other. Place them off to the side out of your way.
-
-
-
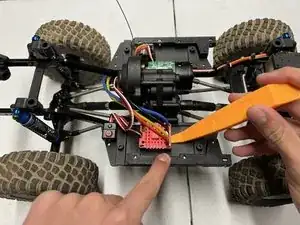
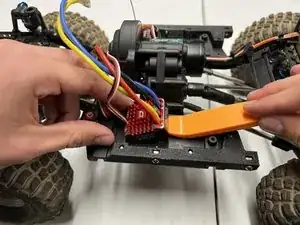
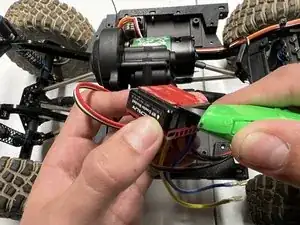
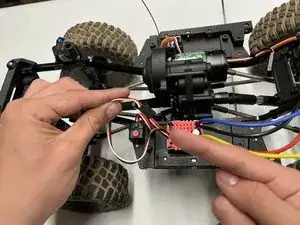
We are going to remove the Electronic Speed Control unit from our remote-controlled car. Use a plastic pry removal tool, to get beneath the unit and pry upwards with moderate force until the unit is attached.
-
-
-
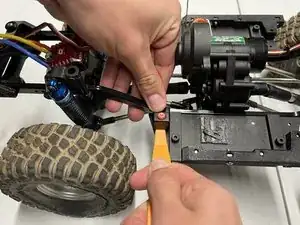
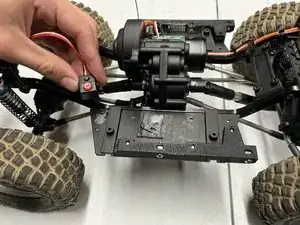
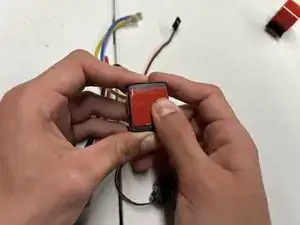
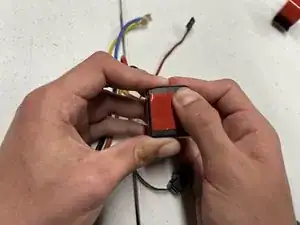
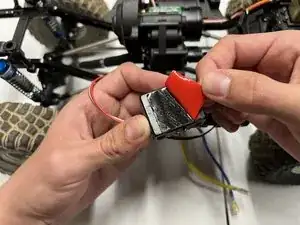
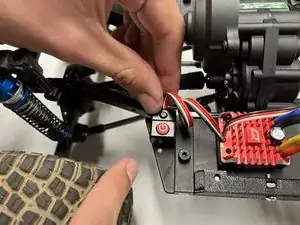
Use a iFixit opening tool to get beneath the power button and pry upwards with moderate force, until the power button is detached.
-
-
-
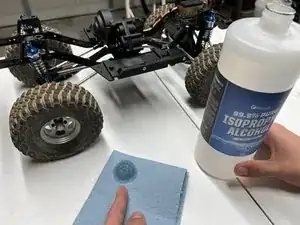
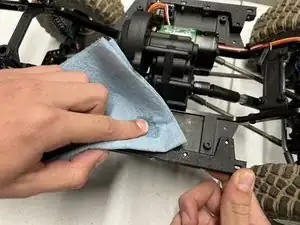
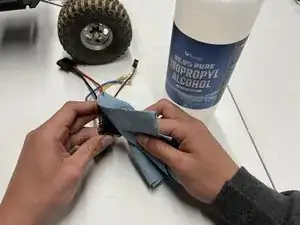
After the Electronic Speed Control unit and the power button is removed, there will be a residue of old adhesive. To clean this and prepare for future steps, get a shop towel which is a thick paper towel and get a dab of 99.9% pure Isopropyl Alcohol. Begin to rub the alcohol in various motions to clean off all the remaining glue.
-
-
-
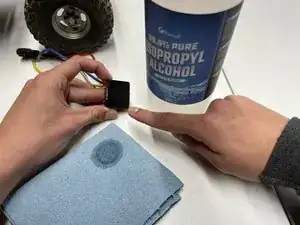
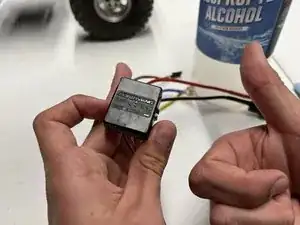
You will grab your new Electronic Speed Control unit and prepare the surface for the new adhesive. You will use a dab of alcohol on a shop towel to wipe away any contaminants that may be on the base of this unit.
-
-
-
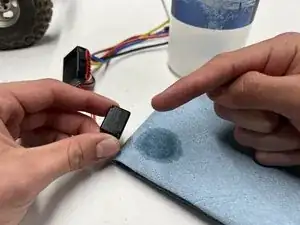
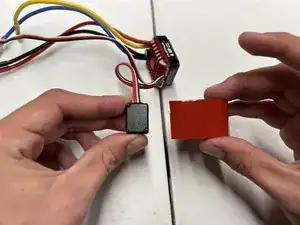
Grab your power button and repeat the same process that you used to clean your Electronic Speed Control unit. Use a shop towel with a dab of alcohol to completely wipe down the base of your power button.
-
-
-
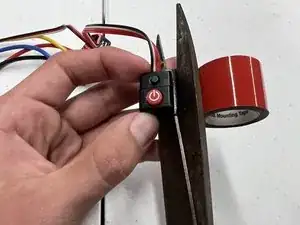
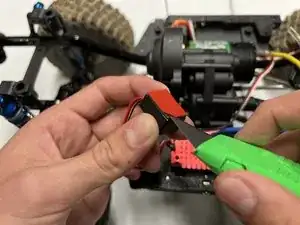
You will cut off any excess adhesive from the bottom of the unit. Use your fingertip to smoothen the adhesive to make sure all the tape is sticking to the base.
-
-
-
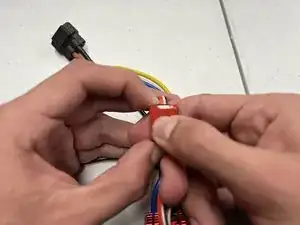
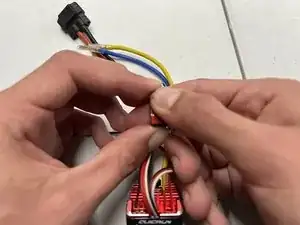
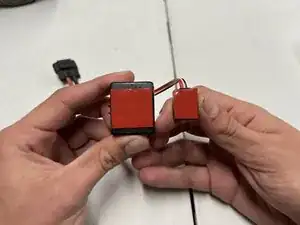
You will repeat the same process from the previous step when preparing the power button. Place the tape just below the corner of the base. Once the adhesive is placed, cut off any remaining excess tape.
-
-
-
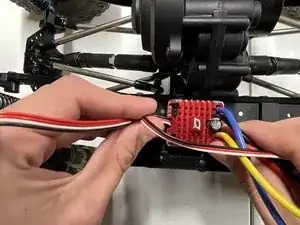
Peel off the layer on your double-sided adhesive and place it evenly back on the same spot where your original Electronic Speed Control unit was.
-
-
-
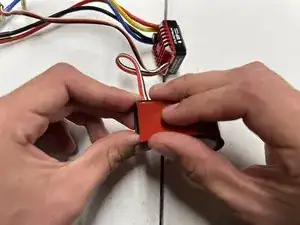
You will remove the thin layer of double-sided adhesive tape from the bottom of your power button. Slowly place the power button evenly where your existing power button lived.
-
-
-
Grab all of the wires that you had previously unplugged. Grab the thin red, black and white wire connector and plug them back in with their corresponding head.
-
-
-
To keep your wires organized and out of the way, attach two 4-inch zip ties to the frame of your Remote Controlled vehicle.
-
-
-
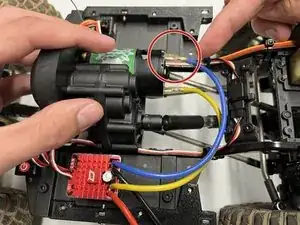
Grab both your blue and yellow wire. Plug them both back into the motor where you previously unplugged them from. Begin with the yellow wire and plug it into the connector at the bottom of the motor. Then attach your blue wire into the connector at the top of your motor.
-
-
-
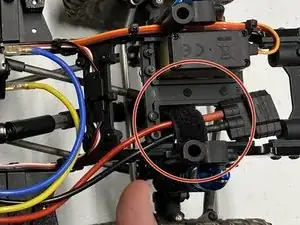
Tuck away the thick red and black wire that is used to connect to your Remote Control car's battery. You can tuck this wire anywhere that is out of the way and best suits you. The replacement of your Electronic Speed Control is complete. Great work!
-
