Introduction
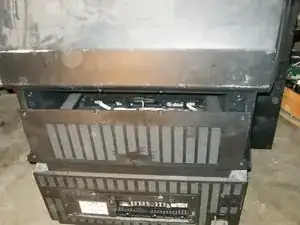
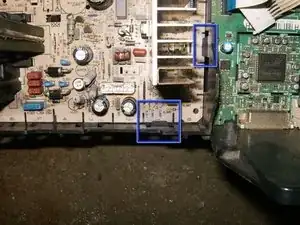
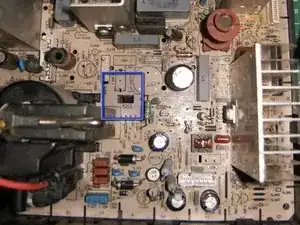
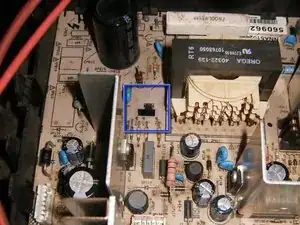
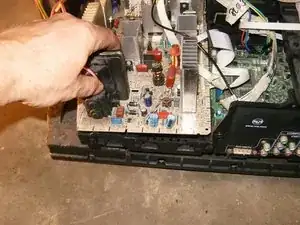
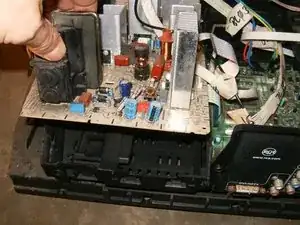
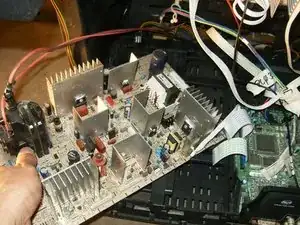
The RCA R52WH74 was an entry model projection TV, sold mainly by places like Walmart and other department stores. This particular series was plagued by poor solder connections, bad connectors and bad components. The repair is straight forward and relatively inexpensive. The size of the TV makes it easy to work on but difficult to haul to a repair shop
Tools
Parts
-
-
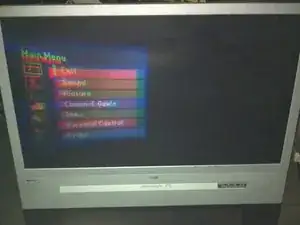
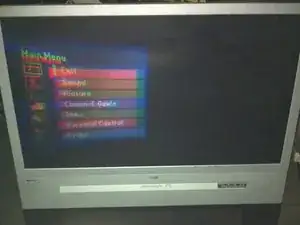
Here is what it looks like when the convergence is off.
-
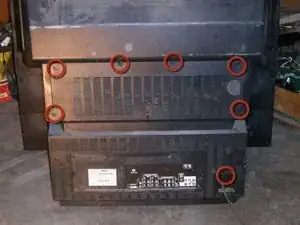
Remove the seven screws from the back.
-
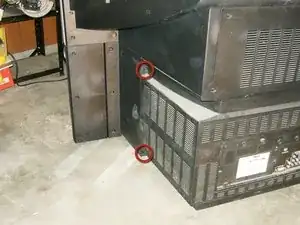
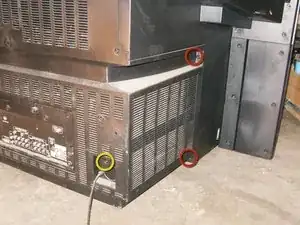
Remove the two screws from the left side.
-
-
-
Remove the two screws on the right side.
-
Also visible is the screw by the power cable.
-
Remove the back of the TV
-
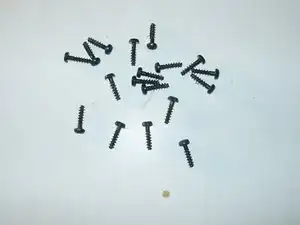
All the screws on this TV are the same length, and all are T20.
-
-
-
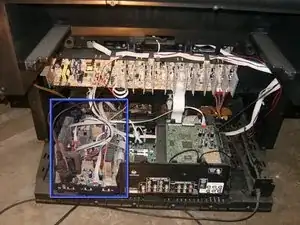
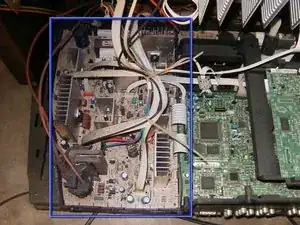
This is the deflection power board part number PSB-260
-
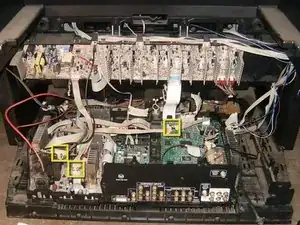
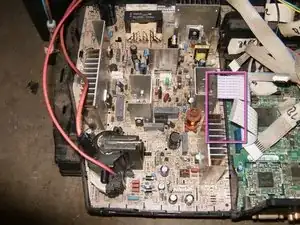
Closer look on the the same boards revels all the connectors (definitely not nice)
-
Mark all the cables with a piece of masking tape and there relevant position on the board. This will make assembly easier.
-
-
-
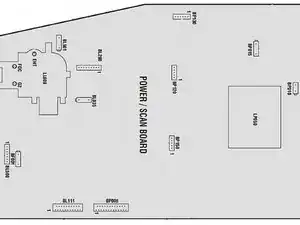
Drawing of the connectors on the Power Board
-
Remove all the cables from the power board. Each cable does have its own distinct connector and will not fit into another connector. This will make it easier to re-assemble the chassis.
-
To remove the flat ribbon cables from the BL111 and the BP005 connectors, just pull straight up on the cables. Hold the cable close to the connector end and pull straight up. They are compression connectors and have no clips.
-
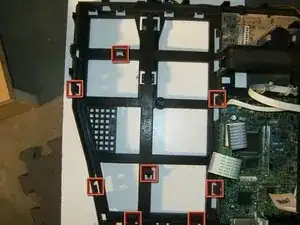
The power board is held to the plastic chassis by 8 plastic tabs on the perimeter. Push those away from the board and toward the plastic side.
-
-
-
There are two plastic tab on the inside of the board. One on the bottom.
-
The other one on the top side.
-
Start at the front side of the plastic chassis and squeeze the tab away from the board, at the same time, lift the board in an angled motion out of the chassis.
-
-
-
Continue to lift until the last of tabs has been cleared.
-
With all the tabs cleared move the board out of the plastic chassis and slightly to the left. There should be enough room with the Fly Back Transformer cables still attached.
-
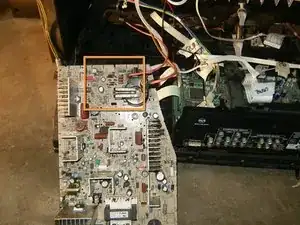
With the board cleared of the chassis, this is the area that contains all the components that are to be replaced.
-
-
-
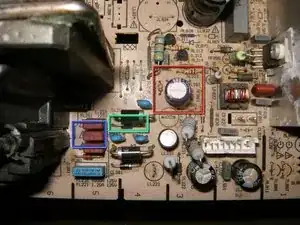
Here are the three components:
-
FL231 125V UL FA LL .400A TE5 fuse
-
DL231 Diode Rectifier 1A 600V
-
CL230 Capacitor 100uF 100V
-
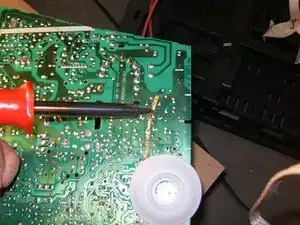
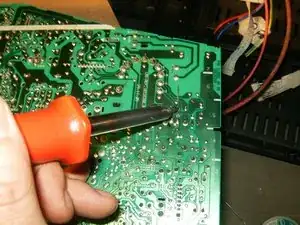
Unsolder all three components. Use solder wick and some flux,or a solder sucker.
-
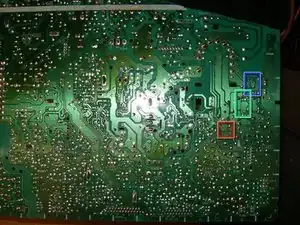
View of the solder side with components removed.
-
-
-
Replace the components by guiding the legs through the holes in the board. Bend the legs to the side to keep the component in place. Solder in the usual way.
-
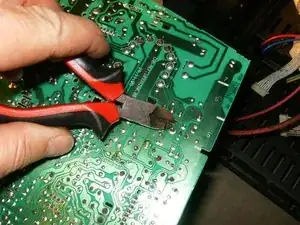
After the component is properly solder to the board, cut the excessive length of the contacts with a pair of side cutters.
-
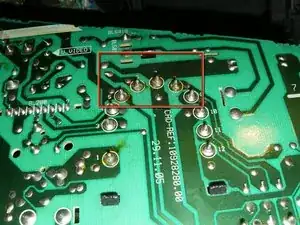
The only other thing I recommend is to either reflow, or resolder the flyback transformer contacts. The ones on this board looked like they may have gotten hot.
-
-
-
With the components replaced it is time to reassemble the TV. Here is another look at the plastic chassis with all the clips.
-
Hopefully your results will be like mine. Perfect convergence. Totals cost for the repair $1 for parts and $5 for shipping. Total time about 2 hours.
-
To reassemble your device, follow these instructions in reverse order.
6 comments
do you know anything about xbox 360 drives
kevin -
I used your guide to locate and repair the convergence fuse with succuss! It's crazy to think that I was near trashing this tv over a $2 repair! Thanks for the advice!!
jason -
I changed some Capacitors on my TV after it was done my convergence were out of wack. When I tried lining up the colors from TV settings it only corrects my right side. Before I changed my Capacitors the picture on my TV was excellent. What should I do?
