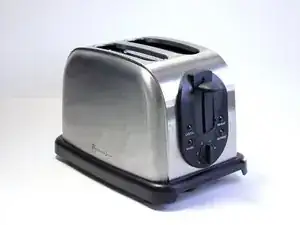
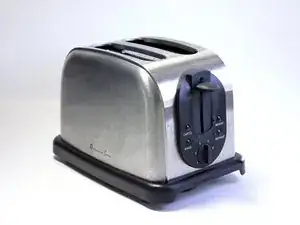
Introduction
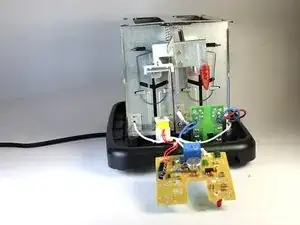
The solenoid's job is to cut the power allocated to the heating elements and release the latch, springing the toast upward. Consistently burnt toast no matter what desired setting applied is a good sign that the solenoid needs to be repaired in some way.
Tools
Parts
-
-
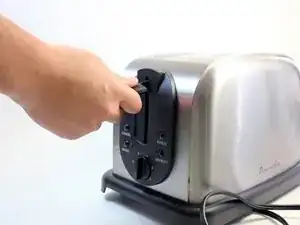
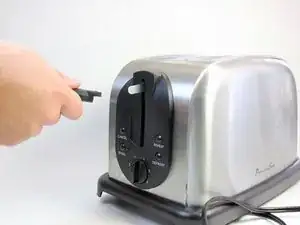
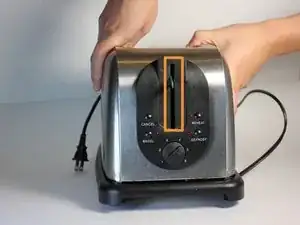
Grip the black plastic lever nub firmly and carefully remove it from the metal lever. Use one hand to hold the toaster in place while you pull the lever nub with the other.
-
-
-
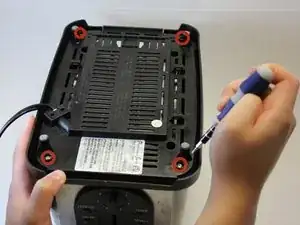
Flipping the toaster upside down, use a T7 Torx Screwdriver to remove the four 10mm screws that keep the outer shell attached.
-
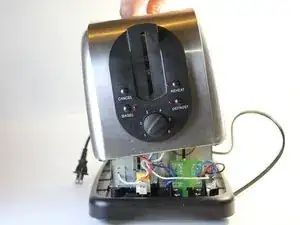
Flip the toaster back over and slide off the shell making sure to slip the toaster lever (now without the black plastic nub) through the lever opening in the shell.
-
-
-
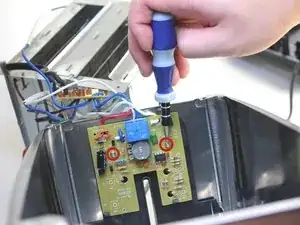
Locate and remove the two 8mm screws that attach the circuit board (located inside of the shell) from the shell itself using the Phillips #2 screwdriver.
-
-
-
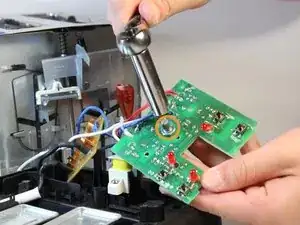
Locate the metal knob protruding from the removed circuit board.
-
Remove the 10mm nut with an equally sized wrench and replace the now removable solenoid.
-
To reassemble your device, follow these instructions in reverse order.
2 comments
That’s not a solenoid, that’s a potentiometer. And it’s probably soldered in so you would need to desolder it and solder in a new one, if you could find the part.
Stewart -
So. . . 1) Is this a potentiometer (variable resistor) or a solenoid? Seeing that it looks like it is connected to the toaster dial for depth of "toastness", it seems like a variable resistor (but I am not an expert), 2) Either way, what is the normal Ohm reading for this device? 3) How does one test the potentiometer? Can such test be done while installed in the toaster or must the variable resistor be completely removed from the toaster before testing testing?
