Introduction
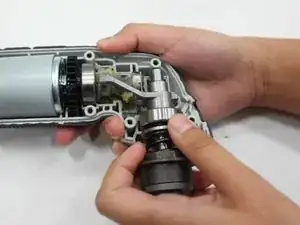
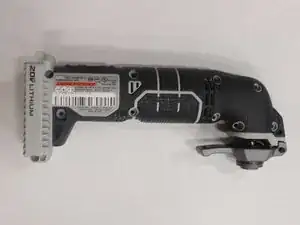
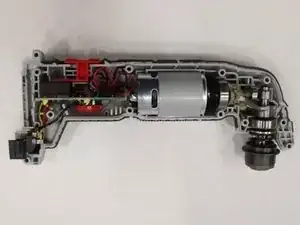
This guide is for a Porter-Cable 20V Oscillating Multi-Tool with the model number: PCC710B. This guide shows how to replace a malfunctioning or broken spindle assembly.
The spindle assembly helps hold the blades and attachments of the tool in place and its rotation is key to the tool's ability to oscillate back and forth. If you are having issues with loose blades, check that they're attached properly by following these instructions.
If the tool is making unusual sounds, look at these trouble shooting guides. The issue could be with the tool's needle bearing or spindle assembly.
If the power and motor are working properly but the rotation and oscillation of the tool are not working as they should, it could be due to a malfunctioning spindle assembly. You'll need to follow this guide to replace it.
TIP: You will come across thick yellowish grease when dealing with these parts. The tool parts need this grease to function, so don't clean it from the tool! Bring a rag or napkin to wipe your hands after you finish handling these parts.
Before beginning this guide, make sure the battery of the tool is taken off, you do not want any power source connected to the device while working on this replacement!
Tools
-
-
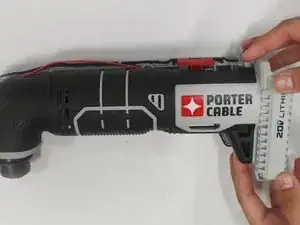
Place the tool on its side so the orange and white warning label barcodes are facing up.
-
The lever and battery base of the tool should point toward you.
-
-
-
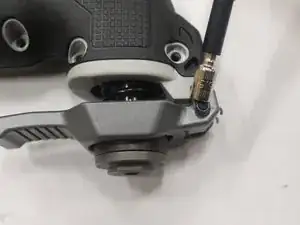
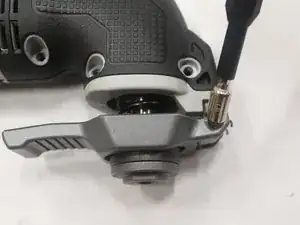
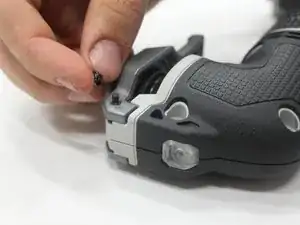
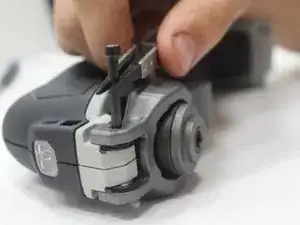
Pinch the lever with your fingers and pull it up and away from the tool. The lever pops right off! You can squeeze on the lever, and it will come off just as easily.
-
-
-
Lay the tool on its side so that the grey and orange warning labels are facing up upwards.
-
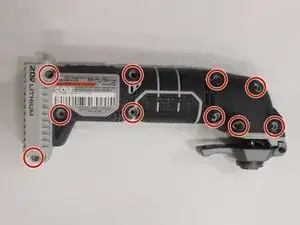
Use the JIS #1 screwdriver to remove the 10 screws holding the tool together.
-
To reassemble your device, follow these instructions in reverse order.
