Introduction
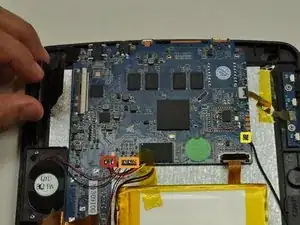
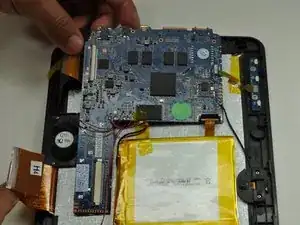
The most common problem to replace your motherboard would be if your battery charging port is damaged. This guide will assist you step-by-step on how to take apart and replace it.
Tools
-
-
Begin by having the side with volume and power button face up towards you.
-
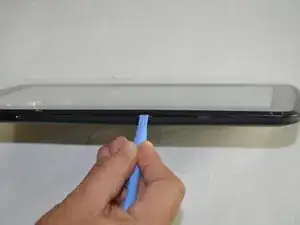
Insert a plastic opening tool between the display and the back cover.
-
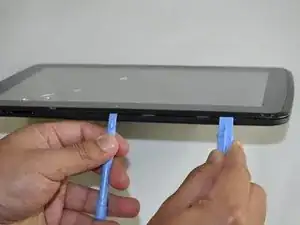
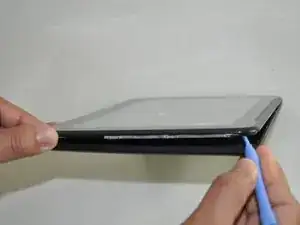
Once you have one plastic opening tool in, you can insert another one. While holding one in place, slide the other along the gap to release the tabs.
-
-
-
Take off yellow tapes that are surrounding the motherboard.
-
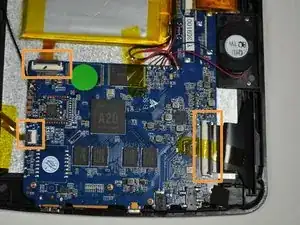
Use the plastic opening tools to disconnect the three ribbon cables: battery, screen, and volume/power buttons.
-
-
-
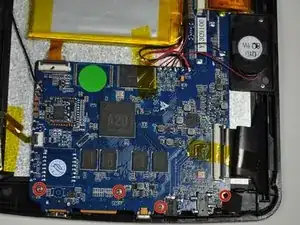
Using the Phillips #000 screwdriver, remove the four 5 mm screws located in the picture by rotating the screw counter-clockwise.
-
-
-
Use the soldering tool to unsolder the two bigger metals from the wires of the battery.
-
Use the same soldering tool to unsolder the four smaller metals from the wires of the speakers.
-
Use the same soldering tool to unsolder the ground wire.
-
To reassemble your device, follow these instructions in reverse order.

