Introduction
This is a short guide on how to easily replace the PlayStation VR Rear LED Tracker Board spending the minimum amount of time possible. Damage to the LED Tracker Board on the rear of the PlayStation VR headset is common due to wear and tear or physical damage from inappropriate handling by the users, which causes cracks. It can also be damaged by electrical surges or overheating. PlayStation VR Rear LED Tracker Board Replacement is a repair that requires replacing the LED Tracker Board on the rear of the PlayStation VR headset. The rear LED tracker board is responsible for tracking the motion of the PlayStation camera to enable accurate and immense gaming by the user. Any damage on the Rear LED Tracker Board causes difficulties for the system to recognize the headset.
Tools
-
-
Use your hands to remove the foam piece in the headband.
-
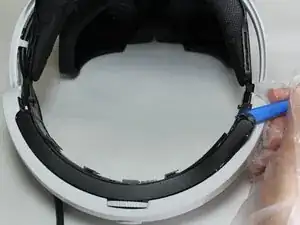
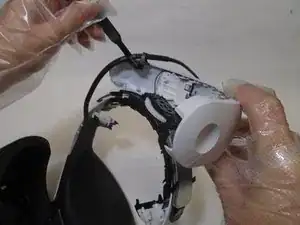
Use the iFixIt Opening Tool to pry the top and bottom trim pieces off of the rear band assembly.
-
-
-
Remove a total of four 5 mm screws from inside the left and right sides of the headband using a Phillips #00 screwdriver.
-
-
-
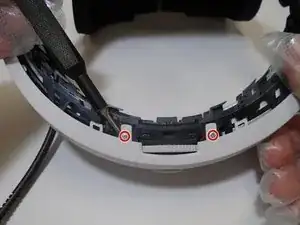
Remove three silver 5 mm screws that are securing the rear white cover of the band using a Phillips #00 screwdriver.
-
-
-
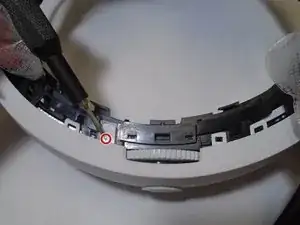
Remove the 6 mm screw from the retainer securing wires to the rear band assembly using a Phillips #00 screwdriver.
-
Use a spudger to flip up the retaining flap connected to the rear LEDs.
-
-
-
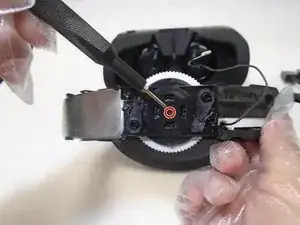
Remove the single 5 mm screw from the center of the headband adjuster using a Phillips #00 screwdriver.
-
-
-
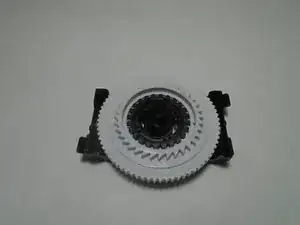
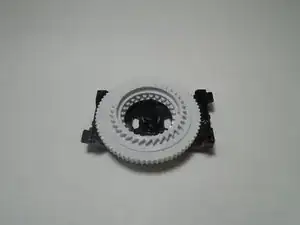
Disassemble the adjuster assembly spring, small gear, large gear, and bracket in order to replace the broken component.
-
-
-
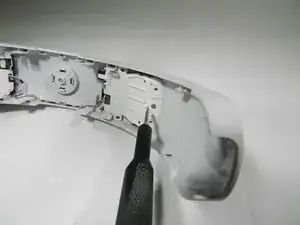
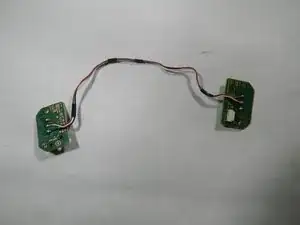
Remove the single 5 mm screw from each of the LED tracker boards using a Phillips #00 screwdriver.
-
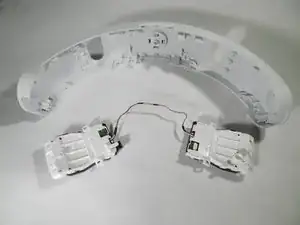
Gently pull up and slide each tracker board outward, away from the center of the band, in order to free it from the rear headband shell.
-
-
-
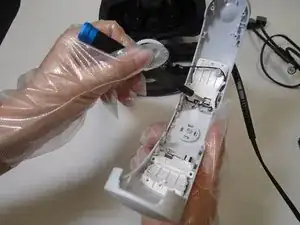
Gently pry on the black tabs on the outward edge of the shell to free the two halves from each other.
-
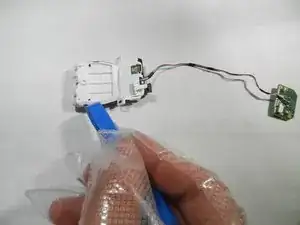
Then gently pry outward on the internal tracker board to free each one from the opaque lens.
-
-
-
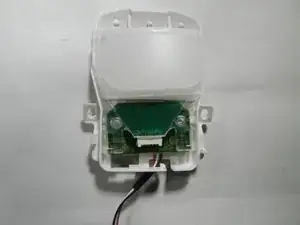
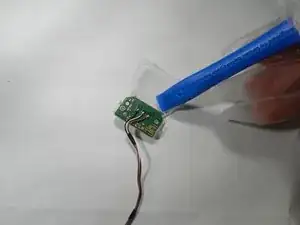
Use a soldering iron in order to remove the three wires (black, white, red) from the faulty tracker board.
-
To reassemble your device, follow these instructions in reverse order.
One comment
Salve grazie per la splendida guida , devo sostituire un tracker led LRR-01 ma non riesco a trovare un venditore online, puoi aiutarmi grazie
