Introduction
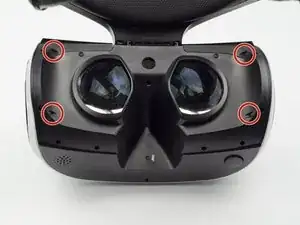
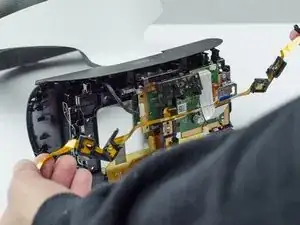
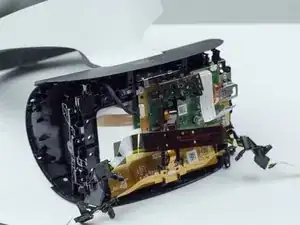
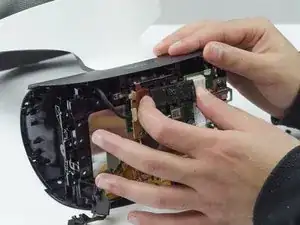
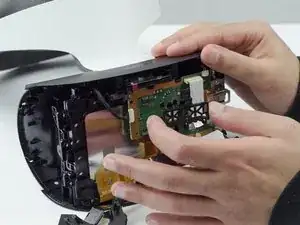
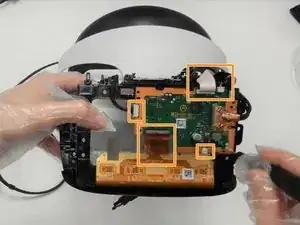
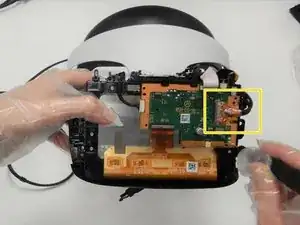
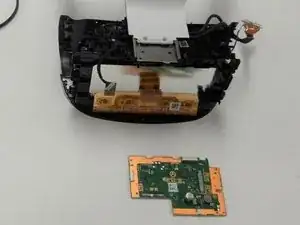
This guide shows you how to disassemble and replace the motherboard of your Playstation VR Headset.
Tools
-
-
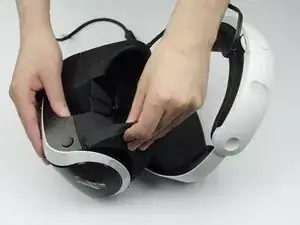
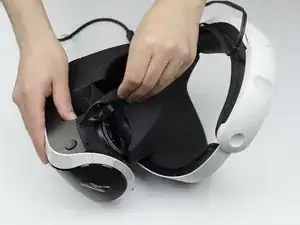
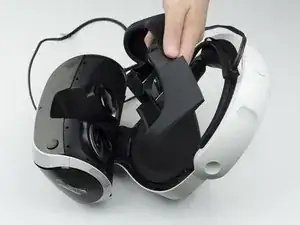
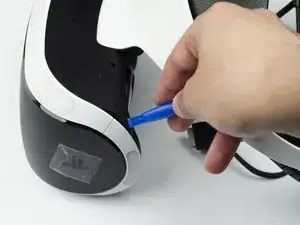
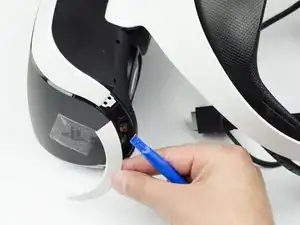
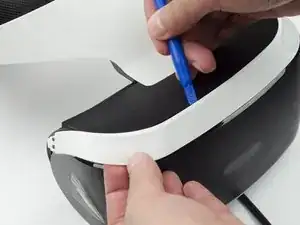
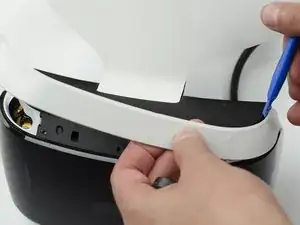
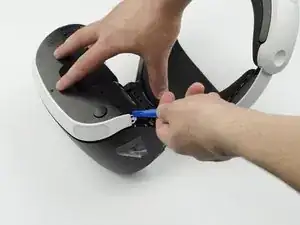
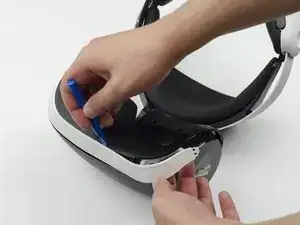
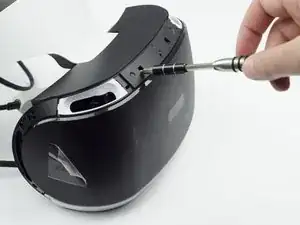
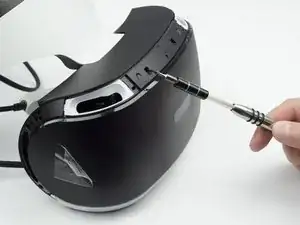
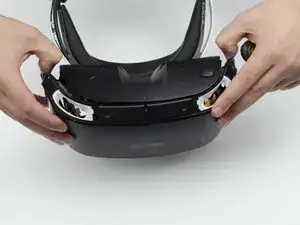
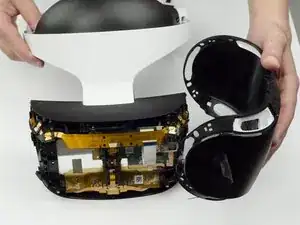
Using the plastic opening tool, carefully pry the white plastic panel free from the side of the headset. Repeat this action for the opposite side.
-
-
-
Flip the headset over.
-
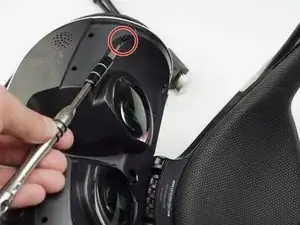
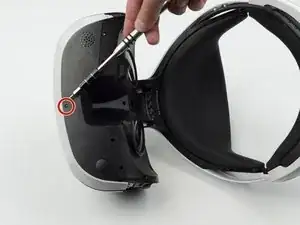
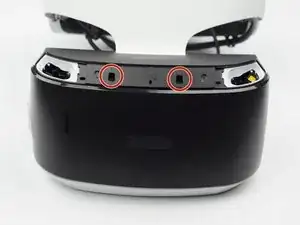
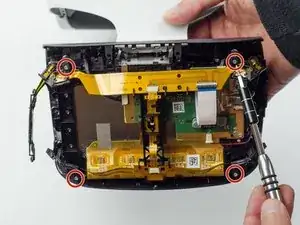
Using a PH #000, unscrew the 7 mm screw found on the bottom of the headset.
-
-
-
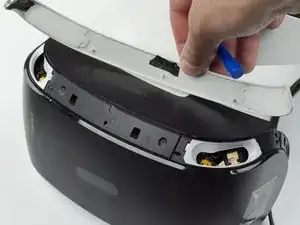
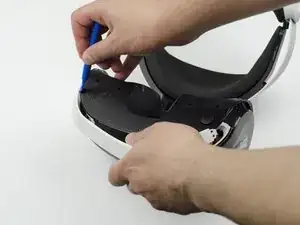
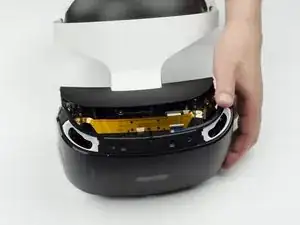
Using the plastic opening tool, pry the bottom white plastic panel loose and remove it from the headset.
-
-
-
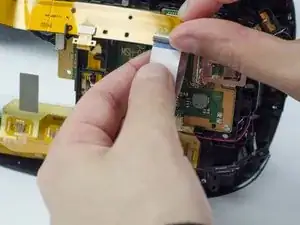
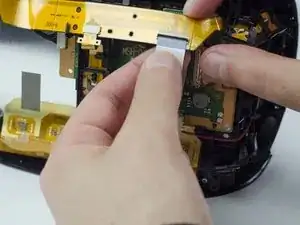
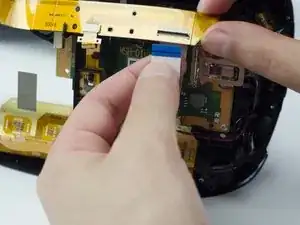
Lift the small silver latch attaching the ZIF (zero insertion force) connector to the circuit board.
-
Carefully pull the end of the white ribbon connector from its slot.
-
-
-
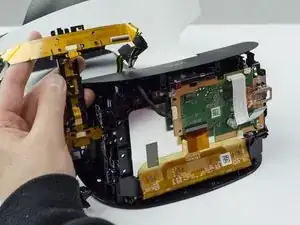
Carefully pry the black plastic piece attaching the yellow ribbon to the headset away from the green circuit board.
-
Remove the yellow LED ribbons and black plastic connecting piece from the headset.
-
-
-
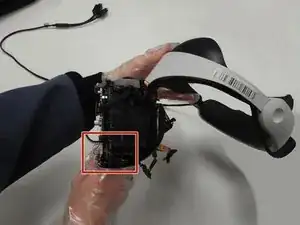
Pinch the small white cable connector and unplug it from the motherboard.
-
The microphone will be attached to the white cable connector on the bottom right of the motherboard.
-
-
-
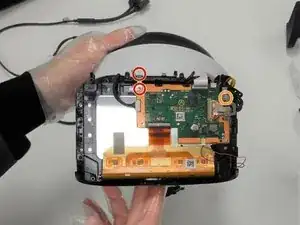
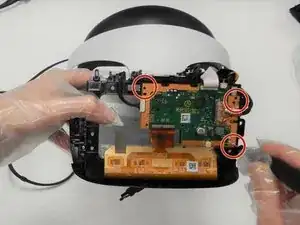
Remove the two 6mm screws on the L shaped silver clip to the upper left of the motherboard using the Phillips #000 screwdriver.
-
Remove the one 6mm screw that is securing the silver clip on the far right side using the Phillips #000 screwdriver.
-
-
-
Remove the three 6mm screws from the motherboard using the Phillips #000 screwdriver.
-
Unplug the white cable and ribbons from the motherboard(make sure to lift the gates on the ribbons before pulling out).
-
Unplug the HDMI cable by lifting the gate and pulling gently(there will be adhesive).
-
To reassemble your device, follow these instructions in reverse order.
