Introduction

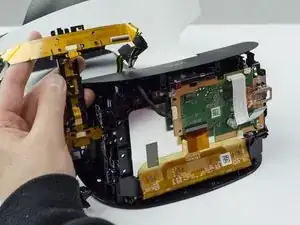
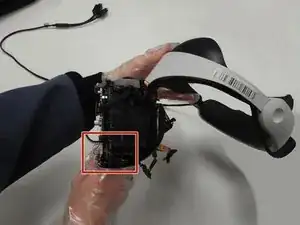
This guide shows you how to disassemble and replace the microphone on your Playstation VR headset.

  1. tAaytmoPKAIOGRdn
    tAaytmoPKAIOGRdn
    k1gvWGMvAFhnKLwJ
    A51dOjvyWCPCyxOx
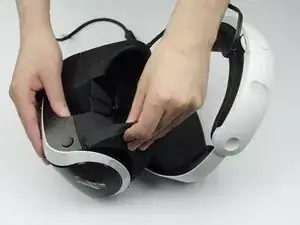
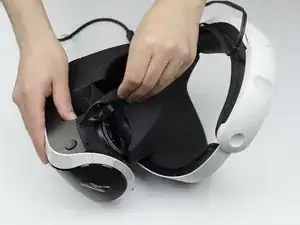
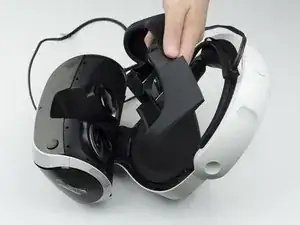
    • Peel back the rubber covering around the lenses to remove the surrounding plastic eyepieces.

  2. u1vLJilASlsJEUNN
    u1vLJilASlsJEUNN
    1ujDFKUSpL2BPRwK
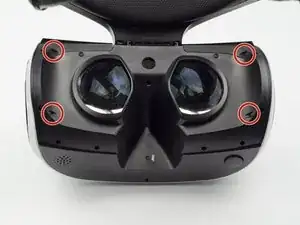
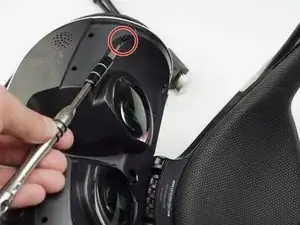
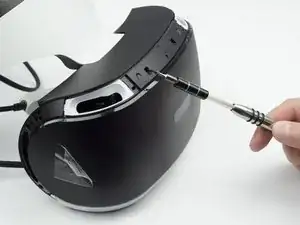
    • Unscrew four 13 mm screws with a PH #000 screwdriver.

  3. fHALCMCB2I5oRkYS
    fHALCMCB2I5oRkYS
    IHSfZDO3clMHMTAt
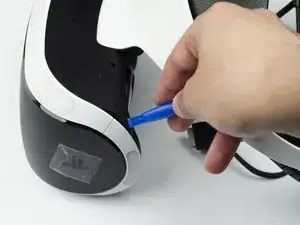
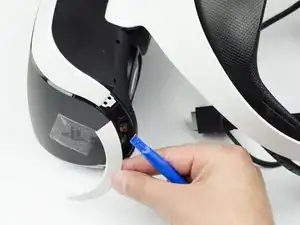
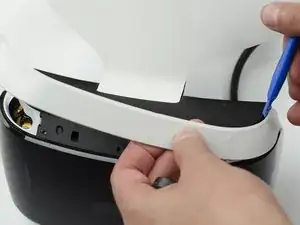
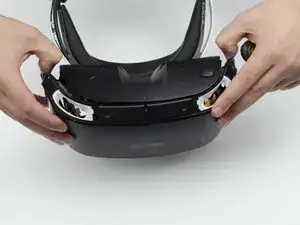
    • Using the plastic opening tool, carefully pry the white plastic panel free from the side of the headset. Repeat this action for the opposite side.

  4. ncFbHydYxhVLuYLJ
    ncFbHydYxhVLuYLJ
    hWUlFNDEQNoXsxVY
    OQueA1xSSiqtIbpU
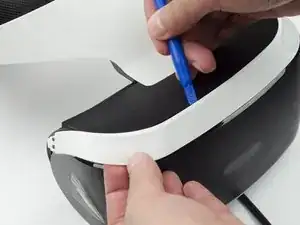
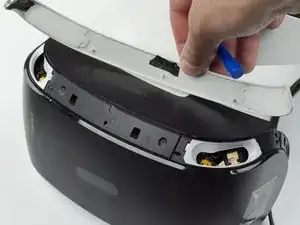
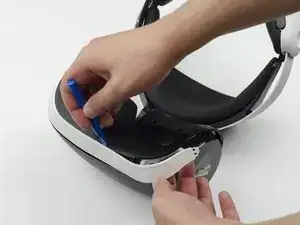
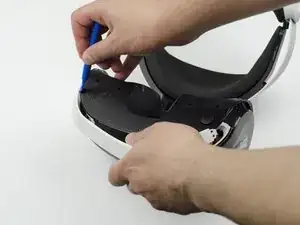
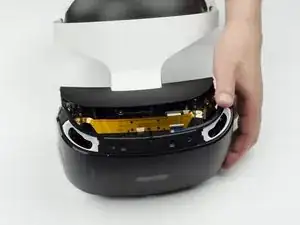
    • Use the plastic opening tool to pry the top white plastic panel free from the headset.

    • Do not try to remove the bottom plastic panel. There is a screw attaching it that must be removed first.

    • There may be a small amount of adhesive attaching the top panel to the headset, in which case you may need to use a bit more force to remove the panel.

  5. PiHAU3VyfnOQuJiC
    • Flip the headset over.

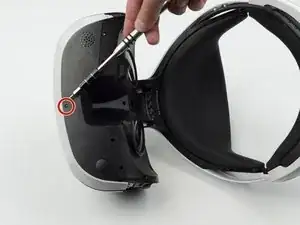
    • Using a PH #000, unscrew the 7 mm screw found on the bottom of the headset.

    No screw present in headset purchased late 2018. White trim is only held by clips.

    Pontus -

  6. nmATbMkSxZWL2BLy
    nmATbMkSxZWL2BLy
    Ar1Tx2R24NeXqNXZ
    yGqKKFHAePMx43tH
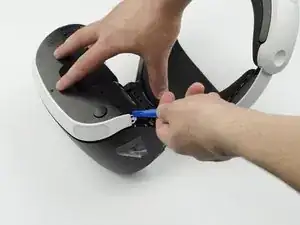
    • Using the plastic opening tool, pry the bottom white plastic panel loose and remove it from the headset.

    • There is adhesive attaching the panel to the headset, in which case it will take more force to remove the panel.

  7. cr6LowZmHL5XOlHp
    cr6LowZmHL5XOlHp
    QVfW56XQKYScMg3e
    GrHCmVEMy5rdYxZH
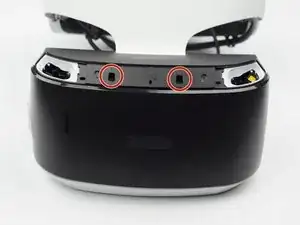
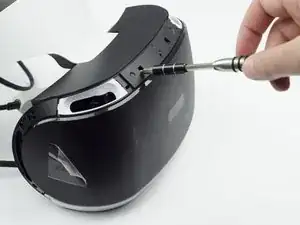
    • Unscrew the two 7 mm screws from the top of the headset.

  8. h5BVdeX3nndtaarm
    h5BVdeX3nndtaarm
    OYQg1dvkQsBnEjSR
    XHWJkIJsqNYvKcJS
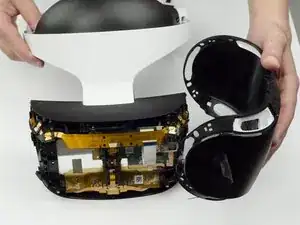
    • Using your fingers, carefully pry the black front panel free from the headset.

    • We recommend that you start the removal from the sides by pulling them forward.

    • There is adhesive holding the front panel in place, which means you will need a bit of extra force to remove it.

  9. UxaXV3peXbVOTPqe
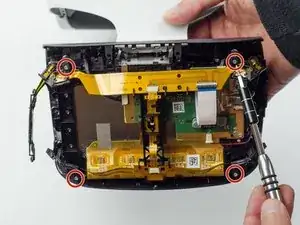
    • Unscrew the four silver 6 mm screws in each corner using a PH #000 screwdriver.

  10. Z1dLehlxlpsqGPBT
    Z1dLehlxlpsqGPBT
    piT5hJ6ZBWyMDihs
    pdDCbYtI2OsfXBbF
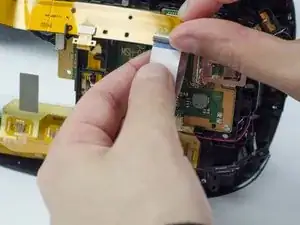
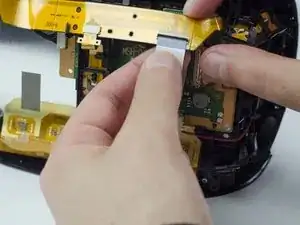
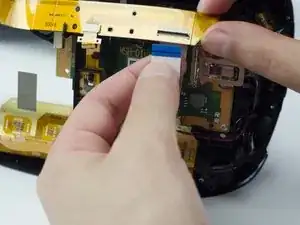
    • Lift the small silver latch attaching the ZIF (zero insertion force) connector to the circuit board.

    • Carefully pull the end of the white ribbon connector from its slot.

    • Be careful not to damage or dirty the ribbon connector.

  11. r1NGxLeP3yWJuLTV
    r1NGxLeP3yWJuLTV
    bF5S3Q2QGCny3vBR
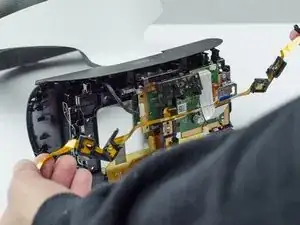
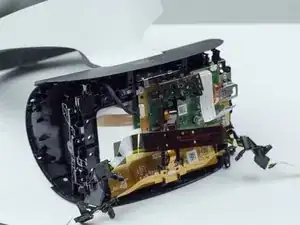
    • Unhitch the yellow led connector ribbon and move it aside.

    • Be careful not to damage or dirty the ribbon connector.

  12. r3nTFIGwoqyqQB3U
    r3nTFIGwoqyqQB3U
    RNOtrvHYYDNOw5NB
    1HpKFaaIcaPUYNve
    • Carefully pry the black plastic piece attaching the yellow ribbon to the headset away from the green circuit board.

    • Remove the yellow LED ribbons and black plastic connecting piece from the headset.

  13. BHpAmHruWLakJYqs
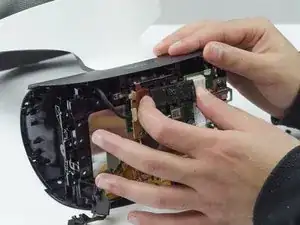
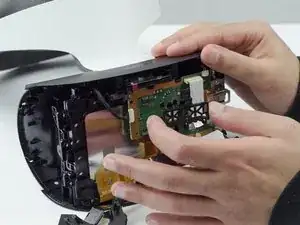
    • Pinch the small white cable connector and unplug it from the motherboard.

    • The microphone will be attached to the white cable connector on the bottom right of the motherboard.

Conclusion

To reassemble your device, follow these instructions in reverse order.
Elliott Ruoff

Member since: 15/02/21

340 Reputation

0 comments