Introduction
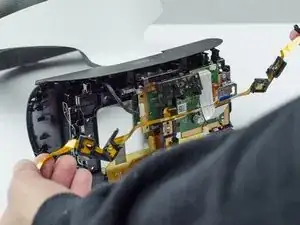
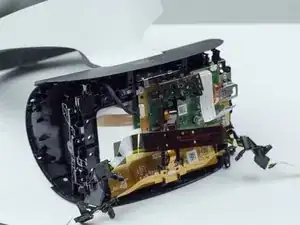
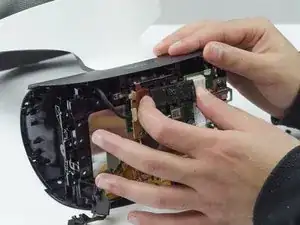
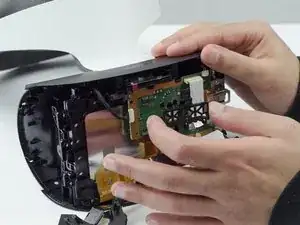
This guide will provide instructions for removing and replacing the LED of the PlayStation VR Headset. This will require you to open the headset up, which may seem daunting at first, but can easily be done.
Tools
-
-
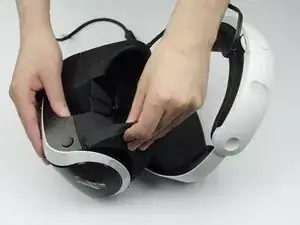
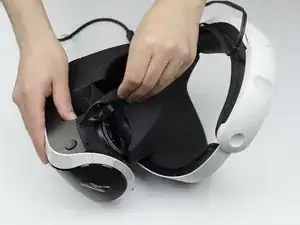
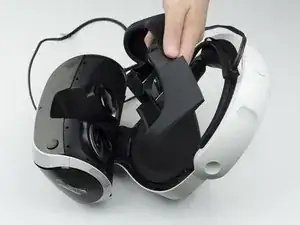
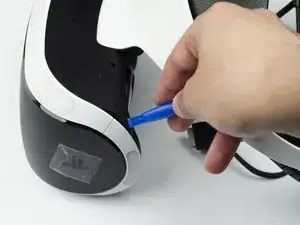
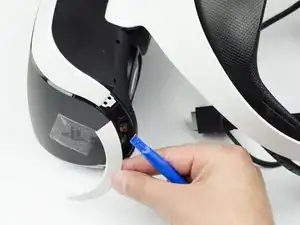
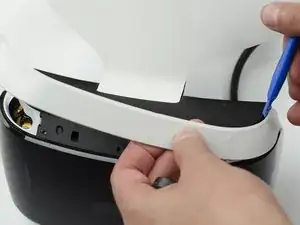
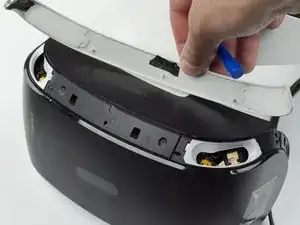
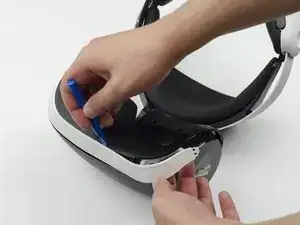
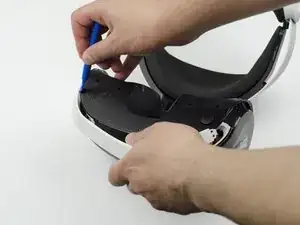
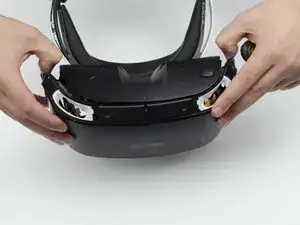
Using the plastic opening tool, carefully pry the white plastic panel free from the side of the headset. Repeat this action for the opposite side.
-
-
-
Flip the headset over.
-
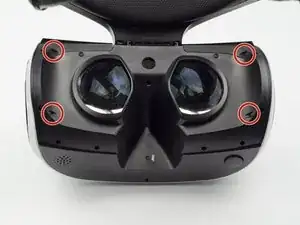
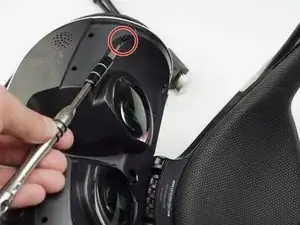
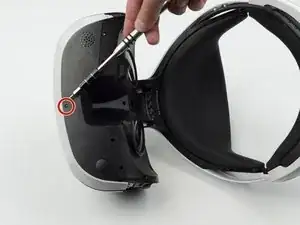
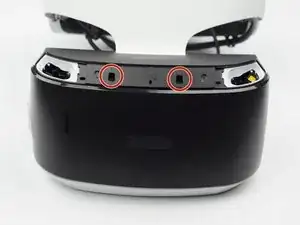
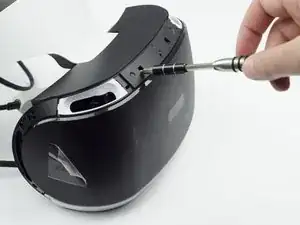
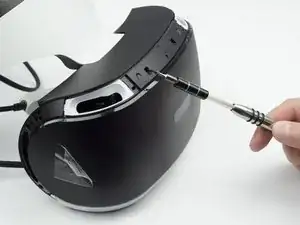
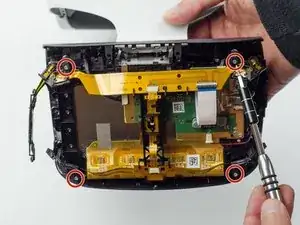
Using a PH #000, unscrew the 7 mm screw found on the bottom of the headset.
-
-
-
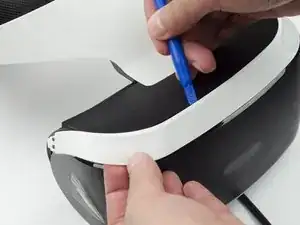
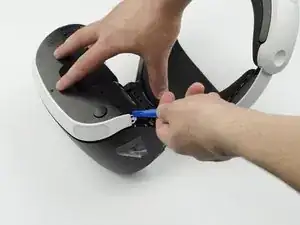
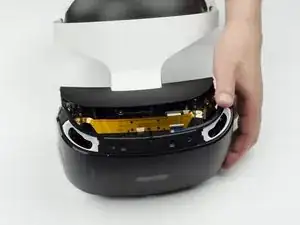
Using the plastic opening tool, pry the bottom white plastic panel loose and remove it from the headset.
-
-
-
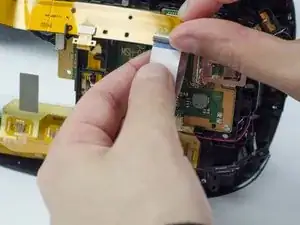
Lift the small silver latch attaching the ZIF (zero insertion force) connector to the circuit board.
-
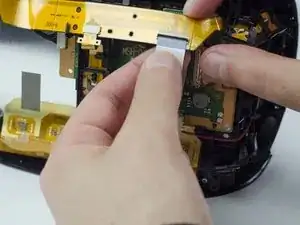
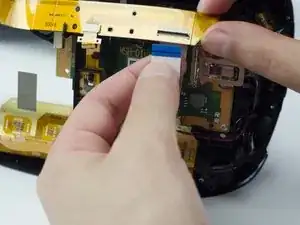
Carefully pull the end of the white ribbon connector from its slot.
-
-
-
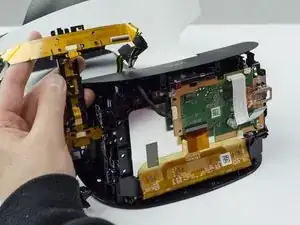
Carefully pry the black plastic piece attaching the yellow ribbon to the headset away from the green circuit board.
-
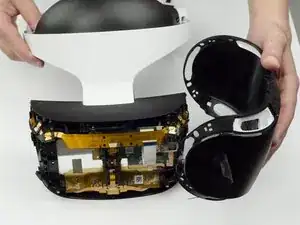
Remove the yellow LED ribbons and black plastic connecting piece from the headset.
-
To reassemble your device, follow these instructions in reverse order.
One comment
where can I buy the LED lights for it??
Jordi -
