Introduction
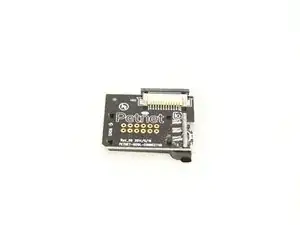
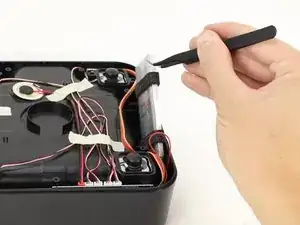
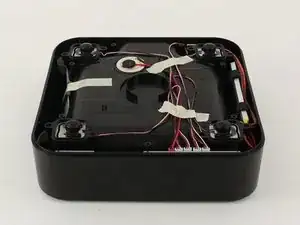
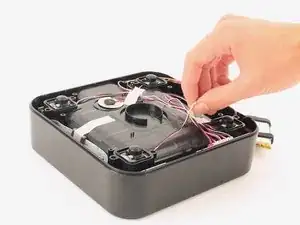
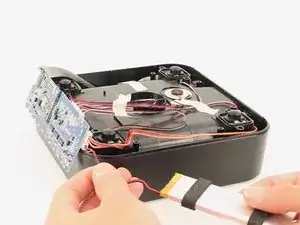
Use this guide to replace your charging assembly if it is damaged and cannot connect to the USB charging cable. When working with electrical components, use steady hands and touch as little of the circuitry as possible.
Tools
-
-
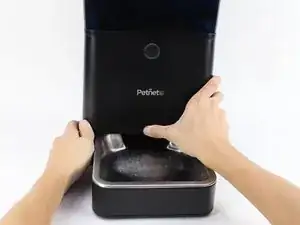
Eject the SmartBowl by pressing the button located at the front of the SmartFeeder base.
-
Remove the metal tray by using both hands and pulling out the bowl towards you.
-
-
-
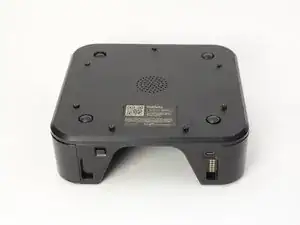
Turn the bowl tray side down by using both hands.
-
Remove seven 11 mm screws by using the Phillips #1 screwdriver.
-
-
-
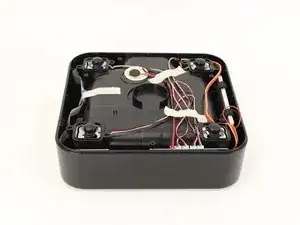
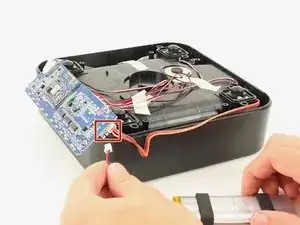
Trace the wires with your hands from the battery to the motherboard.
-
Detach the three-prong connector between the battery and the motherboard by pulling the white connectors with your hands.
-
-
-
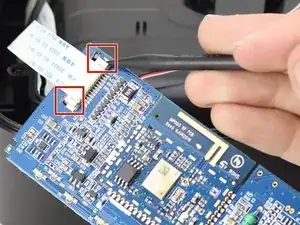
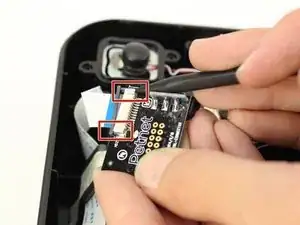
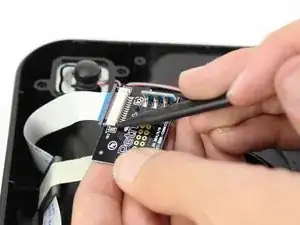
Push both small gray pieces next to the ribbon connector towards the ribbon to put them in the “open” position using the nylon spudger.
-
-
-
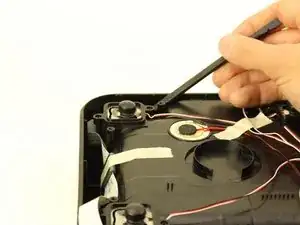
Push the small gray pieces on the ribbon connector into the “open” position with the nylon spudger.
-
-
-
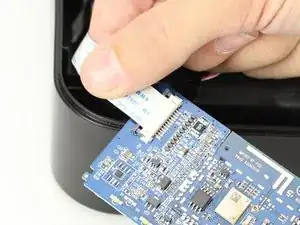
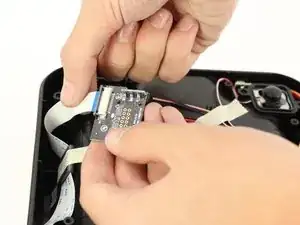
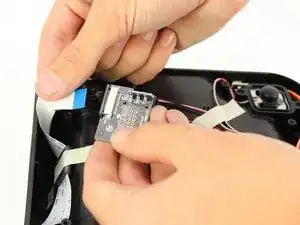
Pull the ribbon connector out of its slot using one hand and another hand on the base of the charging assembly.
-
To reassemble your device, follow these instructions in reverse order.
