Introduction
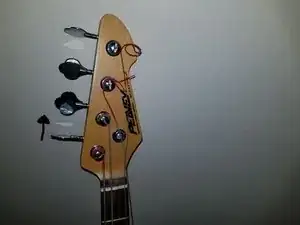
This guide will help you replace your worn out and beaten down bass strings. This is a simple yet useful guide that will give you a brief explanation on how to go about restringing a bass the correct way without confusion. The method will be similar for other, non-Peavey basses so this guide will be useful for any bass guitar. Hope this helps anyone that needs it and rock on!
Tools
Parts
-
-
Spin the pegs in the direction which loosens the string. Either unwind the string all the way and pull it out, or cut the string after loosening it a little.
-
-
-
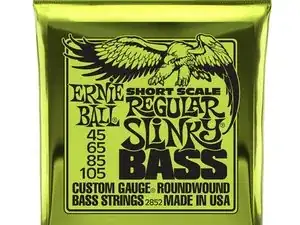
Now that you have a bass with no strings, grab your choice of bass strings, take them out of the bag and unwind them so they are straight.
-
-
-
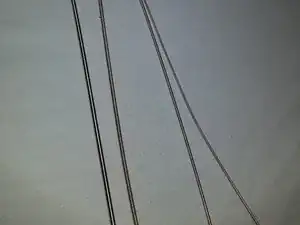
Pick up your ropes and arrange them in order from thickest to thinnest, sorting from bottom to top.
-
-
-
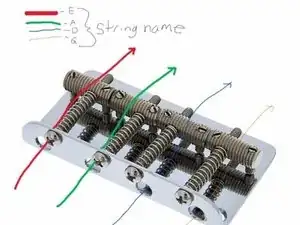
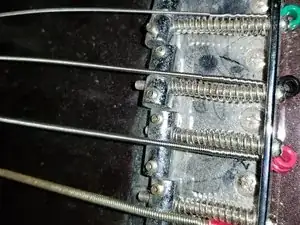
Starting with the thickest string (E string), feed the string through the left-most hole at the base of the bridge (pictured left).
-
Repeat what you did with the E string with next thickest string (A string).
-
Repeat again for the next thinnest (D string), and again for the thinnest string (G string).
-
-
-
Pull the strings all the way through so the pegs at the end of the strings are touching the bridge.
-
-
-
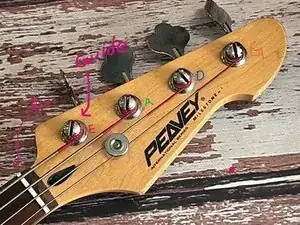
Starting with the E string, make sure the string is in line with the correct notch on the nut.
-
Locate the hole in the guide and feed the string through the hole so it sticks out about one centimeter.
-
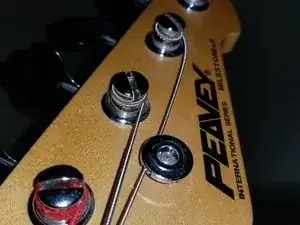
Rotate the tuning peg so that the string rotates counter-clockwise until the string is taut.
-
Repeat for the other 3 strings.
-
-
-
Make sure the strings are wrapped around the peg in the correct direction as shown.
-
If any mistakes were made, you can always unwind the string and try it again.
-
-
-
Once all the strings are taut, begin tuning each string.
-
Now you have a bass with fresh strings!
-
In order to get your bass sounding brand new again follow these steps and youll get a wonderful result
